Creating Free Rich Automatic Captions In DaVinci Resolve
Table of Contents
If you haven’t seen my YouTube channel lately, you might’ve missed that I started publishing Shorts - short clips that capture some of the conversations from my podcast and other hackery that I am doing in my free time.
Current process #
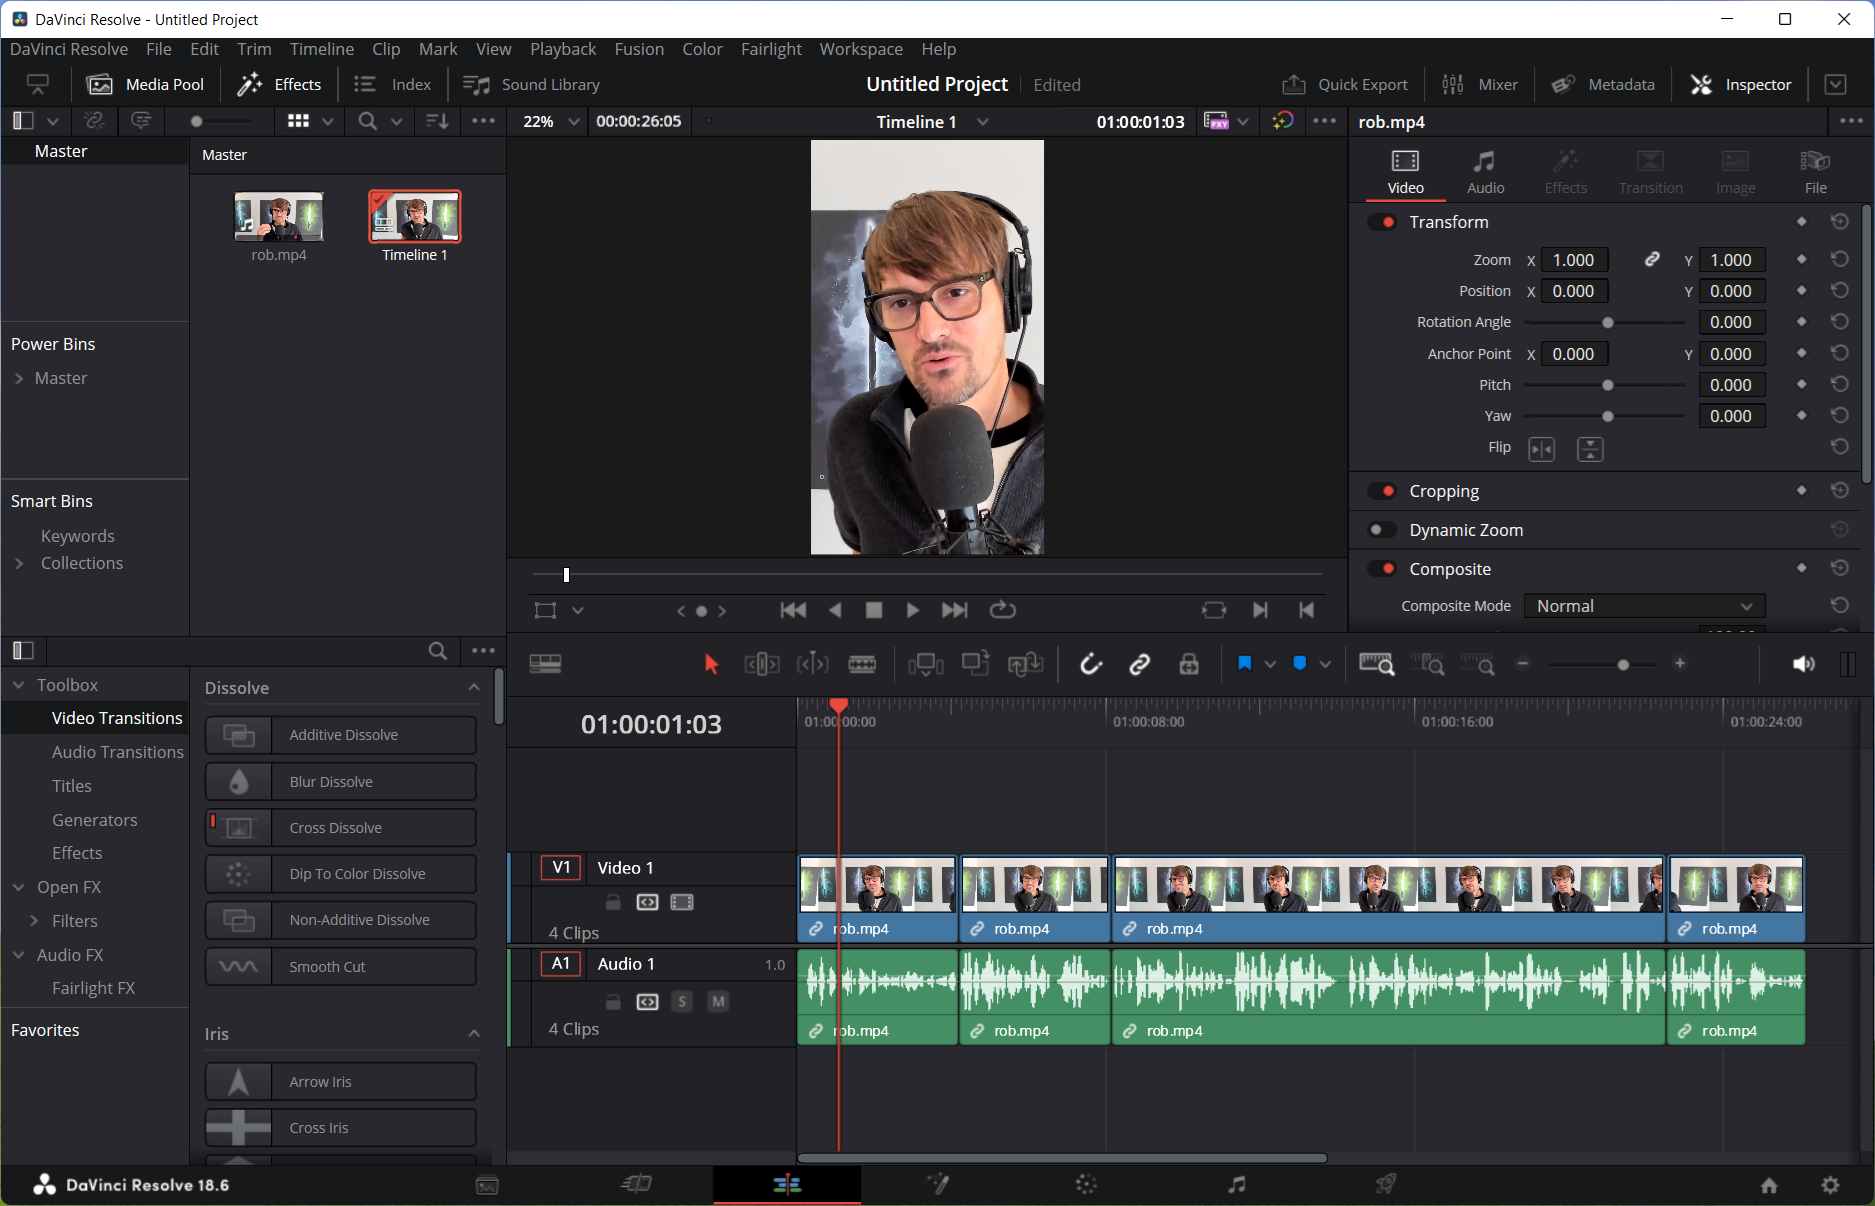
One thing that I figured would be helpful to have for my short videos is captions - that text you see floating in and out as a person speaks, which makes it really easy to follow along if you don’t have audio enabled or have a hearing impairment. The challenge, however, is that creating captions is a tedious process, if done by hand. I am using DaVinci Resolve 18.6 as my editor of choice, and in it if you’d create captions manually, you need to:
- Use an element called Text+ and drag it onto the timeline.
- Resize it to the length of the speaking interval (where the caption is applicable).
- Listen to the video and transcribe the caption.
- Adjust length.
- Copy and paste the element on the timeline, and go through the process again.
Depending on the length of the clip, this can take anywhere from ten to twenty minutes if you are not fast enough or have to fiddle with more than one setting. Not exactly the best use of our time. Since 18.5, DaVinci Resolve Studio (not the free version) introduced the ability to add automatic subtitles, but that feature had its own limitations, such as lack of “Text+"-style customization and keyframing effects.
So, I decided to hack together a solution that would work well for my own needs with the free version of DaVinci Resolve and without using any other third-party plugin or service.
My workflow #
Here is my optimized workflow, that allows me to produce captions at scale - it significantly sped up my production process.
First, we need to slice the clip in DaVinci Resolve to the part that we want to create a Short from. A relatively easy step, because, for example, when I record a podcast episode, I jot down when something interesting happened or was said - that way I can get back to it later. So, inside the video editor, I drag the clip onto the timeline, and then cut to an appropriately-sized clip (15 to 30 seconds).
I then normalize the audio for YouTube - if the mic levels on the guest’s side were not quite at the levels I want them to be, this makes the speech much clearer:
Next, we want to export the clip as an audio-only Wave (*.wav) file. To do that, we will head over to the Deliver tab, uncheck the Export video option in the Video tab, and select Wave as the format in the Audio tab. Don’t forget to set the file name and location where the exported file should go!
Click Add to Render Queue and then Render All to produce a WAV file export.
With the file exported, we now can convert the speech to text. For that, we will use Whisper - a free speech-to-text AI model from OpenAI. It works even better if you have an NVIDIA GPU, but if not, no worries, it can work on the CPU too (although it will be a bit slower).
You can install Whisper by running the following command in your terminal (Python required):
pip install openai-whisper

That command will install Whisper globally, though. Can I still use it with Python virtual environments to make sure I keep it locally for my project?
Absolutely! As a matter of fact, you absolutely should use a Python virtual environment, when possible. You can refer to the Python documentation to learn more about this approach.
With Whisper installed, I then wrote a small script that produces a SubRip Subtitle file, also known as an SRT file (*.srt). A SRT file is used to associate subtitles to their respective timestamps in the video, letting a video player, for example, know exactly when to show them. In the context of our project, the SRT file will help DaVinci Resolve know where to insert the Text+ elements. Its structure is very simple, for example:
1
00:00:00,000 --> 00:00:01,620
What I actually
did was, you

2
00:00:01,620 --> 00:00:03,280
know, I was on
Twitter with

3
00:00:03,280 --> 00:00:06,280
all of 10
followers and I

4
00:00:06,280 --> 00:00:07,840
just started
looking for
There are multiple blocks separated by double \n characters. The first line in the block is the subtitle index, the second line contains the start and end timestamps, separated by -->, followed by the text that is included in that particular subtitle (can be multi-line).
You can do even funkier things with SRT files, like highlight individual words, which can look something like this:
1
00:00:00,000 --> 00:00:00,060
<u>What</u> I actually
did was, you

2
00:00:00,060 --> 00:00:00,200
What <u>I</u> actually
did was, you

3
00:00:00,200 --> 00:00:00,520
What I <u>actually</u>
did was, you
But we don’t need that for our scenario. To produce the file above from a Wave audio clip, I ended up doing this:
import os
import re
import sys

import whisper
from whisper.utils import get_writer

def TranscribeAudio(path, output):
    print(f"Transcribing {path} to {output}")

    model = whisper.load_model("large", device="cuda")
    print("Whisper model loaded.")
    result = model.transcribe(audio=path, initial_prompt="prompt", word_timestamps=True)

    word_options = {
        "highlight_words": False,
        "max_line_count": 2,
        "max_line_width": 15
    }

    srt_writer = get_writer("srt", os.path.dirname(output))
    srt_writer(result, os.path.basename(output), word_options)

    return output

if len(sys.argv) > 2:
    input_path = sys.argv[1]
    output_path = sys.argv[2]

    event_name = ''

    result = TranscribeAudio(input_path, output_path)
else:
    print("No arguments were passed.")
The configuration is as basic as it gets - I am using the large model and the device to run the model on is my GPU (as defined by device="cuda"). You can remove the latter if you are running on the CPU, as well as adjust the model.
Next, we trigger transcription, and finally write the data to a SRT file with some pre-configured options that make it really easy to use the generated captions in YouTube Shorts, where we want everything to fit into 1920x1080 resolution:
- Don’t highlight individual words, as mentioned above.
- Maximum spread of content is two lines.
- Each line should not be longer than 15 characters.
Whisper also helpfully includes a built-in SRT generator that will take the transcribed output and automatically map it to start and end timestamps, removing the need for me to manually calculate the intervals.
Once I have the output SRT file, I now need to import it into DaVinci Resolve and generate Text+ elements. We will not be using the built-in subtitle track because it’s too limiting for what we’re trying to do. Instead, we’re going to programmatically generate the required elements at the right timestamps.

Hold on - you're saying "programmatically" but as far as I know, DaVinci Resolve (the free version) doesn't really provide extensibility capabilities with scripting. Can we really do this?
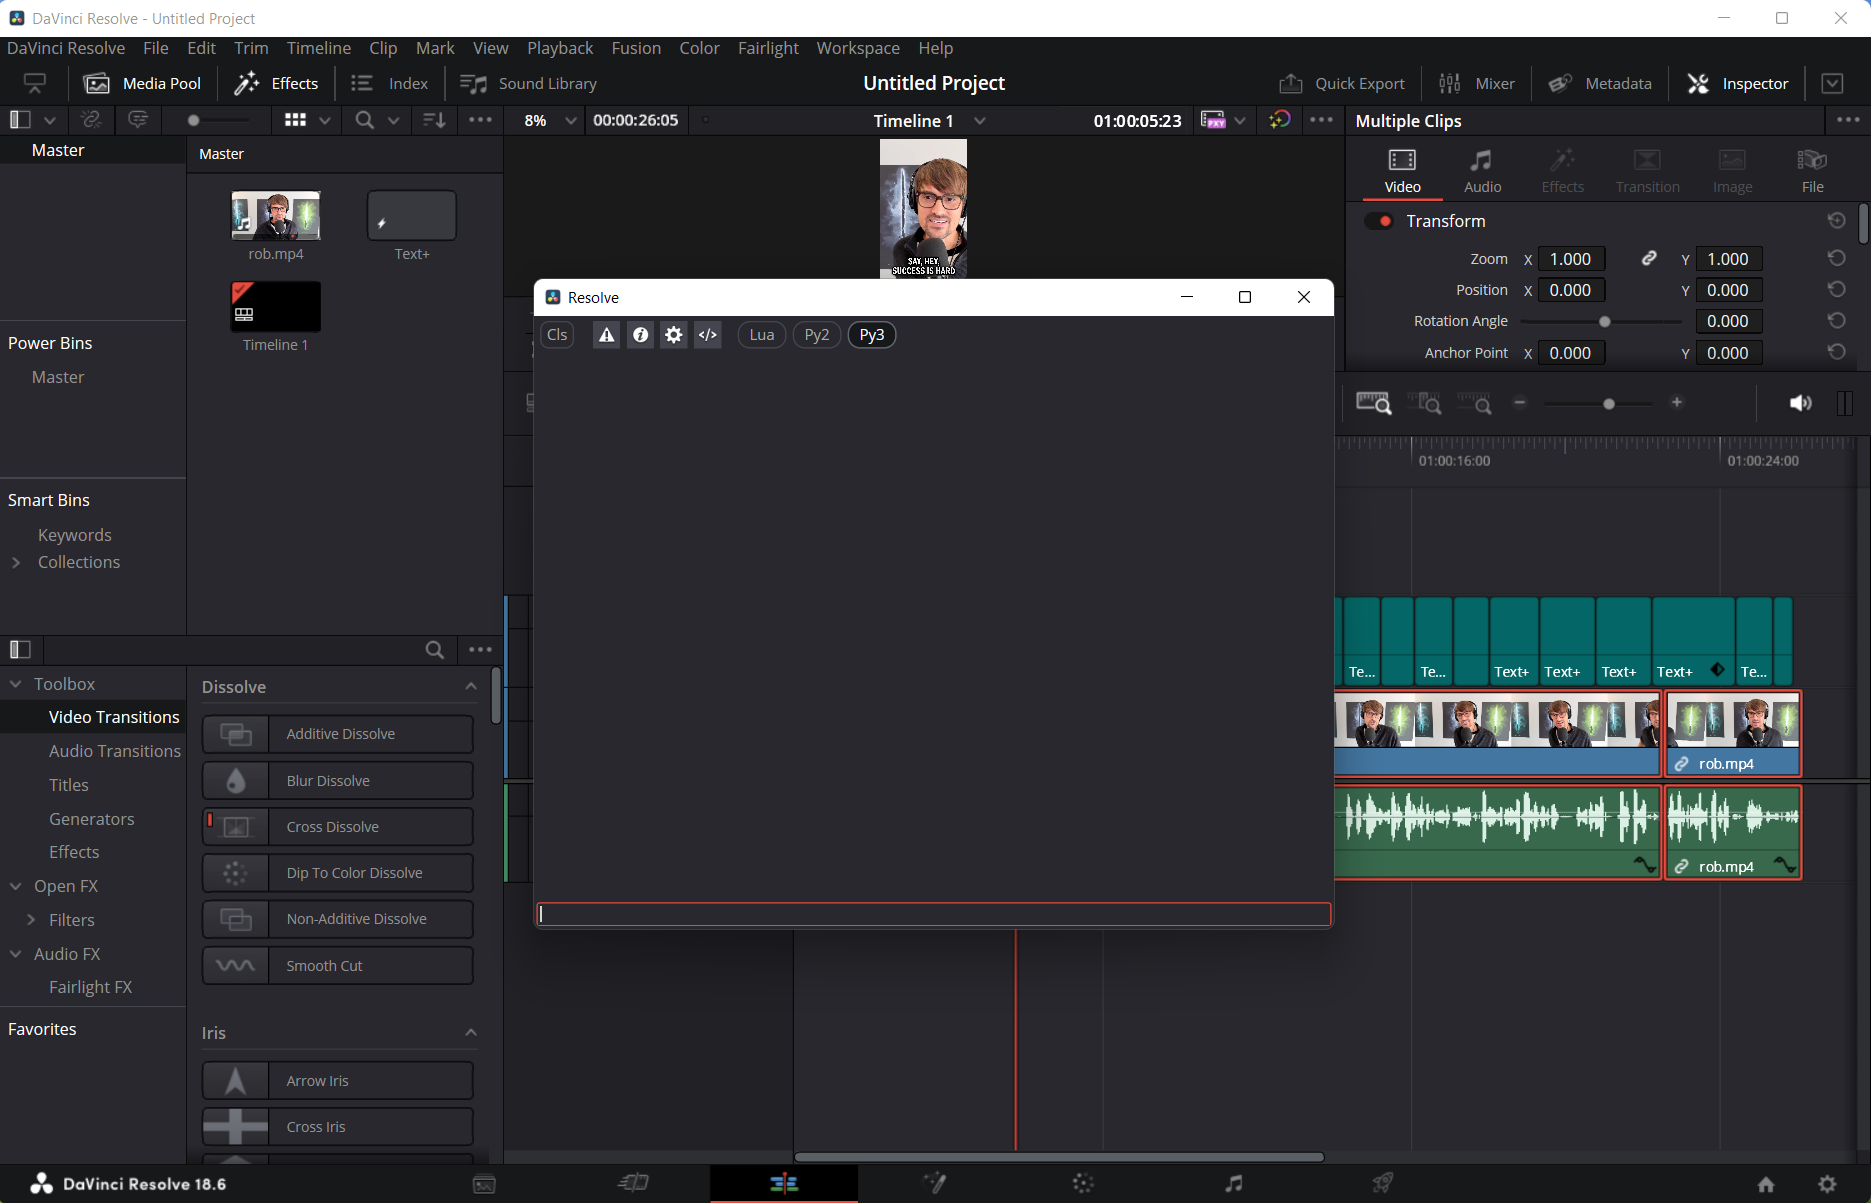
We can! That is because while we won’t have an easily accessible one click option for scripting without some really unpleasant set of changes, we can run things in the Console, a built-in capability that is available in the free version and support Lua, Python 2, and Python 3. That’s good enough for what I am trying to do. You can access it by clicking on the Workspace menu and then clicking Console.
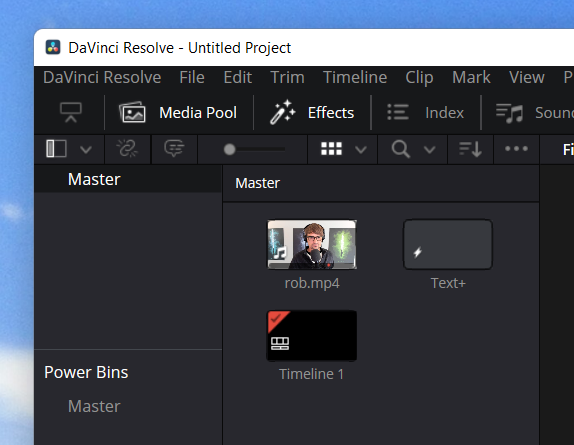
But before we jump to the script, I need to add one extra component to my Media Pool - a Text+ element that I set up just right (with proper font, line distances, sizing, and effects). That’s needed because when we will be creating the subtitles programmatically, we will be re-using this template to instantiate new clip fragments on the timeline. To do this, I can drag a Text+ item on my timeline, set it up the way I want to, and then drag it into the project’s Master media pool if I want to use it in just this project or inside the Master media pool inside Power Bins if I want to re-use it later.
Here is the script, that borrows from the work that Tom Moroney did with auto-subs and adds some performance optimizations:
#!/usr/bin/env python

import time
import re
from datetime import datetime, timedelta
import os
import platform

projectManager = resolve.GetProjectManager()
project = projectManager.GetCurrentProject()

srt_file_path = "path_to_your_soundclip.srt"
target_video_track = 2
frame_rate=29.97
template_index = 0

mediaPoolItemsList = []

text_plus_template_search_pattern = re.compile(r'text|title|subtitle', re.IGNORECASE)

def IdentityTemplateInMediaPool():
    mediaPool = project.GetMediaPool()
    folder = mediaPool.GetRootFolder()

    MediaPoolRecursiveSearch(folder, mediaPoolItemsList, text_plus_template_search_pattern)

def MediaPoolRecursiveSearch(folder, mediaPoolItemsList, pattern):
    # Retrieve all clip properties at once.
    items = folder.GetClipList()
    item_properties = [item.GetClipProperty() for item in items]

    # Iterate through item properties to see if they match
    # the search pattern that we've established.
    for item, properties in zip(items, item_properties):
        itemType = properties["Type"]
        if itemType == "Generator":
            itemName = item.GetName()
            clipName = properties["Clip Name"]

            # Check if itemName or clipName contains the search pattern.
            if pattern.search(itemName) or pattern.search(clipName):
                mediaPoolItemsList.append(item)

    # Recursively search subfolders in the media pool.
    subfolders = folder.GetSubFolderList()
    for subfolder in subfolders:
        recursiveSearch(subfolder, mediaPoolItemsList)

def GenerateTextPlusSubtitles(srt_path, video_track_index):
    content = ''
    subs = []

    resolve.OpenPage("edit")
    mediaPool = project.GetMediaPool()
    folder = mediaPool.GetRootFolder()
    items = folder.GetClipList()

    if not project:
        print("No project is loaded")
        return

    # Get current timeline. If no current timeline try to load it from timeline list
    timeline = project.GetCurrentTimeline()
    if not timeline:
        if project.GetTimelineCount() > 0:
            timeline = project.GetTimelineByIndex(1)
            project.SetCurrentTimeline(timeline)
        else:
            print("Current project has no timelines")
            return

    # Read the subtitles (SRT) file.
    try:
        with open(srt_path, "r", encoding="utf-8") as f:
            content = f.read()
    except FileNotFoundError:
        print("Subtitle file not found.")
        return

    timelineStartFrame = timeline.GetStartFrame()

    print(f'Operating at the following FPS: {frame_rate}')

    entries = re.split(r"\n{2,}", content.strip())
    time_pattern = re.compile(r"(\d+):(\d+):(\d+),(\d+) --> (\d+):(\d+):(\d+),(\d+)")

    for entry in entries:
        lines = entry.split("\n")
        if len(lines) >= 3:
            times = lines[1].strip()
            text_lines = lines[2:]

            m = time_pattern.match(times)
            t_start = list(map(int, m.groups()[0:4]))
            t_end = list(map(int, m.groups()[4:8]))

            posInFrames = int((t_start[0] * 3600 + t_start[1] * 60 + t_start[2] + t_start[3] / 1000) * frame_rate)
            timelinePos = timelineStartFrame + posInFrames

            endPosInFrames = int((t_end[0] * 3600 + t_end[1] * 60 + t_end[2] + t_end[3] / 1000) * frame_rate)
            duration = (timelineStartFrame + endPosInFrames) - timelinePos

            text = "\n".join(text_lines).upper()
            subs.append((timelinePos, duration, text))

    print("Found", len(subs), "subtitles in SRT file")

    # We take the first template that was registered in the media pool list.
    templateText = mediaPoolItemsList[0]

    if not templateText:
        print("No Text+ found in Media Pool")
        return

    print(f'{templateText.GetClipProperty()["Clip Name"]} selected as template')

    timelineTrack = video_track_index

    # Add template text to timeline (text not set yet)
    for i, (timelinePos, duration, text) in enumerate(subs):
        if i < len(subs) - 1 and subs[i + 1][0] - (timelinePos + duration) < 200:  # if gap between subs is less than 10 frames
            duration = (subs[i + 1][0] - subs[i][0]) - 1  # then set current subtitle to end at start of next subtitle - 1 frame
        newClip = {
            "mediaPoolItem": templateText,
            "startFrame": 0,
            "endFrame": duration,
            "trackIndex": timelineTrack,
            "recordFrame": timelinePos
        }
        mediaPool.AppendToTimeline([newClip])

    print("Modifying subtitle text content...")

    # Get list of Text+ in timeline
    clipList = timeline.GetItemListInTrack('video', timelineTrack)

    for i, clip in enumerate(clipList):
        if clip.GetStart() >= subs[0][0]:
            clip.SetClipColor('Orange')
            text = subs[i][2]

            comp = clip.GetFusionCompByIndex(1)
            if comp:
                for tool in comp.GetToolList().values():
                    if tool.GetAttrs()['TOOLS_Name'] == 'Template':
                        tool.SetInput('StyledText', text)
                clip.SetClipColor('Teal')
            if i >= len(subs) - 1:
                print("Updated text for", i + 1, "subtitles")
                break

    print(f"Subtitles added video track {video_track_index}.")


IdentityTemplateInMediaPool()
GenerateTextPlusSubtitles(srt_file_path, target_video_track)
The script may seem a bit intimidating, but what it does is:
- Get the Text+ template from the media pool.
- Navigate to the Edit view.
- Get to the very start of the timeline.
- Parse the SRT file for all the captions.
- For each caption, create a new instance of the Text+ template and put it exactly where it needs to be on the timeline based on the framerate that I specified.
- Populate each instance of the Text+ element on the timeline with the appropriate caption.
This code can be copied and then pasted directly into the DaVinci Resolve Console, where it will be promptly executed and you will see the Text+ elements populated on the timeline.
I see that you are using a fixed value for the framerate. Can't you just use timeline.GetSetting("timelineFrameRate") to get the right project framerate?
You can, but there is a slight problem - this rounds the frame rate down, so if you have a framerate of, say, 29.97, you will get 29 as the output. This will result in captions being misaligned and they won’t quite flow well with the audio. This is why I opted to define my own framerate directly instead. If your video uses a different framerate, you can adjust this value as appropriate.
And that’s it - once the script runs, all the captions are instantly populated as Text+ elements in the timeline:
I am sure that I could even shove the audio export and Whisper transcription logic in the script in DaVinci Resolve, but I am comfortable enough with running a separate Terminal window for it that it doesn’t bother me much to do a step beforehand before importing the Text+ elements into my timeline.
Get the code #
If you want to peek at the latest code for the tools I wrote for the process above, you can look inside the media-tools repository on GitHub. I plan on updating it with some extra guides and instructions for easier re-use.