Building Java API Docs With DocFX
Table of Contents
For some time, at docs.microsoft.com, we’ve been using a non-standard way to document Java APIs. For example, if you take a look at this page, you will notice that it’s a regular API document. Behind the scenes, it was built with the help of Doxygen (generates structured docs from Java code), code2yaml (transforms Doxygen output into YAML) and DocFX (transforms YAML into static HTML).
As we started documenting more APIs from across the company, we’ve encountered an interesting problem - Doxygen, while a versatile tool, relies on a set of conventions that are very much specific to its own stack and are less common in the Java developer community. In particular, it would hardly support some very important Javadoc constructs, such as those pertaining to code examples.
This is when we decided that we need to overhaul the pipeline a bit - in consultation with Microsoft Cloud Developer Advocate Bruno Borges and Azure SDK engineer Jonathan Giles, we’ve determined that the best way to do this would be through a doclet. At a fundamental level, we would essentially be plugging into the standard Javadoc tooling instead of trying to abide to a less common standard. In collaboration with our engineering teams, we’ve built a DocFX doclet, that would produce the structured content that DocFX can ingest while consuming the output produced by standard Java documentation tooling.
In this post, I will describe how you can generate beautiful Java API documentation with a Javadoc-based extension.
Building the doclet #
First, clone the repository with the doclet locally. Once you have a copy, make sure that you have the Java Development Kit installed on your machine. The installation process might be different, depending on your platform. And of course, once you have Java installed, you also need to install Apache Maven - this is what we use to build the project. For macOS, this is as simple as:
brew install maven
Thank you our lord and savior Homebrew for making the installation process a breeze here. Now we are ready to build. Set the context of your terminal to the folder where you cloned the repo, and run:
mvn compile
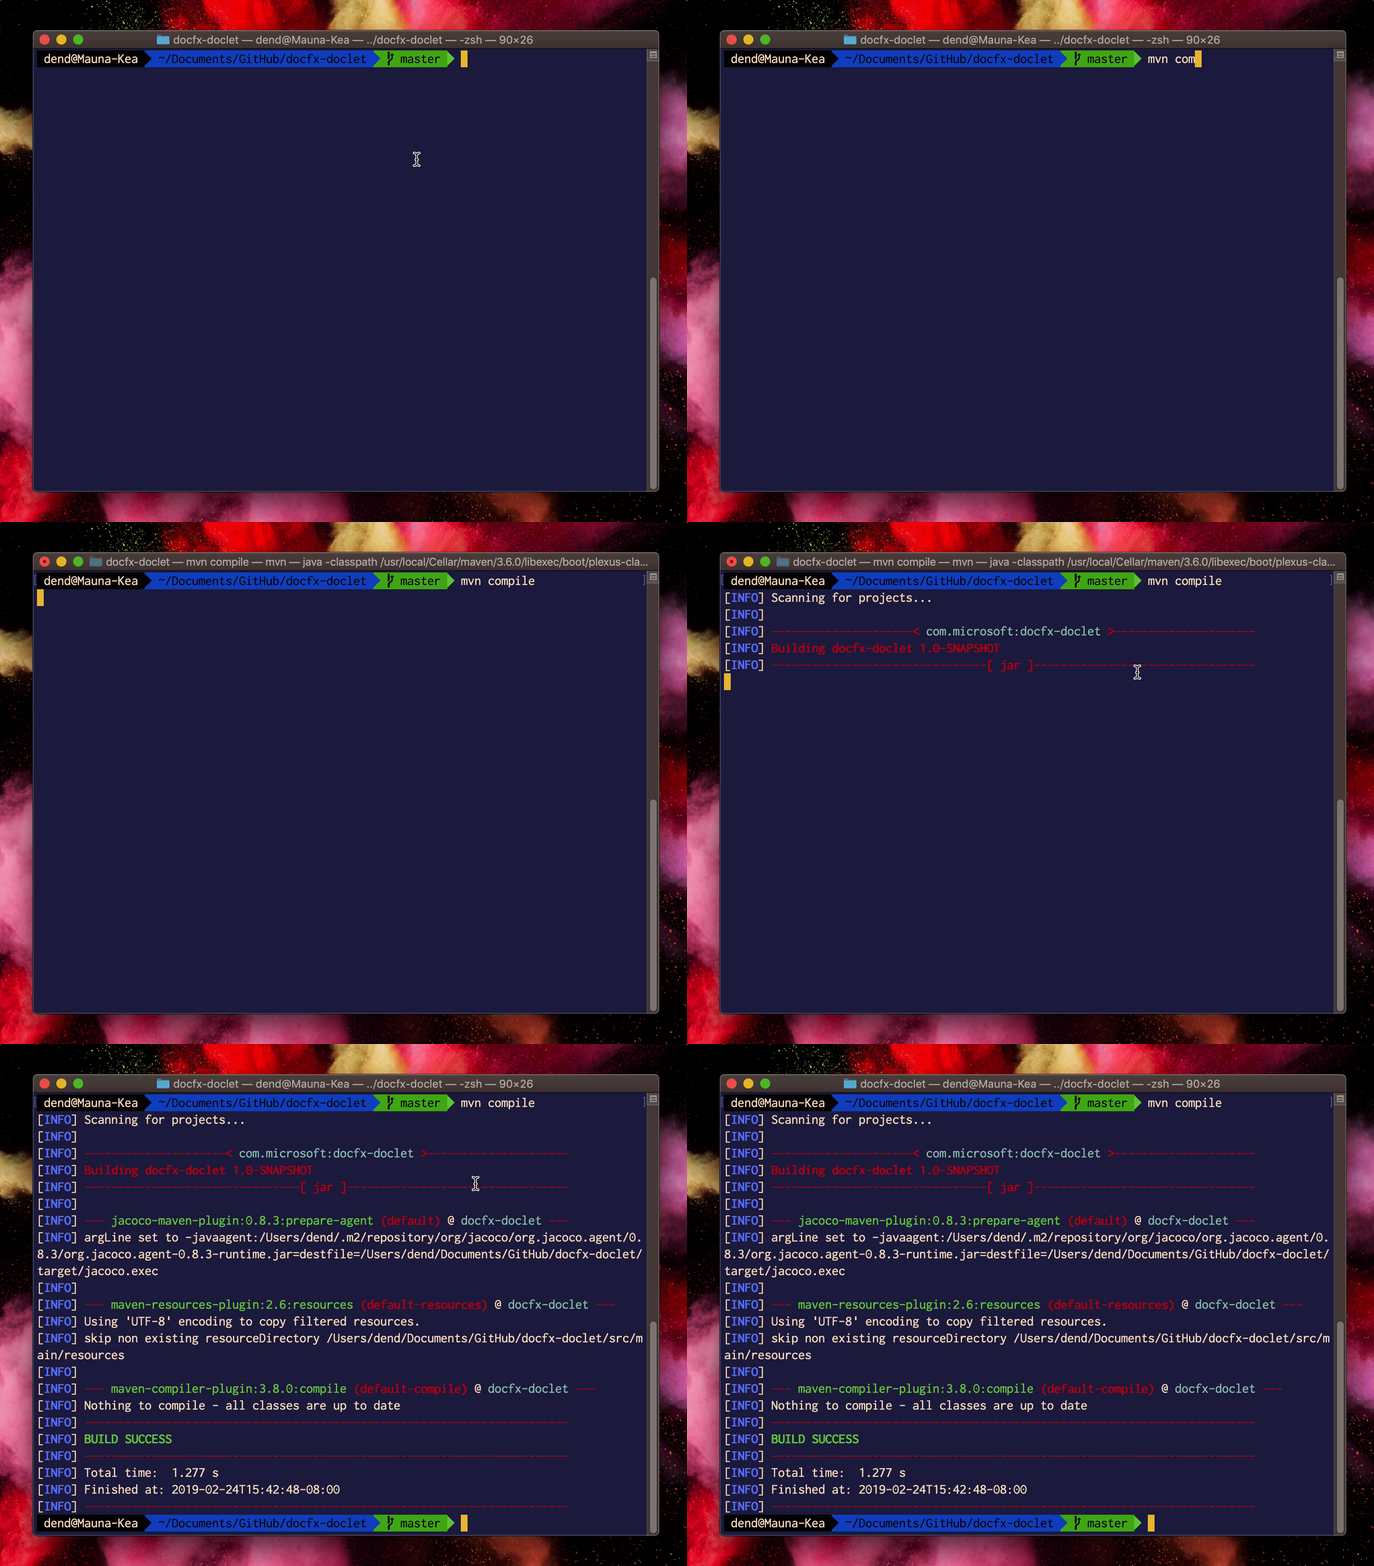
When the build completes, we need to make sure that we generate a JAR file. Maven can help us here too:
mvn package
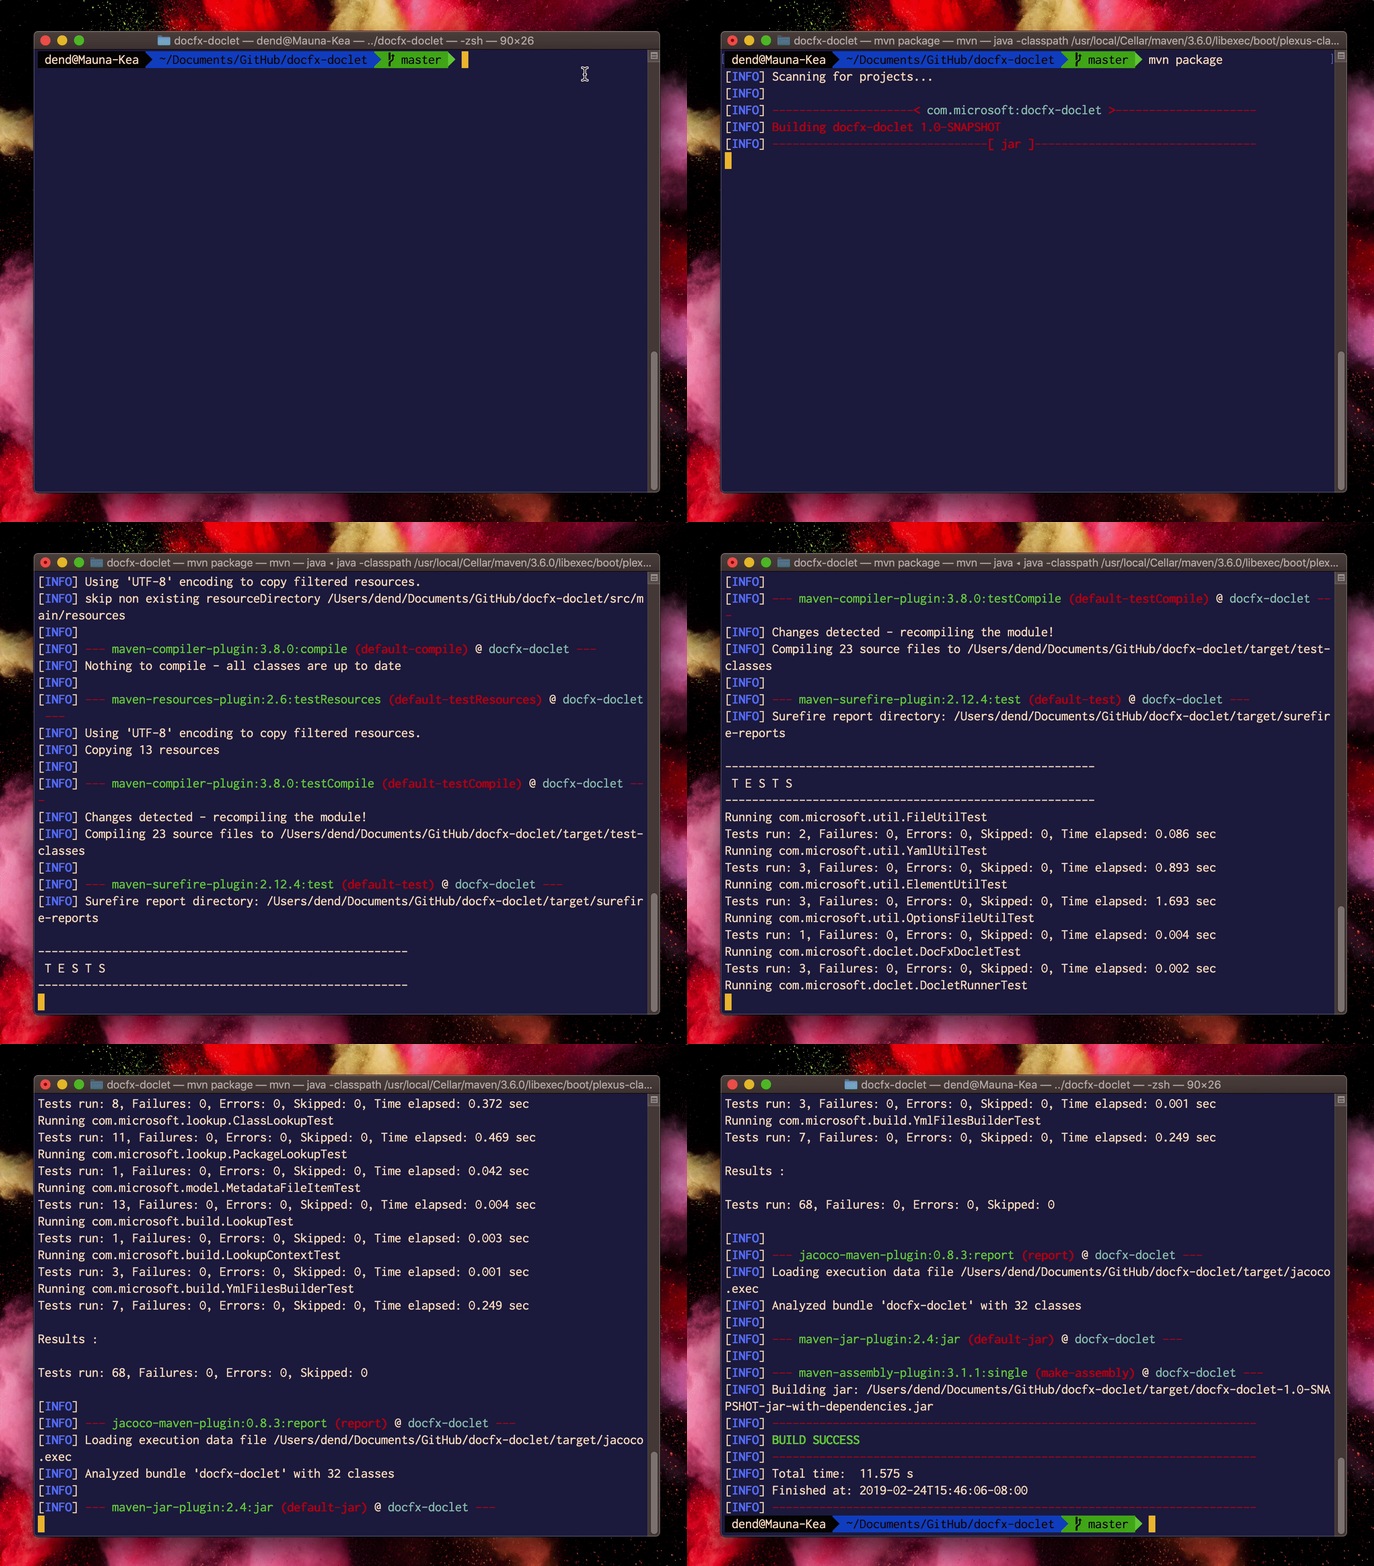
We are ready to use the doclet - the JAR is now located in the targets folder, within the location where you cloned the repository.
Building documentation #
For a demo, let’s use the Azure Functions Java library, available on GitHub. Clone the repository locally, and once the process completes, execute the following javadoc call in the terminal:
javadoc \
    -encoding UTF-8 \
    -docletpath /some/path/docfx-doclet/target/docfx-doclet-1.0-SNAPSHOT-jar-with-dependencies.jar \
    -doclet com.microsoft.doclet.DocFxDoclet \
    -sourcepath /some/path/azure-functions-java-library/src/main/java \
    -outputpath /some/path/yml-test \
    -subpackages com.microsoft.azure.functions \
What this will do is generate the YAML files that DocFX needs via standard Javadoc tooling. Here is a breakdown of parameters used:
| Parameter | Description |
|---|---|
-encoding |
Encoding for the generated documentation. |
-docletpath |
Path to the doclet that we built with Maven earlier in the post. |
-doclet |
The ID of the doclet being used. This should be a constant com.microsoft.doclet.DocFxDoclet. |
-sourcepath |
The path to the source code where the package that needs to be documented is located. |
-outputpath |
The path where the generated YAML files should be placed. |
-subpackages |
The list of subpackages that need to be documented, separated by a colon (:). |
There are two optional parameters that you can specify:
| Parameter | Description |
|---|---|
-excludepackages |
List of excluded packages, separated by a colon (:). For example: com\.msdn\..*:com\.ms\.news\..*. |
-excludeclasses |
List of classes that need to be excluded, separated by a colon (:). For example: .*SomeClass:com\.ms\..*AnyClass. |
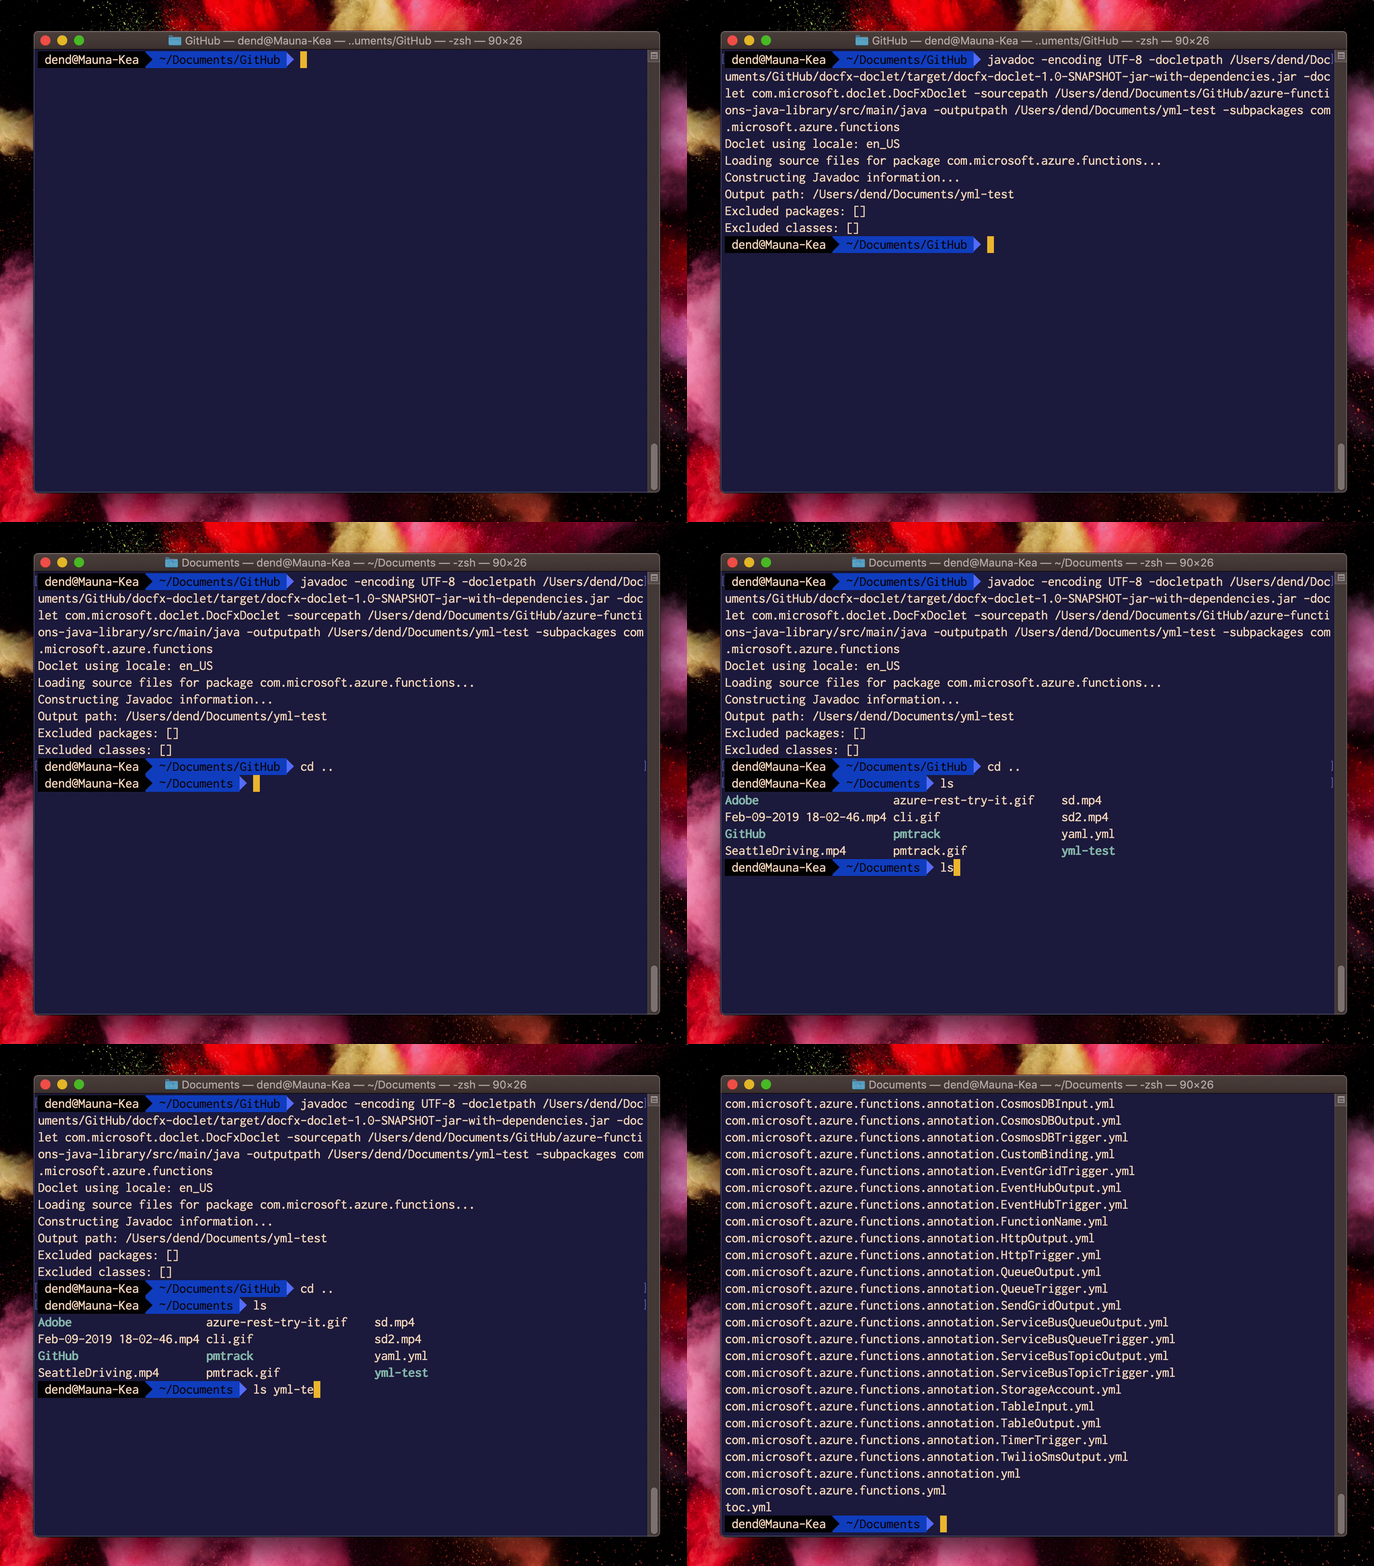
We’re all ready to start experimenting with the generated documentation within DocFX!
Publishing the documentation #
Having the YAML files is half of the process - we now need to convert them to static HTML and see what those look like within the DocFX chrome. To do that, first we need to make sure that we download DocFX locally - you can do that from the official GitHub repository. Just grab docfx.zip and extract it locally. Within the extracted folder, you should see the DocFX executable - docfx.exe.
Now you might be wondering - if you are on Linux or macOS, *.exe is not quite the file extension you are used to seeing for executables. To mitigate this, you will need to install the Mono runtime. I would recommend installing the package from the official site instead of relying on the Homebrew distribution.
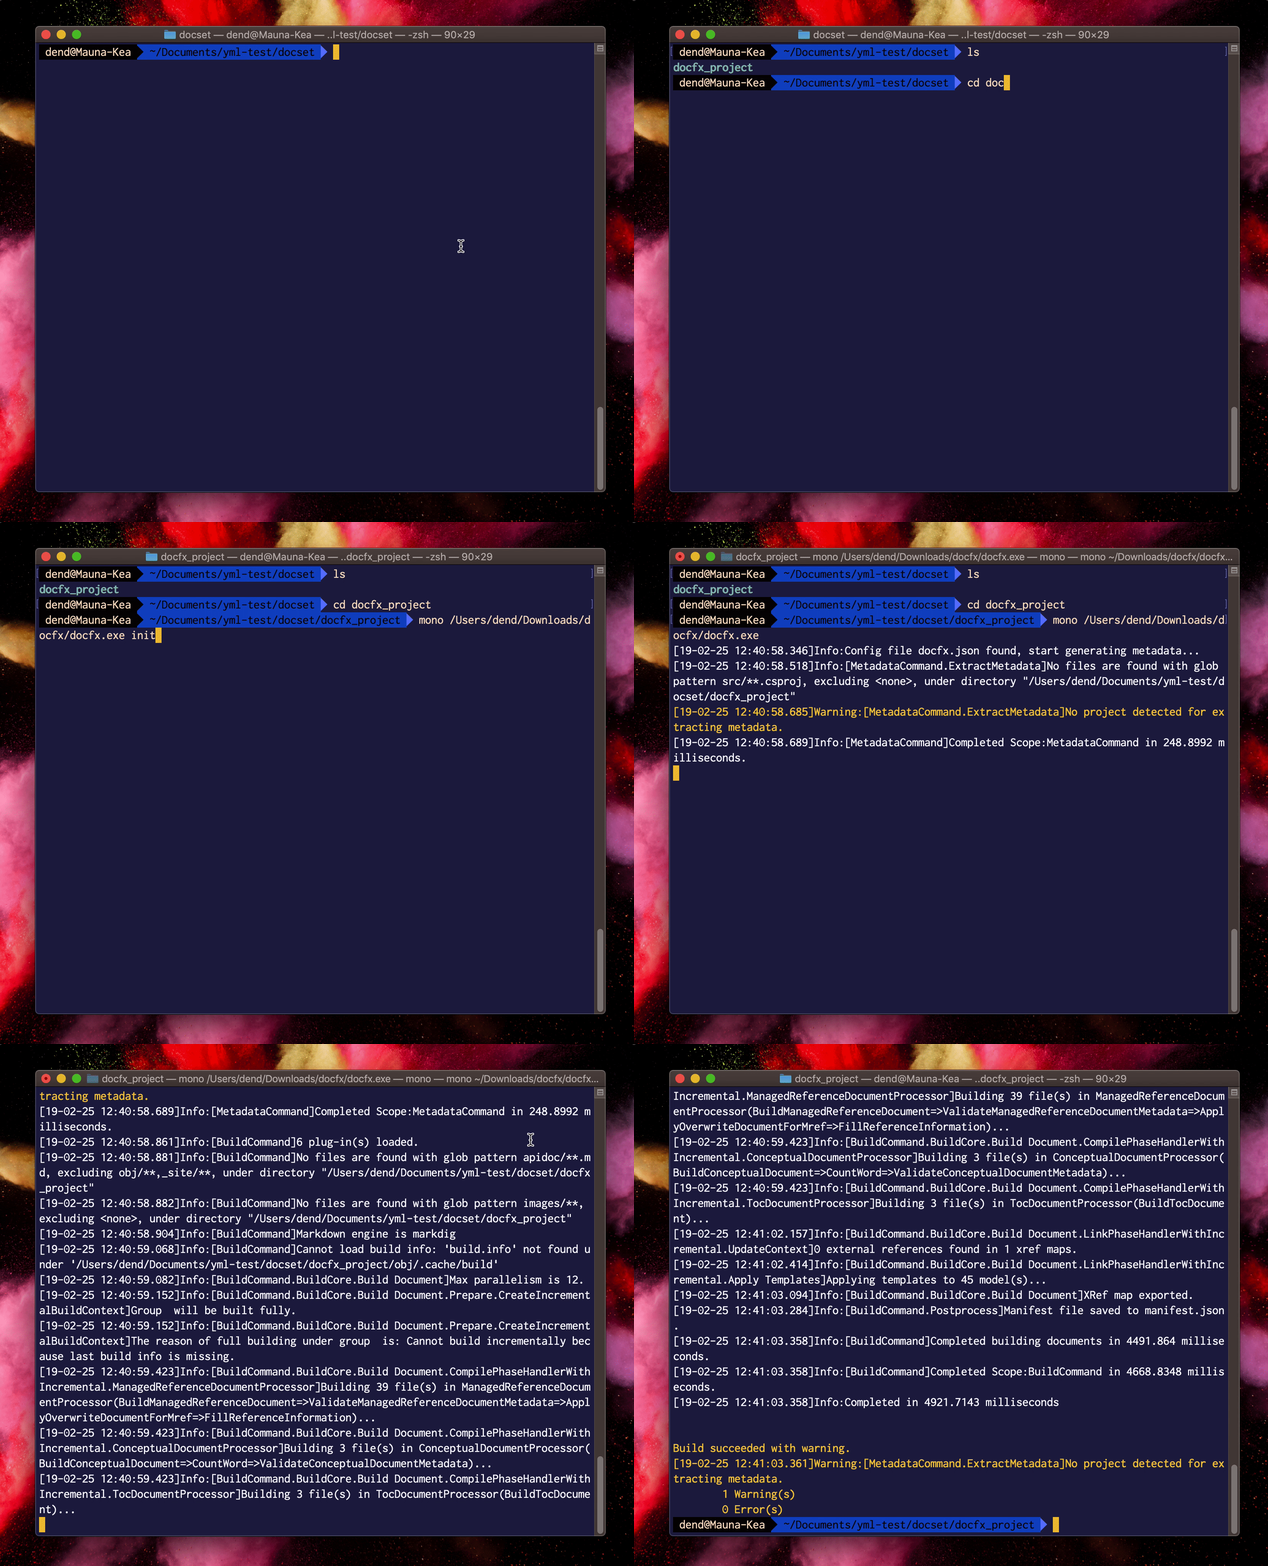
With the Mono runtime installed, we can now initialize a new DocFX documentation set - just run the following command in the terminal:
mono /path/to/docfx.exe init
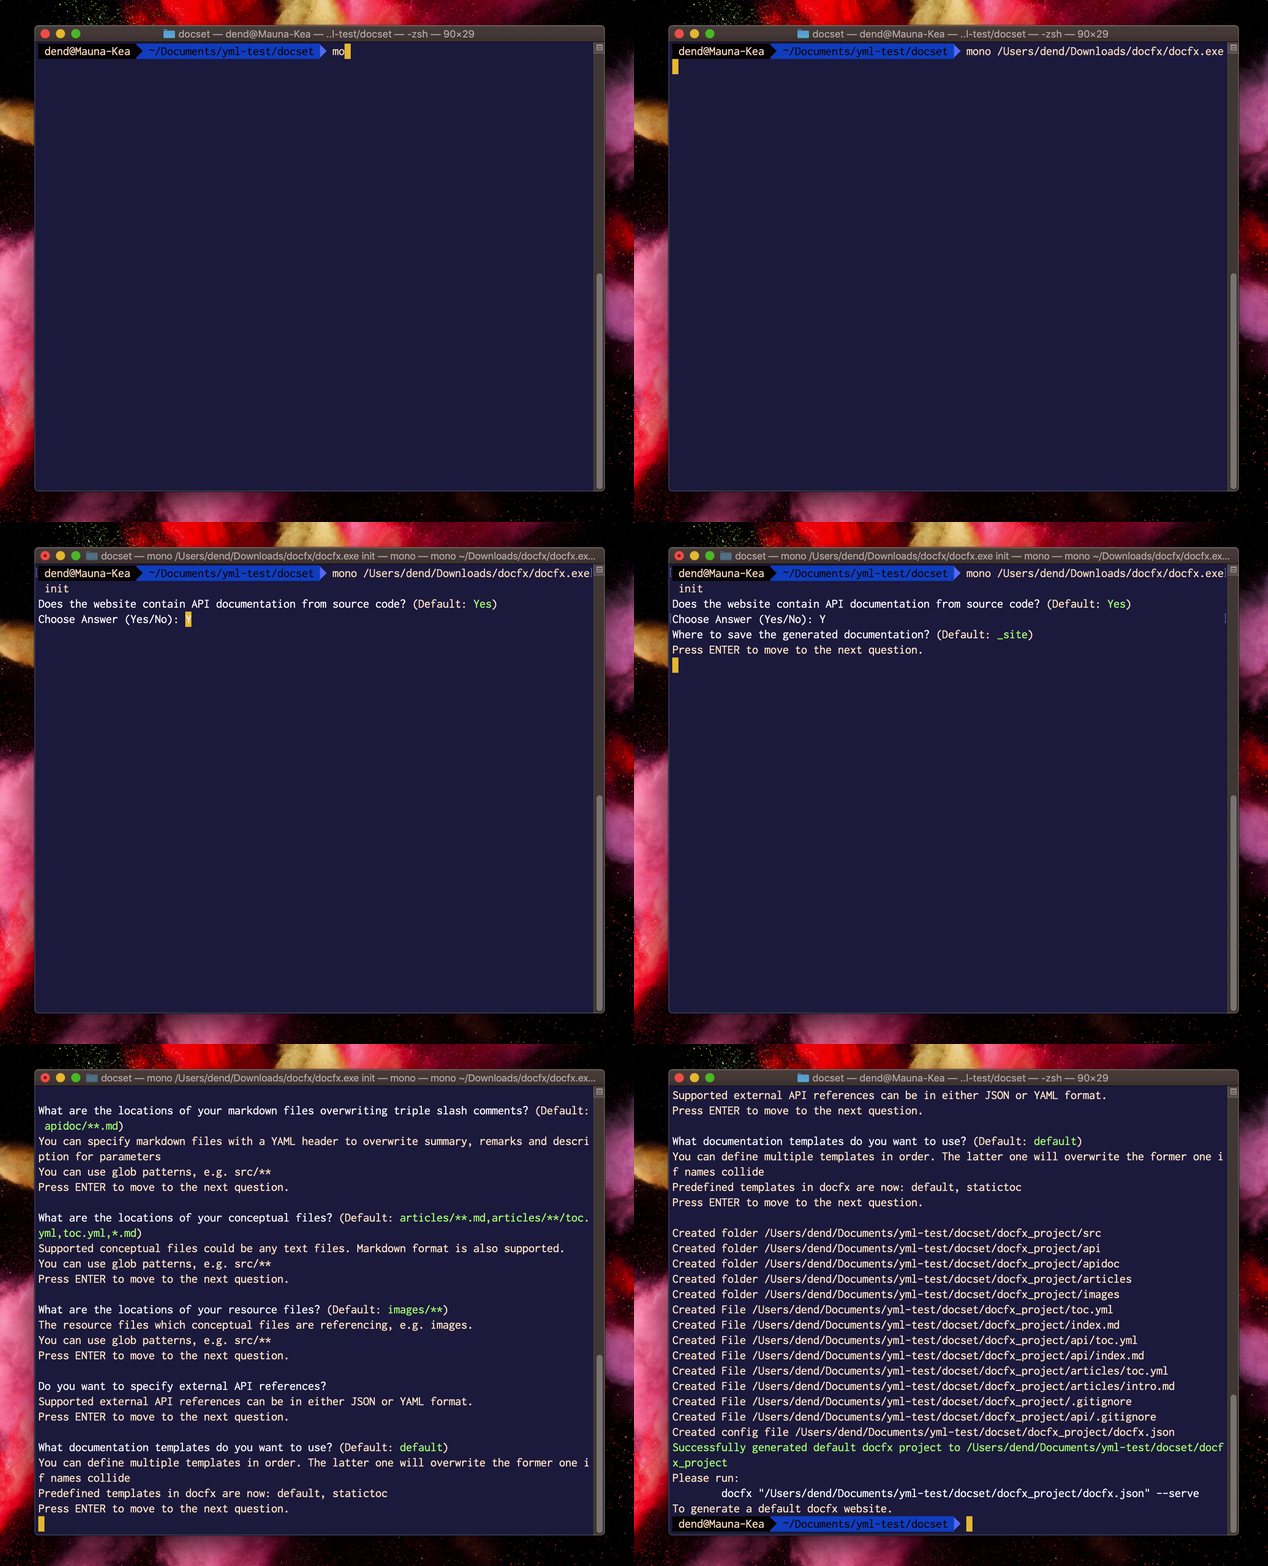
Alternatively, if you would like to run this quickly (with no custom settings), you can run the command with the -q argument. On command success, you will have a new documentation set provisioned in the directory, to which the context was set in the terminal. Move all the previously-generated *.yml files into the docfx_project/api directory in the documentation set.
To build the content, set the context of the terminal inside the docfx_project folder, and run:
mono /path/to/docfx.exe
Last step is us actually serving the generated files on a local server. To do that, run:
mono /path/to/docfx.exe serve _site
Here, _site is the name of the folder where the generated HTML files were placed. In the terminal, DocFX will tell you the URL where you can access the served site (it’s usually https://localhost:8080).
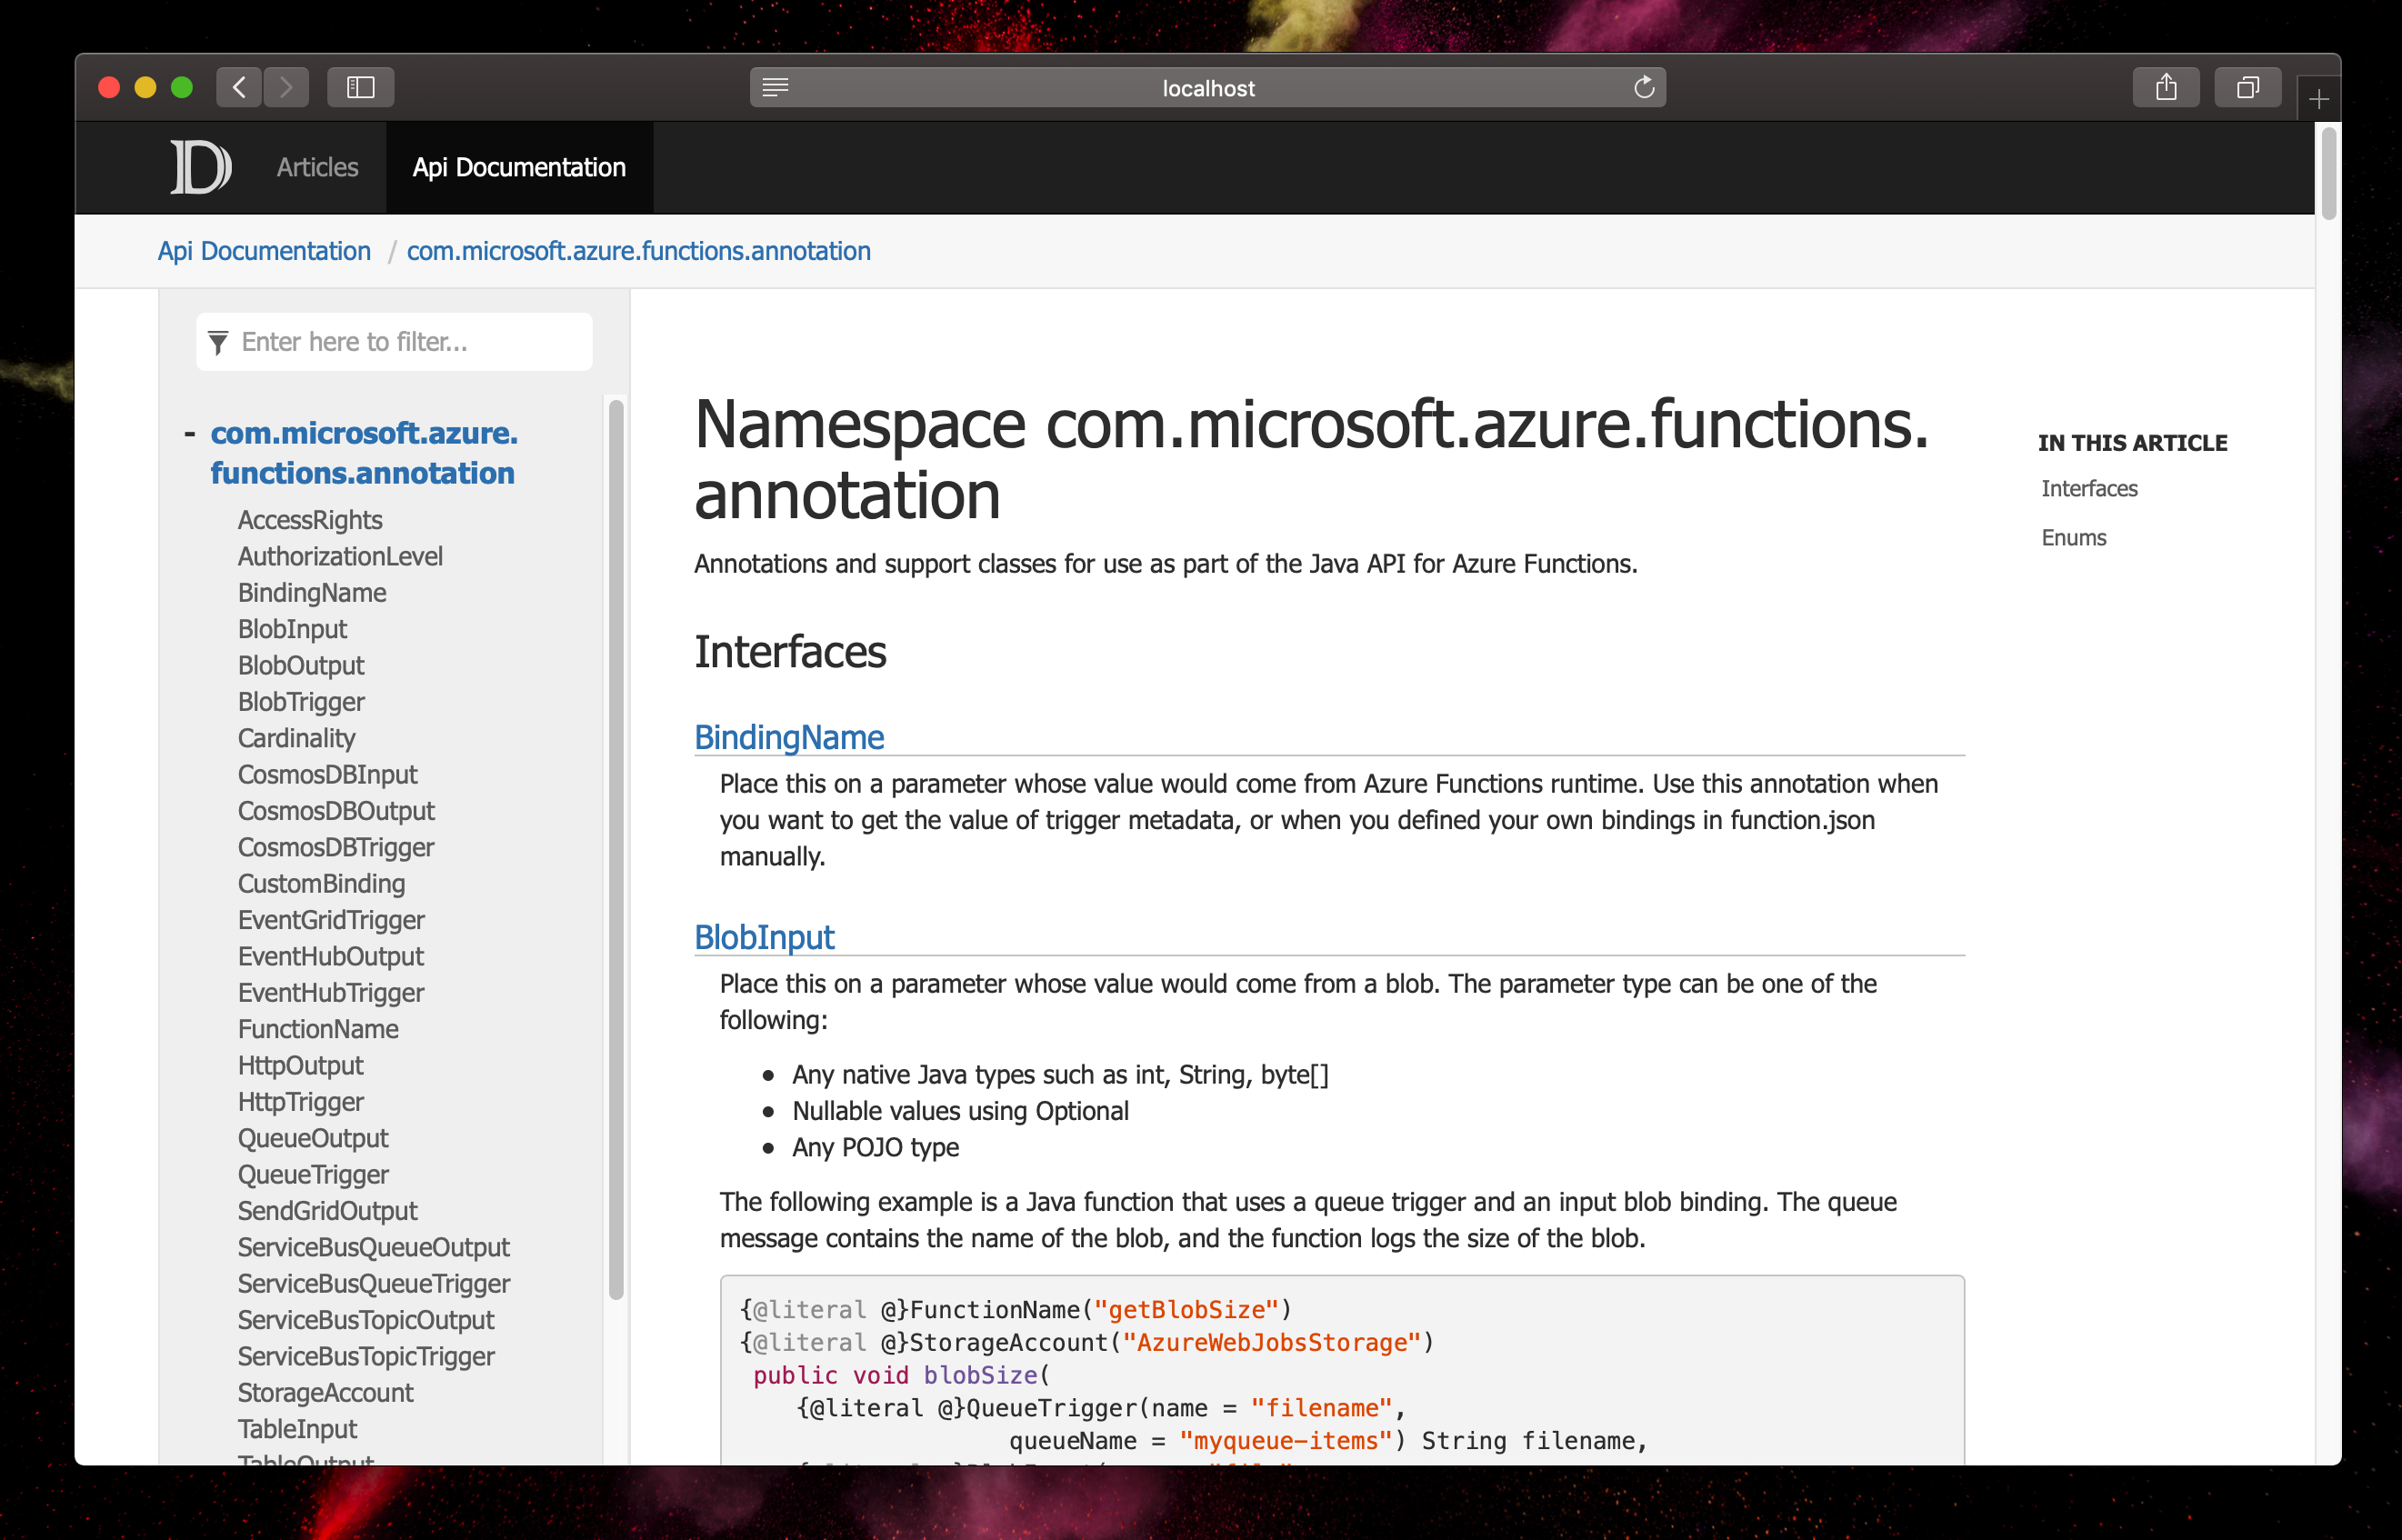
That’s it! You now have Java API documentation inside DocFX, with no content loss, and preserving the structure of your familiar Javadoc comments!