Hosting Your Own Notes On Synology NAS With Docker
Table of Contents
As I was fiddling with some automation scenarios at home, I thought of putting the Synology Network Attached Storage (NAS) to good use. That is, in addition to all the photo backup stuff it’s already doing. At the end of last year, I wrote a blog post about building a simple system to maintain evergreen notes, based on Hugo, Docker, and, well, that’s it - there are only Markdown files in the mix. Evergreen notes in this context are nothing other than a personal Wikipedia of sorts.
Overview #
The system that I talked about worked quite well as an experiment. I even pushed the image to Docker Hub, but I still kept the notes running locally, on my main computer, and would just run Hugo whenever its convenient. This clearly introduced some overhead and a bit of annoyance when it came to going to the folder where the notes are located in the Terminal, then running Hugo, then waiting for the build to complete - you get it. I could probably write a script to make this easier, but that would mean that I won’t have as much fun as I would with a Synology NAS.
The cool thing about the Synology NAS is that it’s a mini-computer. It’s dedicated to data storage, but it’s a computer that runs a Linux derivative called DiskStation Manager, or DSM. And because it’s Linux-based, that also means that I can probably run Docker directly on it. The awesome folks at Synology must’ve read my mind, because as I was looking inside their package manager (called Package Center), I discovered that it’s a solved problem:
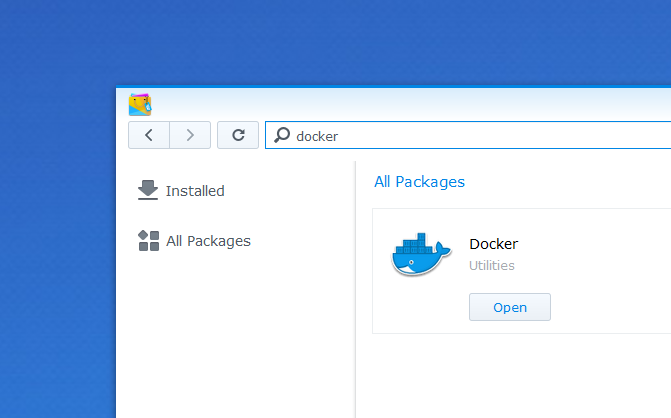
Cool! Saves me the time from fiddling with the Terminal and trying to SSH into the box.
Setting Up Docker #
To set Docker up, all you need to do is install the package - it should not take more than a couple of minutes. Getting everything ready felt like having a concierge, who did everything for me, and I just looked at it going “Yep, that’s exactly what I wanted.” It just worked.
As it turns out, not every Synology NAS model officially supports Docker. However, if you are adventurous and know what you are doing, you can manually install the official package.
You can get the latest version of the Docker package from the Synology archives.
Setting Up Image And Container #
With Docker set up, it’s possible to quickly jump right to the registry, that acts as an index of available images that you can pull right away.
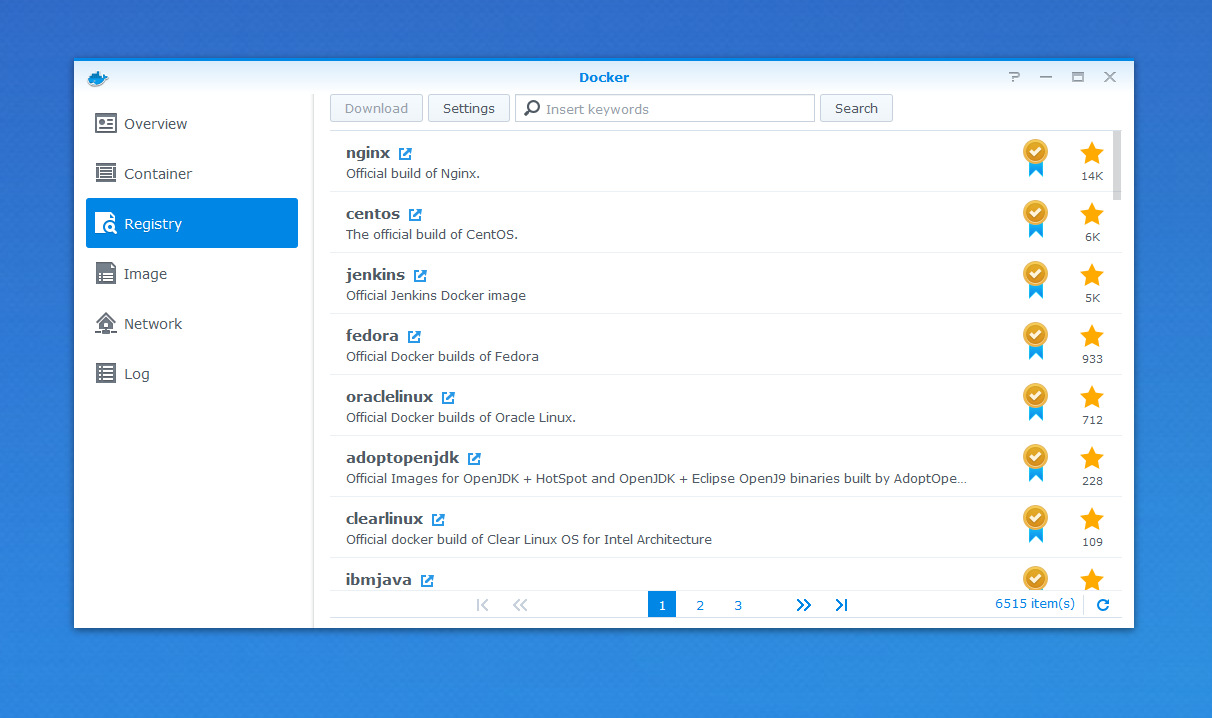
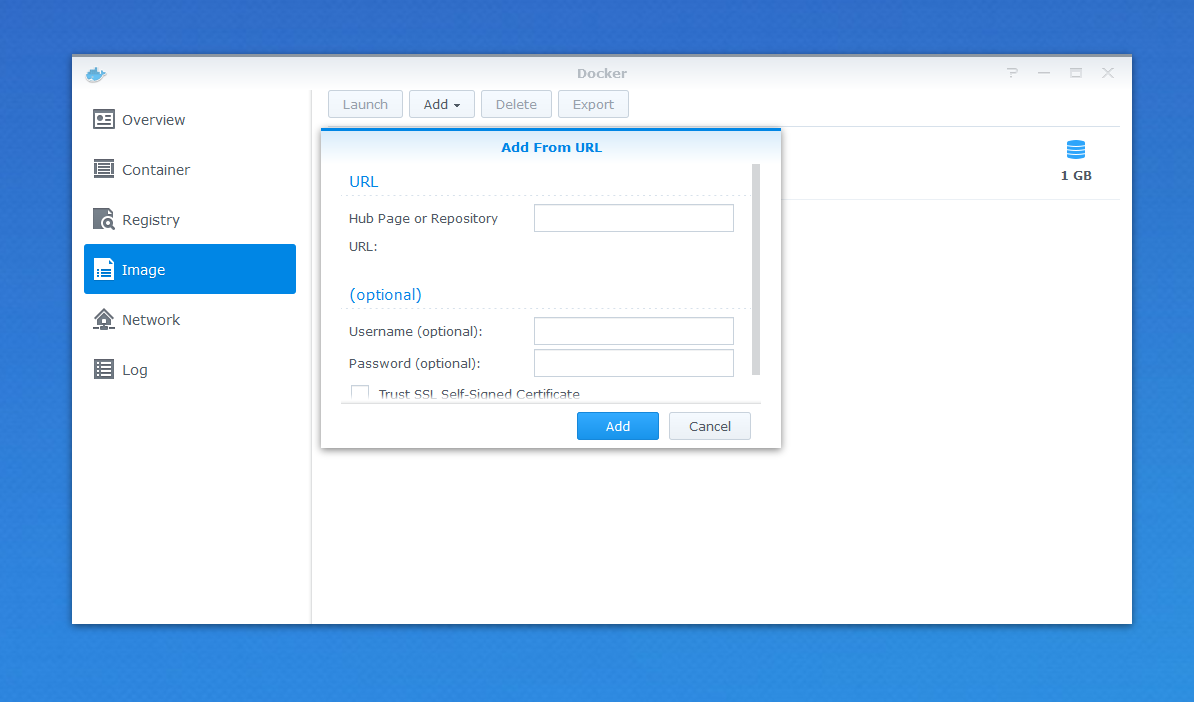
By default, Synology configured two repositories - Docker Hub (https://registry.hub.docker.com) and Aliyun Hub (https://dev.aliyun.com). I am personally a fan of Docker Hub, and because my image (dend/hugo-notes) was hosted there, it was natural for me to use it. I should mention that I am not yet sure how quickly Synology pulls the latest image index from whatever registry it’s using - I’ve noticed that after I pushed my own release to Docker Hub, it took a day to get it discoverable through search. But worry not, you can still add an image by URL:
After the image is downloaded locally, two things need to happen - volume mount setup, and network setup.
Volume Mount Setup #
To make sure that the container works properly, it’s important that two pieces are information are available - the Markdown content, and the Hugo configuration file. Both can be mounted into the container from the local Synology NAS filesystem. So your first step should be to ensure that you have both the content and config.toml on the NAS.
Once done, in Docker, go to Image, select the dend/hugo-notes image, and click on Launch. This will open a new wizard, where you should click on Advanced Settings, and then open the Volume tab:
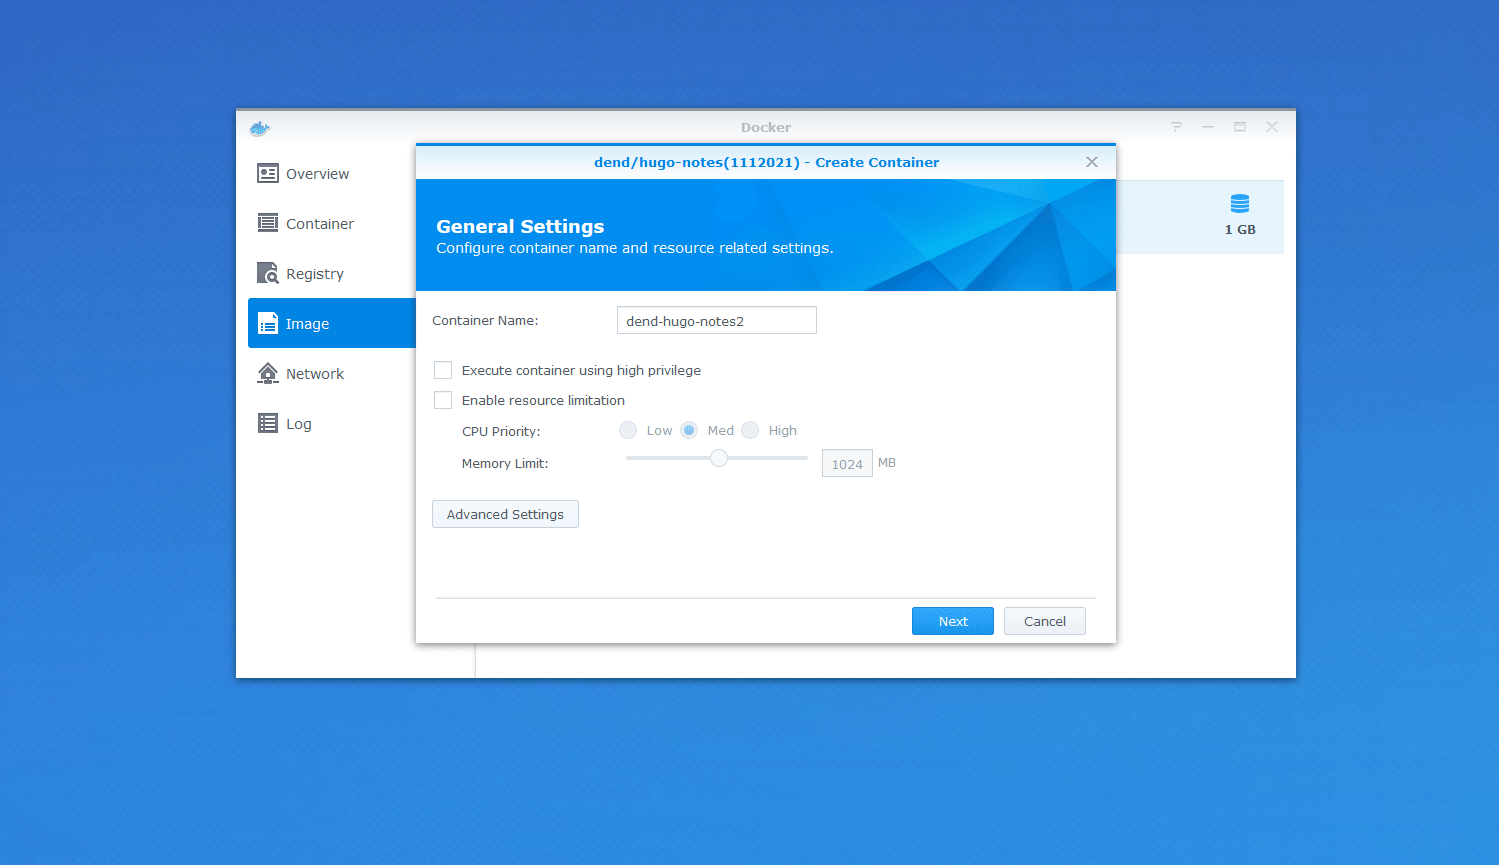
Once there, you need to add two entries:
PATH_TO_CONFIG_FILE, with a mount path set to/hugotools/site/config.tomlPATH_TO_CONTENT, with a mount path set to/hugotools/site/content
Network Setup #
Assuming you want to get the notes from any devices on your subnet, you need to configure the Docker container to use the same network as the Docker host. To do that, use the same Advanced Settings view, go to Network, and select Use same network as Docker Host:
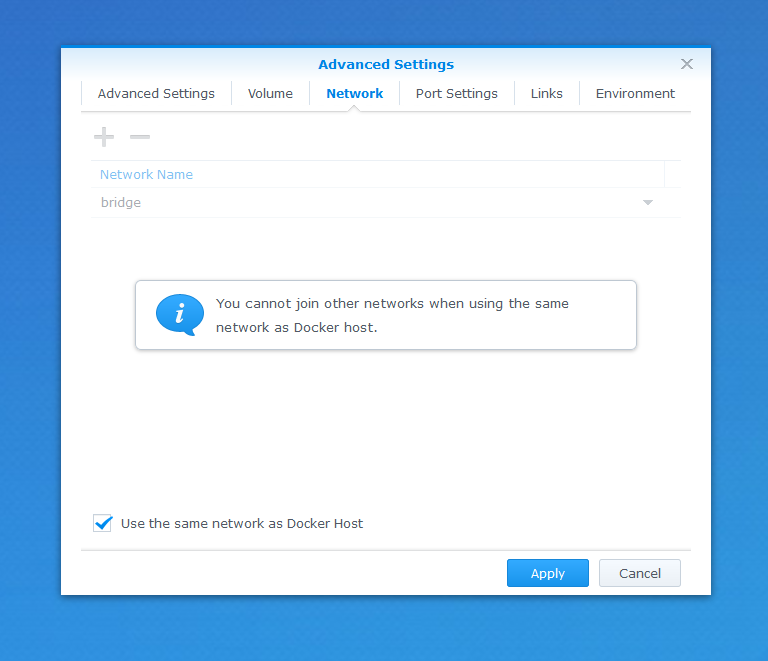
Apply the changes and create the container.
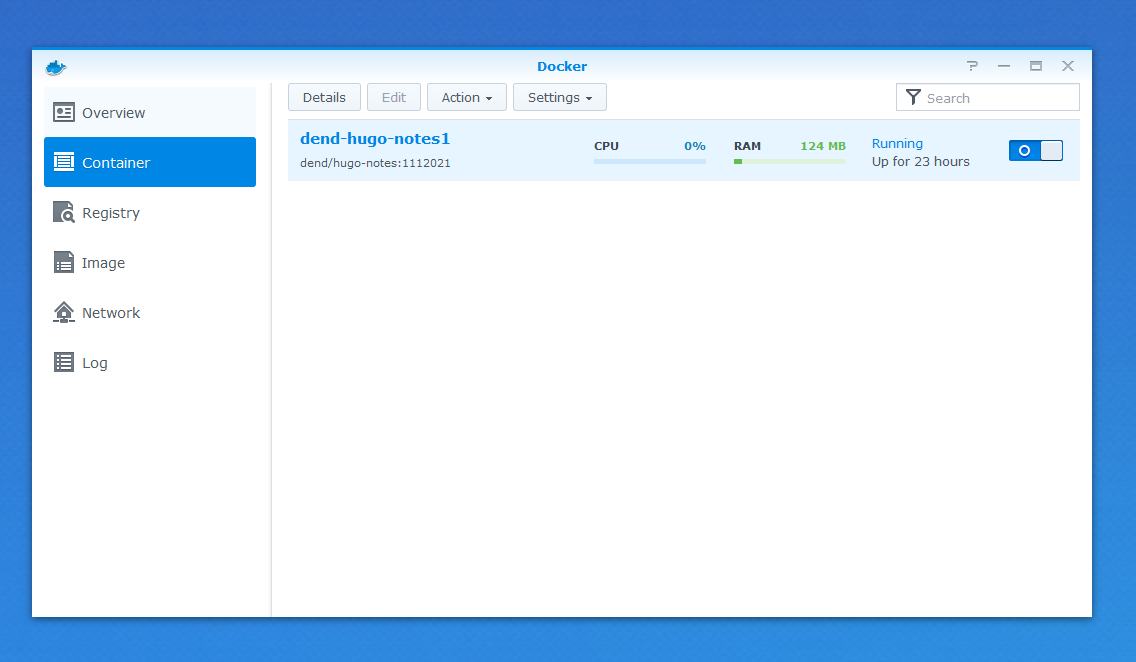
Validating Container #
To check that the container is running, open the Container view. If you see the CPU and RAM counters, that’s a good sign - it means that the container is active:
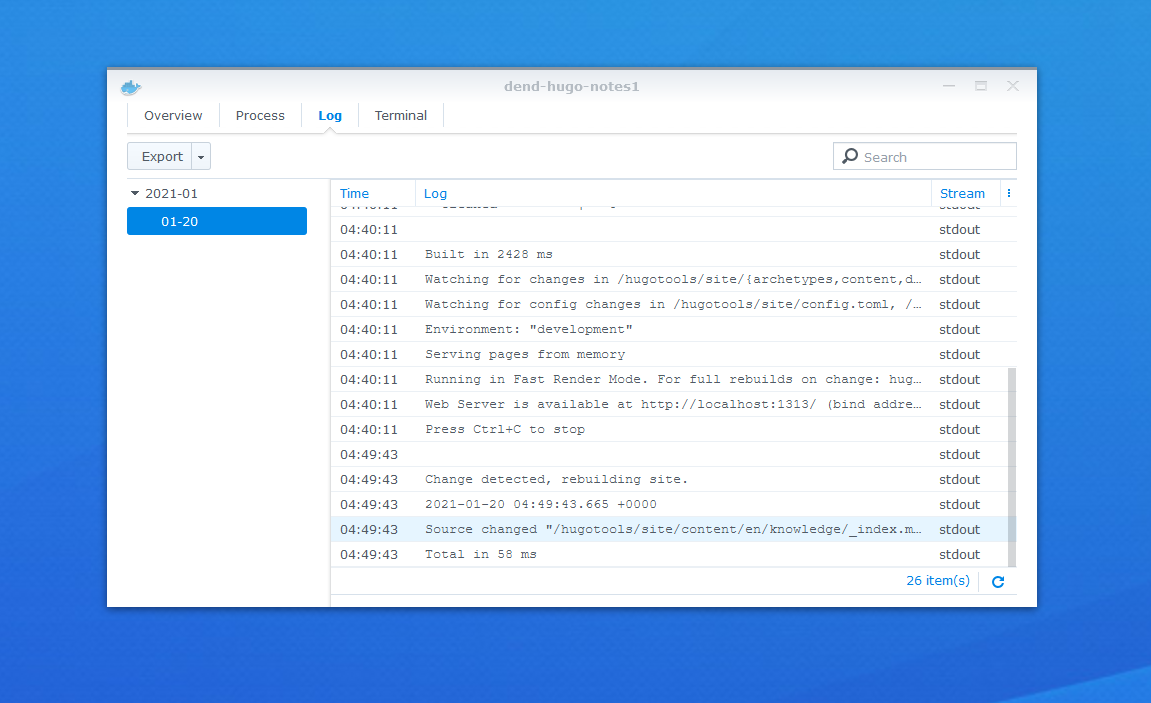
Check the log while you’re at it too, to make sure that you can see Hugo running:
The container exposes port 1900 (it maps Hugo’s default 1313 to it), so you can validate that everything runs as expected by going to http://SYNOLOGY_IP:1900. If you see a Hugo site, that means that you’re set for running your internal knowledge base! Keep in mind that the image that I created does not have any kind of authentication, so anyone on your network can read the content.
Simplifying File Updates #
Now that you have the files on the NAS, you might be asking - do I need to upload new versions of Markdown files every single time I want to make an update? The container “watches” file system changes, so you will not need to restart it every time you change the content, but you still need to push new content to the storage.
To make it easier, you can map a network drive locally. On Windows, right click on This PC in Windows Explorer, and select Map network drive….
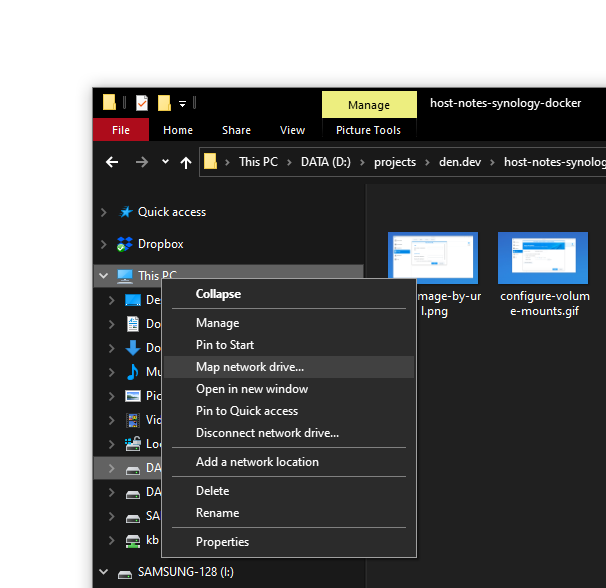
You will be prompted with a wizard, where you can enter the IP address for your Synology NAS, and click Browse…. You will be prompted for credentials, and once you correctly enter them, you’ll get the option to mount specific shared folders as their own drive. That’s exactly what I did - because I had a shared folder on my Synology that contained my personal wiki, I just selected it as a dedicated mapped drive, and now I can open the entire folder in Visual Studio Code or Sublime, make changes, and those will be automatically made inside the NAS. Which, coincidentally, means that the running image will pick up the changes, and update the generated site.
On macOS, you can go use Finder, from the Go menu, by selecting the Connect to server… option:
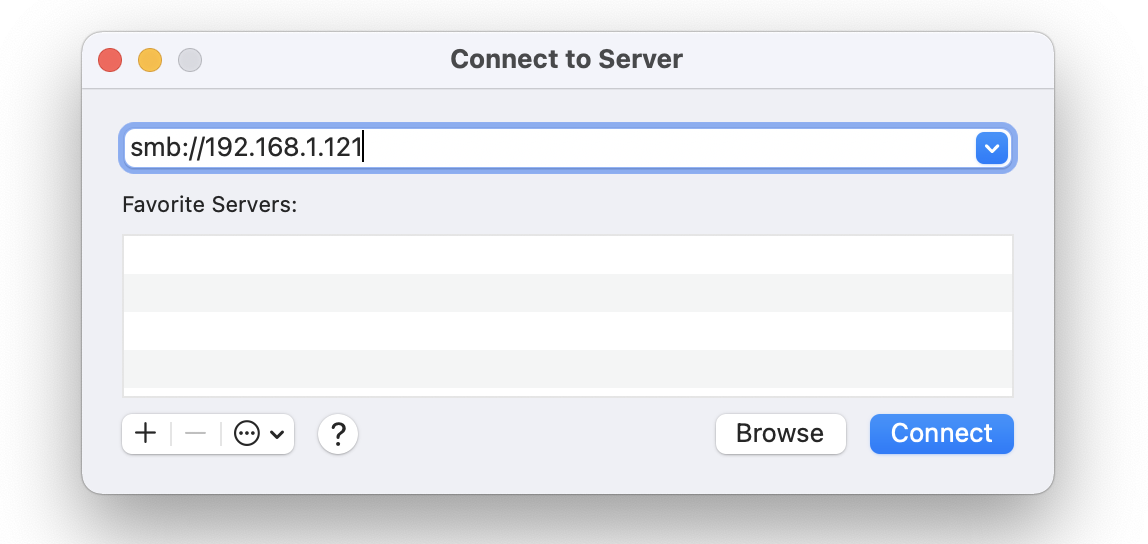
Same as on Windows, you will need to authenticate first, but once you do, you will be able to select the folder that you want to mount locally. From there, you can easily update and manage your notes without having to re-run Hugo manually all the time, and accessible from your entire network rather than just your local machine.