Upgrading My Mini Machine To GeForce RTX 3080 Ti
There comes a time when a unique opportunity presents itself to upgrade your secondary machine GPU to something a bit beefier and up-to-par with some of the more recent specs. Such an opportunity just happened to come up this week - in the midst of the crypto crash there are now magically GPUs available at MSRP again. It’s like Christmas in the middle of Summer.
With Founders Edition (FE) versions being available at select retailers, I decided to invest in a NVIDIA GeForce RTX 3080 Ti that will replace my (not yet aging) EVGA GeForce RTX 2080 Super which I will now use as a backup card, or at some point - as an external pass-through GPU for a Linux gaming box. We’re all still waiting for that, right?
Ordinarily, I would go as far as go for a 3090 FE, adding to the family of 3090 cards I put to use, but unfortunately my mini-ITX case can only fit a 2-slot card, and the 3090 is way too beefy (it’s a BFGPU, after all) to fit into anything of this size.
Let’s take a look at my process to get the things swapped.
Starting with the Founders Edition box - it’s definitely a well-polished experience from the very beginning. If you’ve ever opened an Apple device box, you know exactly what I am talking about.
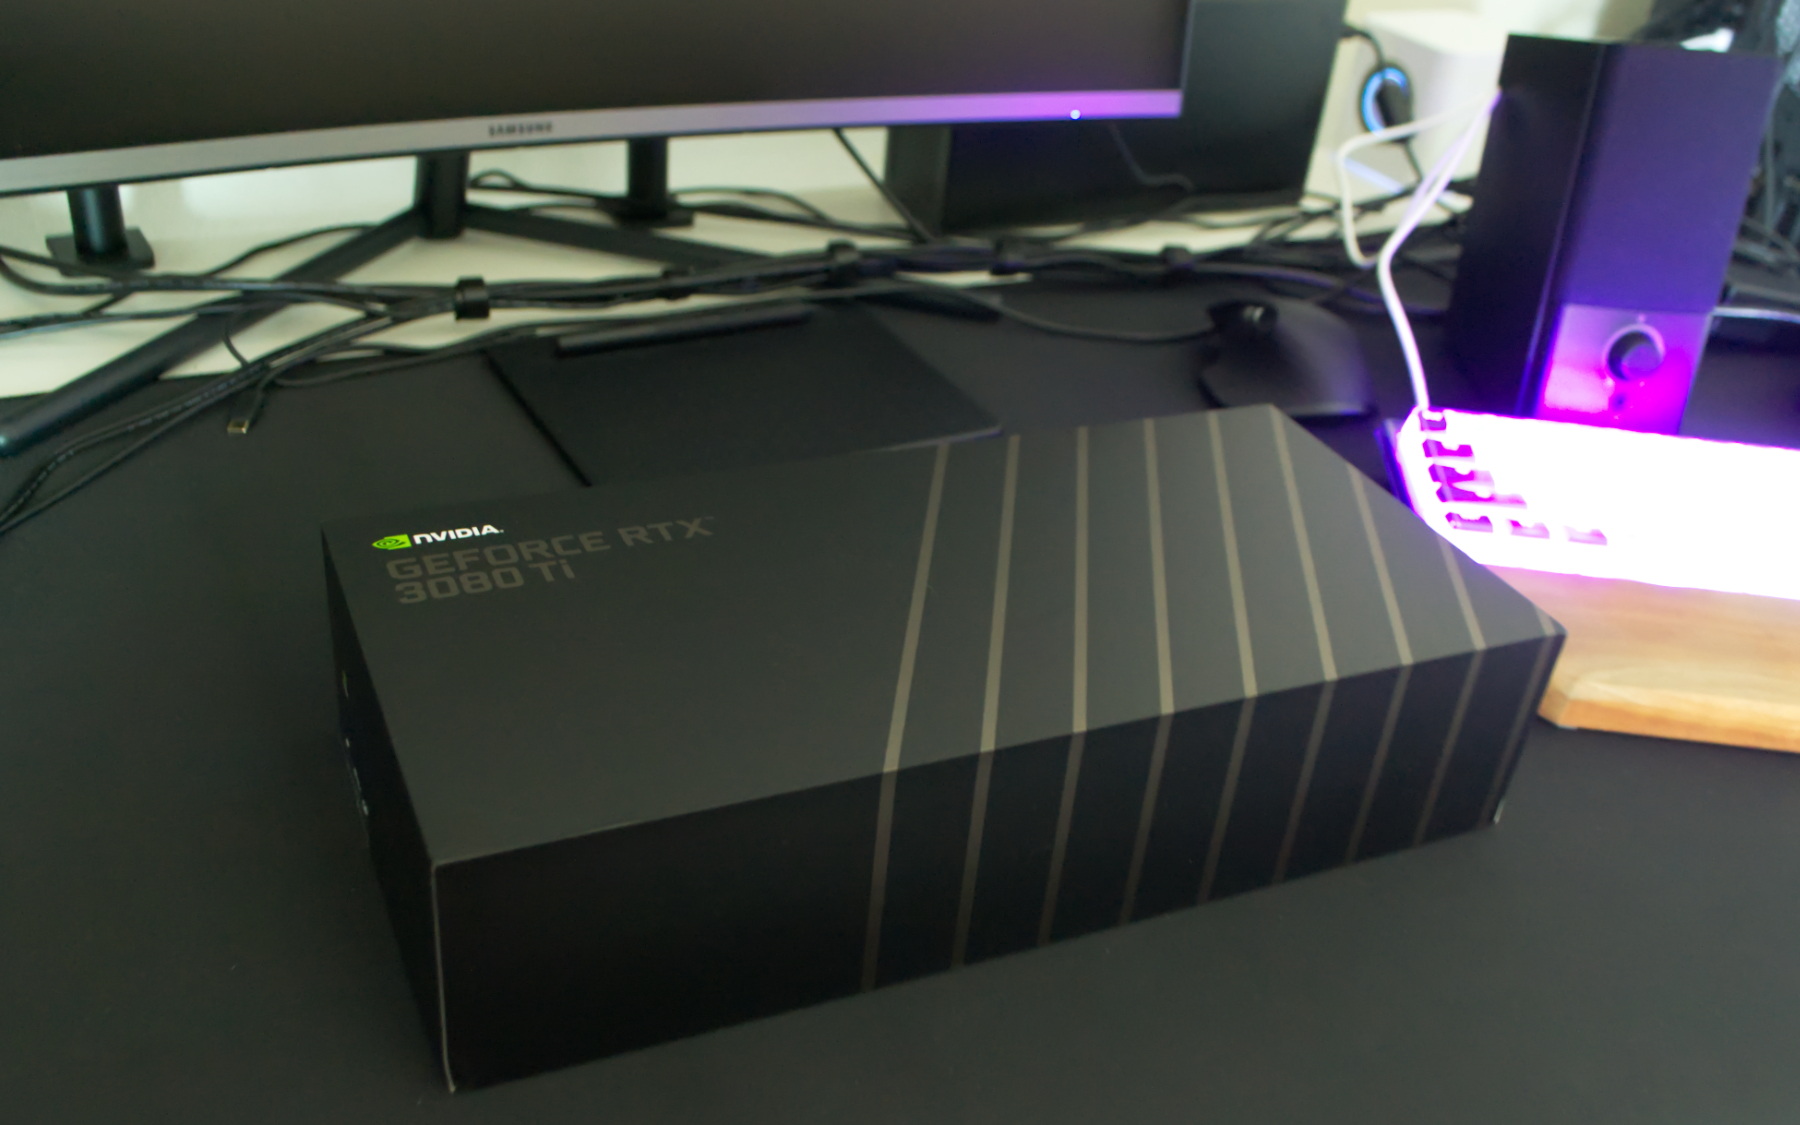
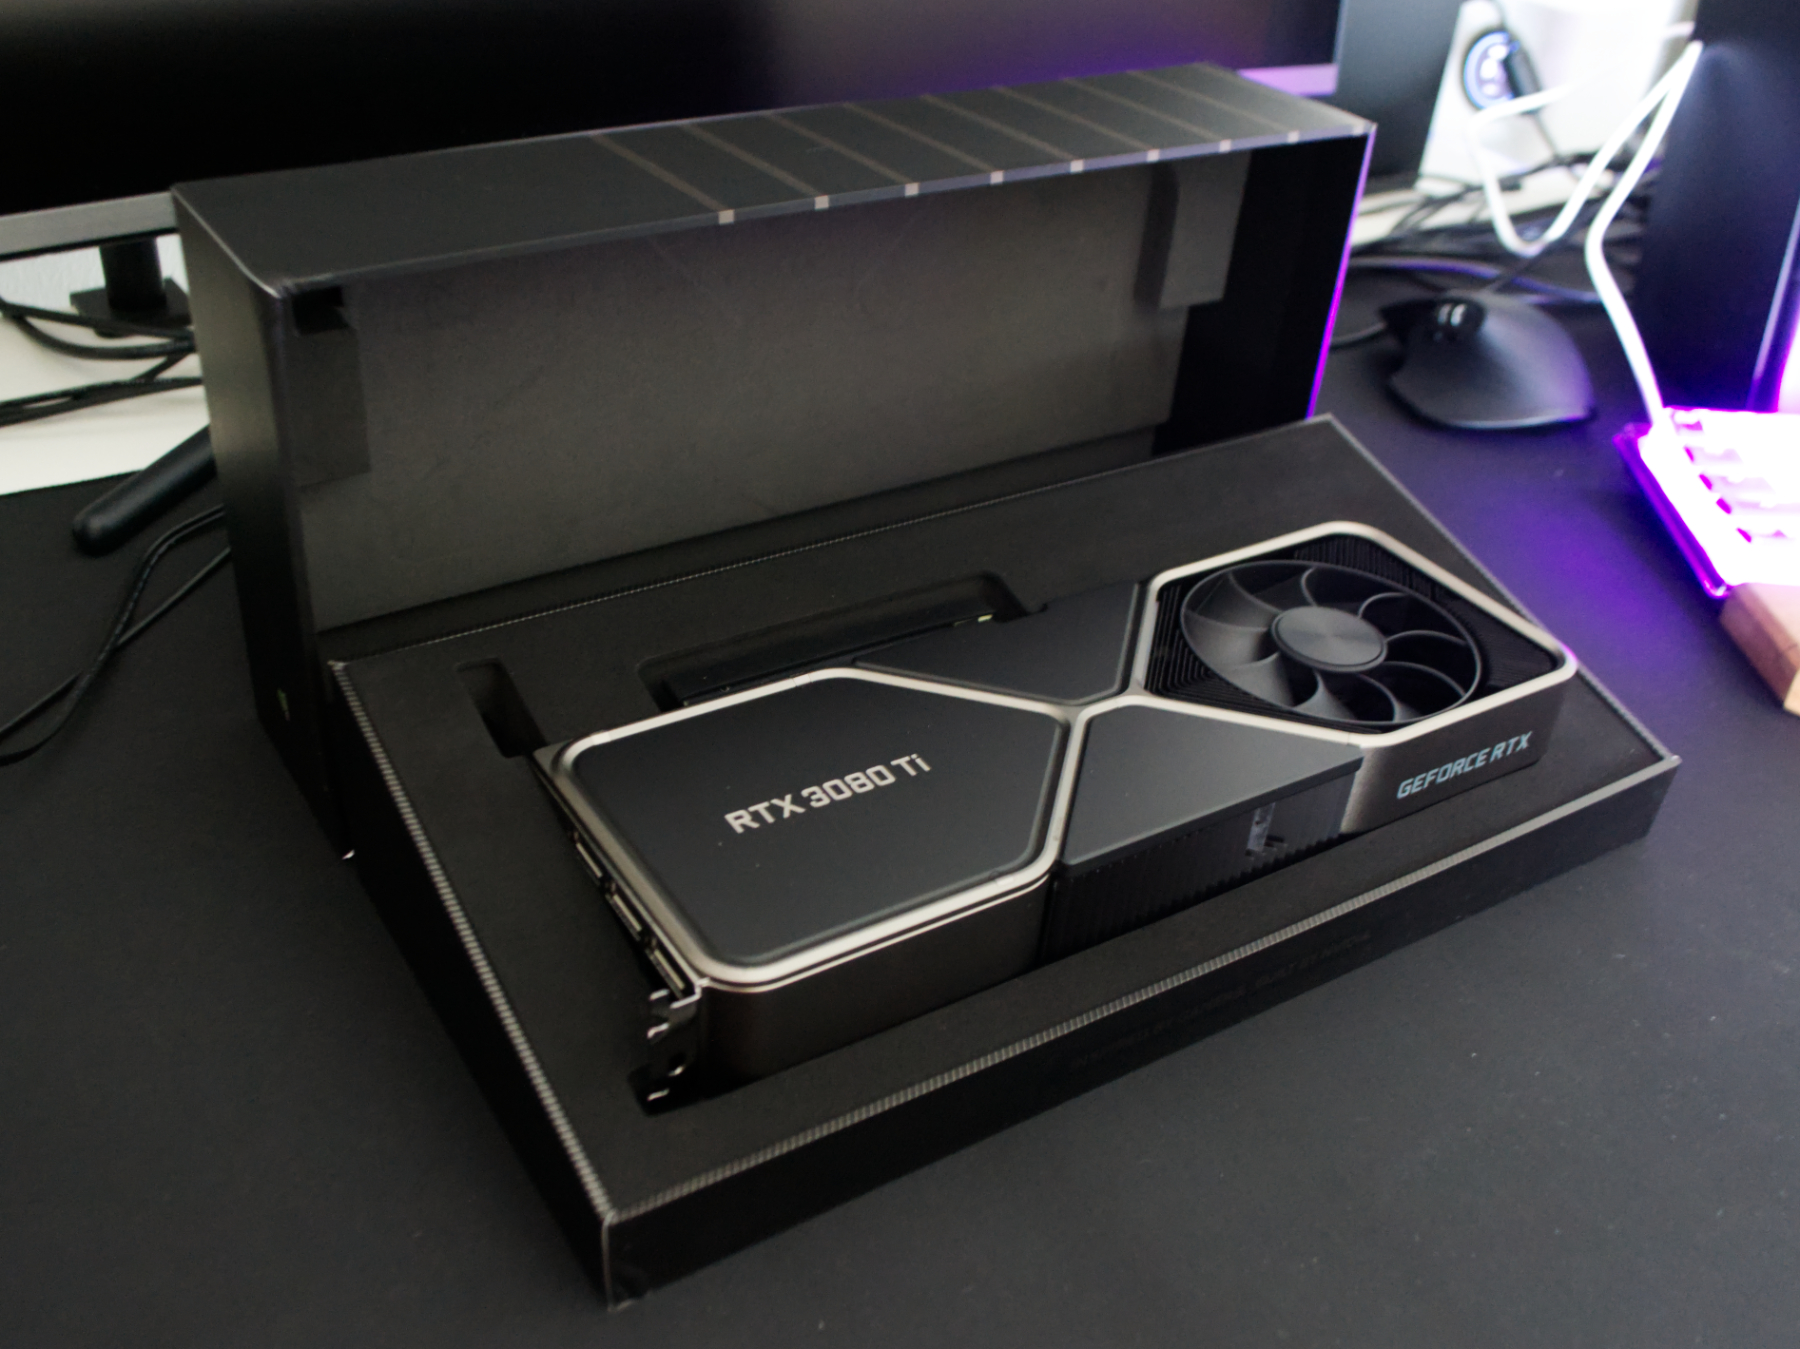
Minimalist and to the point - I like it. Opening it up, the card is right there in all its glory. The picture is deceiving when it comes to showcasing the cooling capacity for this card. There are actually two fans installed. One is on the top and one is on the bottom, so I am still getting some air flow that is at least similar to what I had with the 2080.
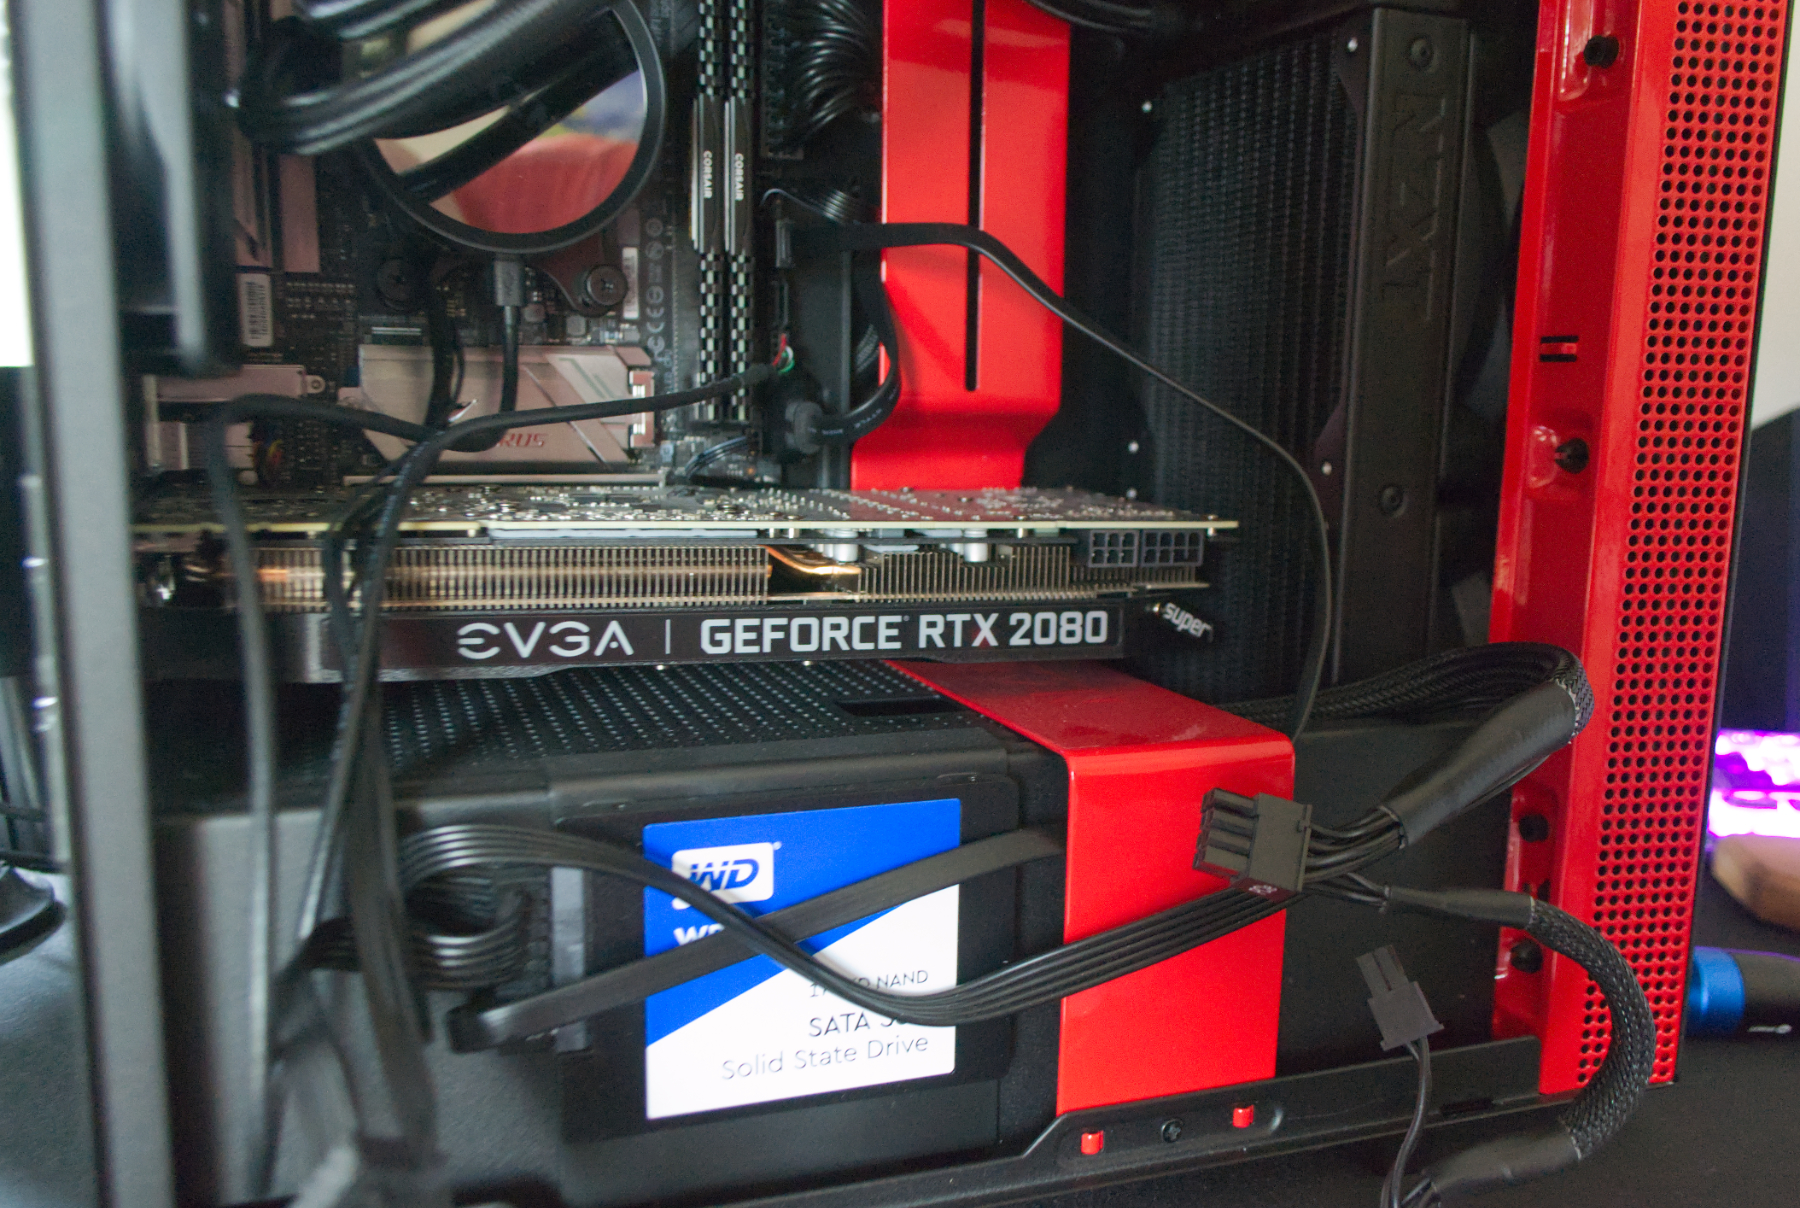
Card was ready, and so was my mini-ITX box, that I also incidentally never properly cable-managed.
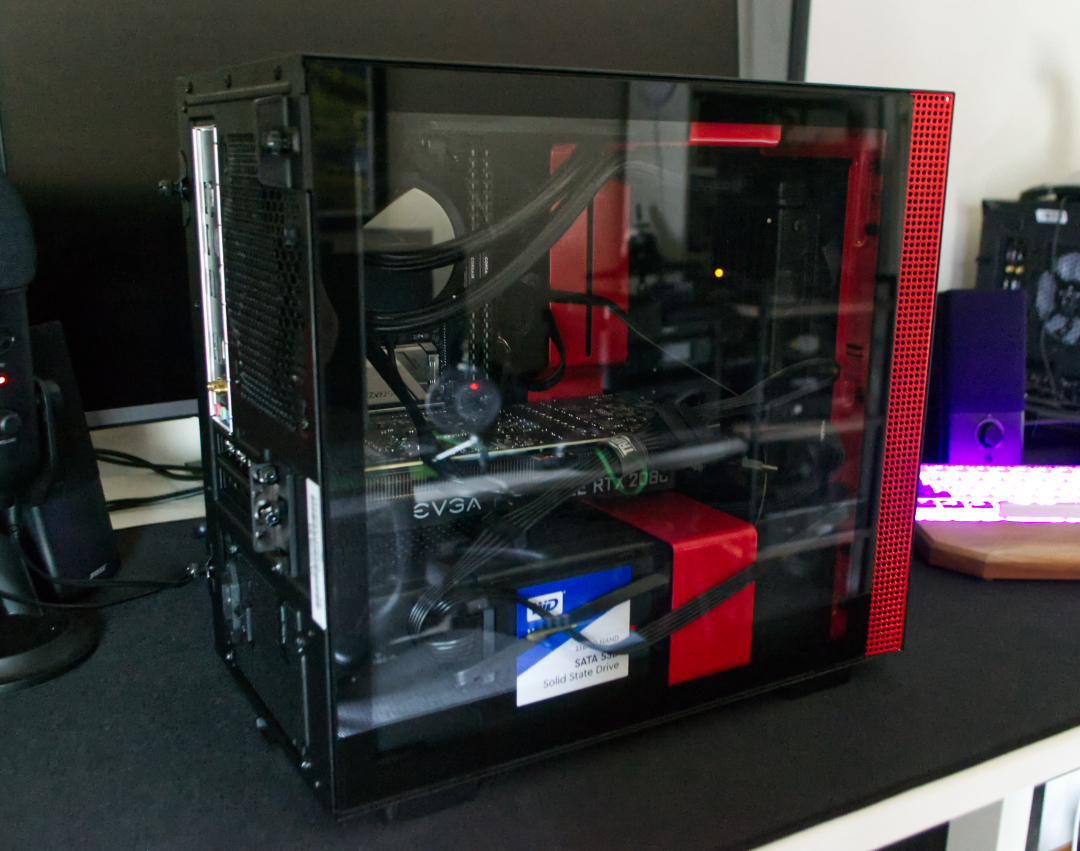
When I was first building it, I didn’t really pay much attention to the wiring so it ended up being very messy despite minimal internal devices connected to the motherboard. I also, sadly, installed the SSD on the front of the case instead of the built-in brackets in the back. All of that will need to be rectified before the new card goes in.
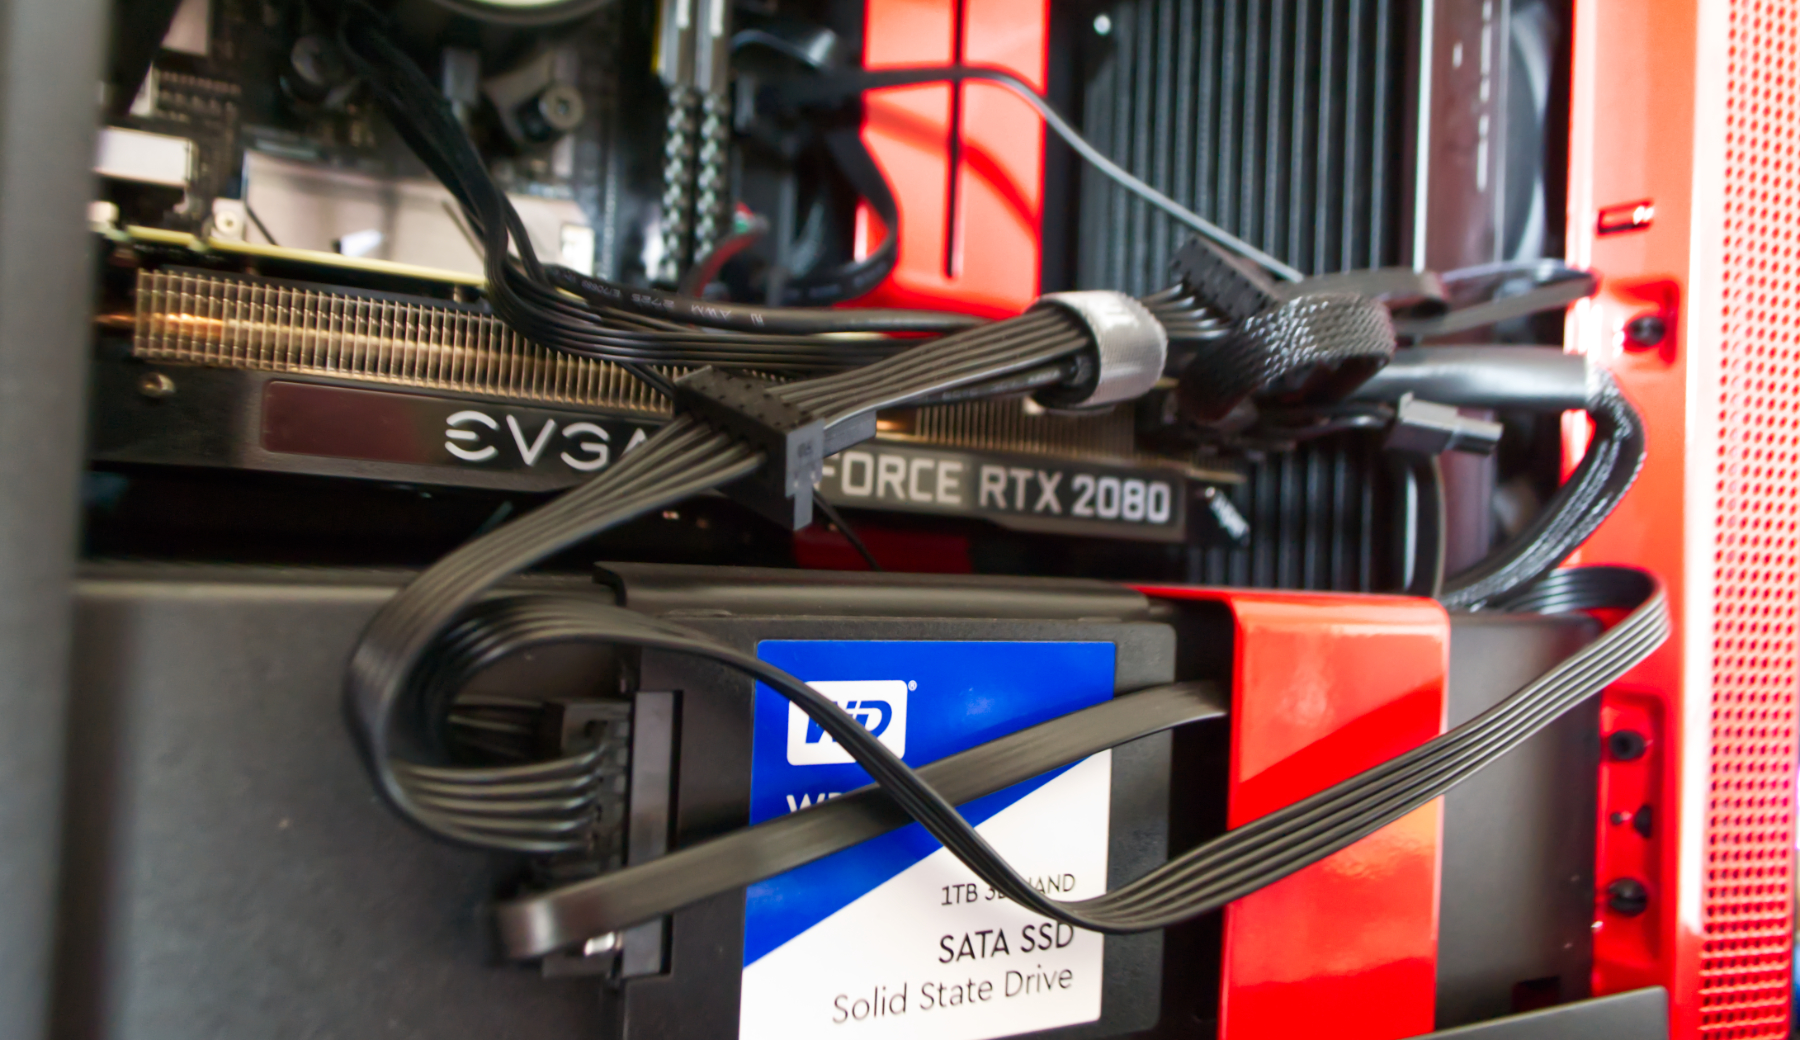
Surprisingly (or not), unplugging everything was the easy task here. There is some kind of satisfaction in pulling wires out of their connected sockets knowing that next time they go in, they will look much better and be at least somewhat more organized.
Can’t forget that I will also need to fix the mess behind the backpanel.
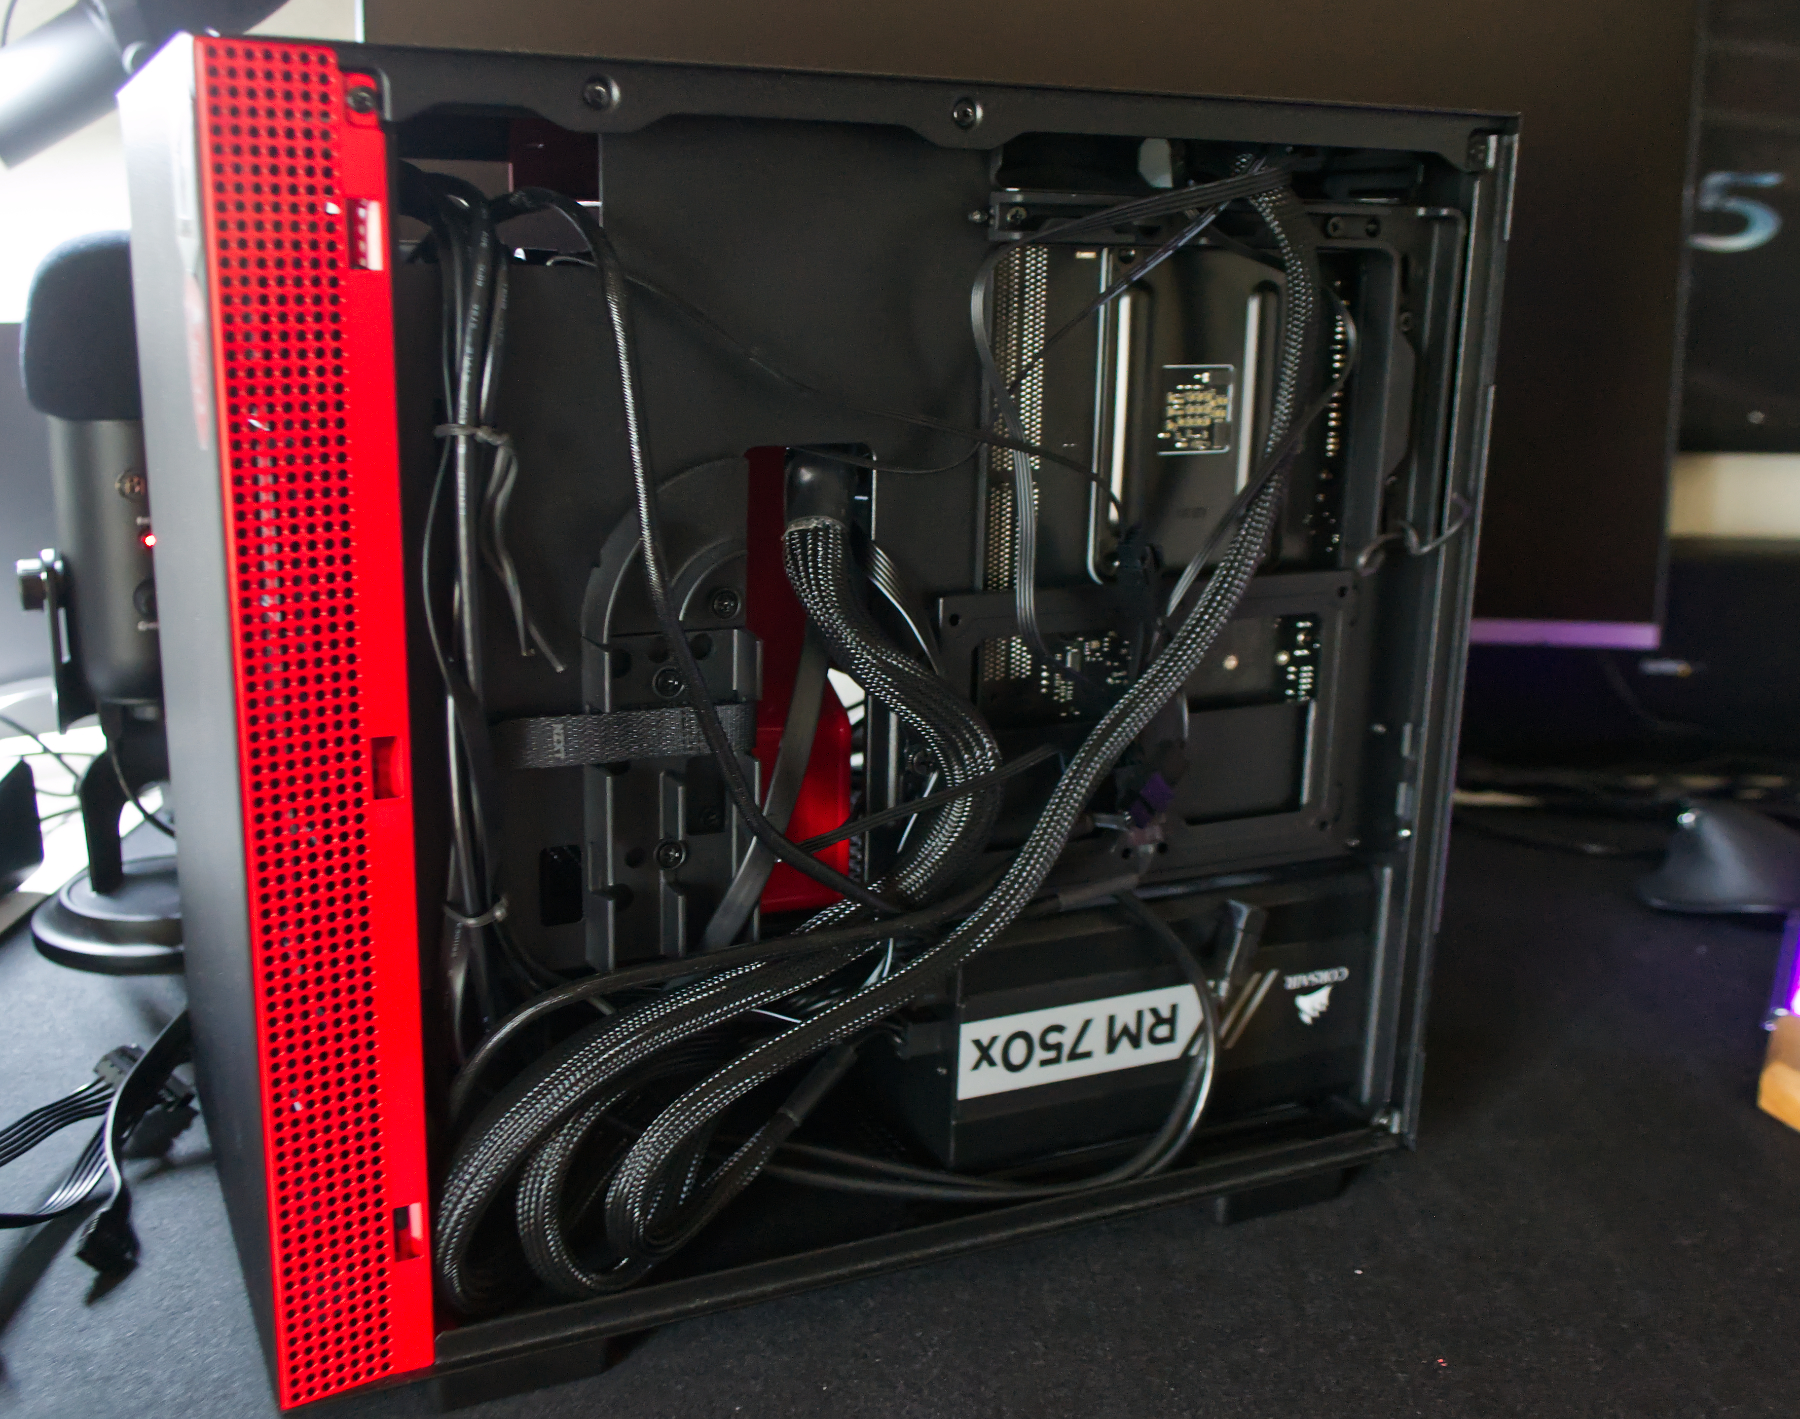
Notice that in the current setup I am using a 750W Corsair PSU. This was working well with the 2080, but after a bit of thinking I realized that I might be pushing it if I wanted to use the same thing for the 3080 Ti.
Instead of bumping up to something like 850W, I’ve leaned heavily into future-proofing my setup just a bit and threw in a 1000W EVGA G5.
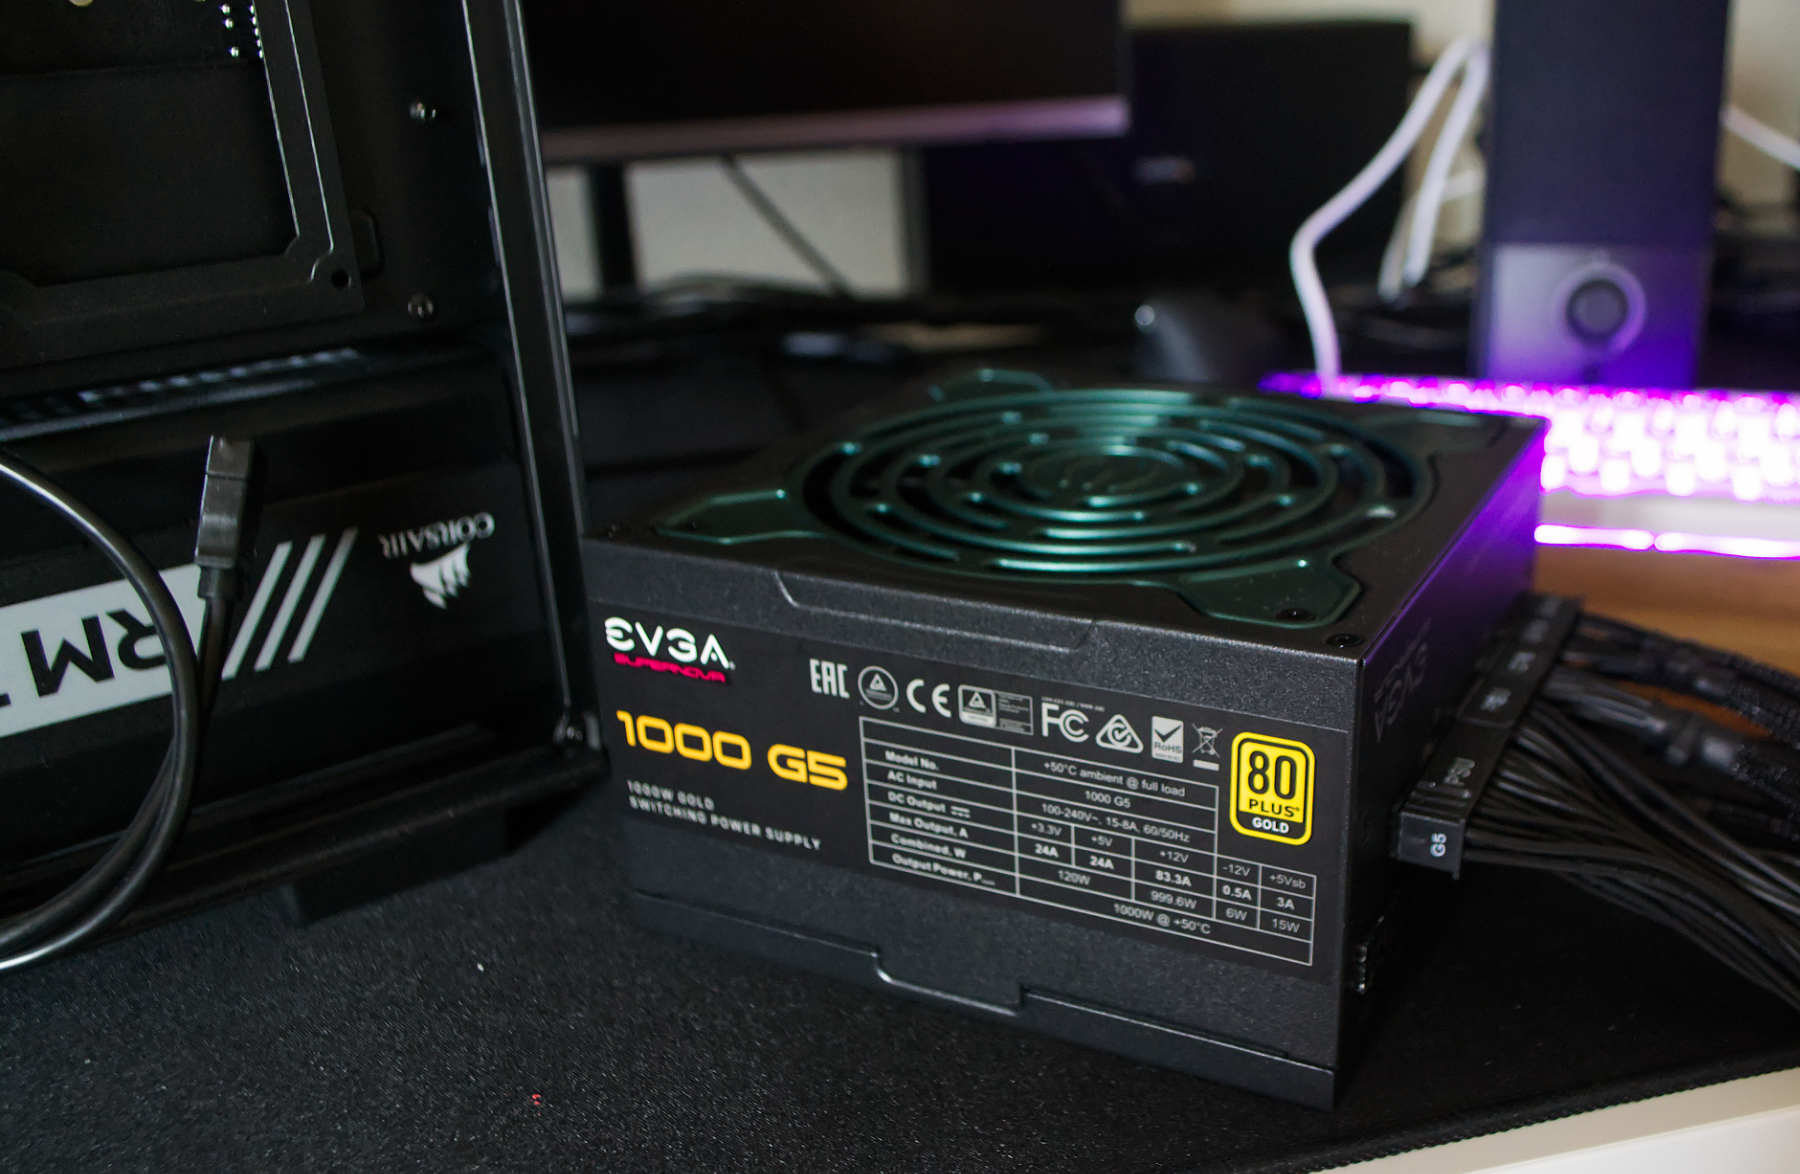
The build quality is great, and I trust the EVGA quality enough to rely on this little beast of a power brick. Swapping the PSU was also very easy - just unscrew the old one and screw in the new one.
Word of caution, though - always, and I mean always use the power cables that came with the PSU instead of just swapping the PSU block and plugging the same cables that already go to the motherboard. EVGA has a compatibility outline and Corsair has one too. Do not switch cables between brands of PSUs either.
One fried motherboard a year ago taught me this lesson and I am never making that mistake again. You never know what pins or voltages were swapped, even though the connector is the same. Who knew that despite the modularity, there is still no single overarching standard for cable connectors. What you have connecting to the motherboard might be standard, but the PSU end might not be.
Use what the vendor ships in the box with the PSU and spend the time to properly re-wire things.
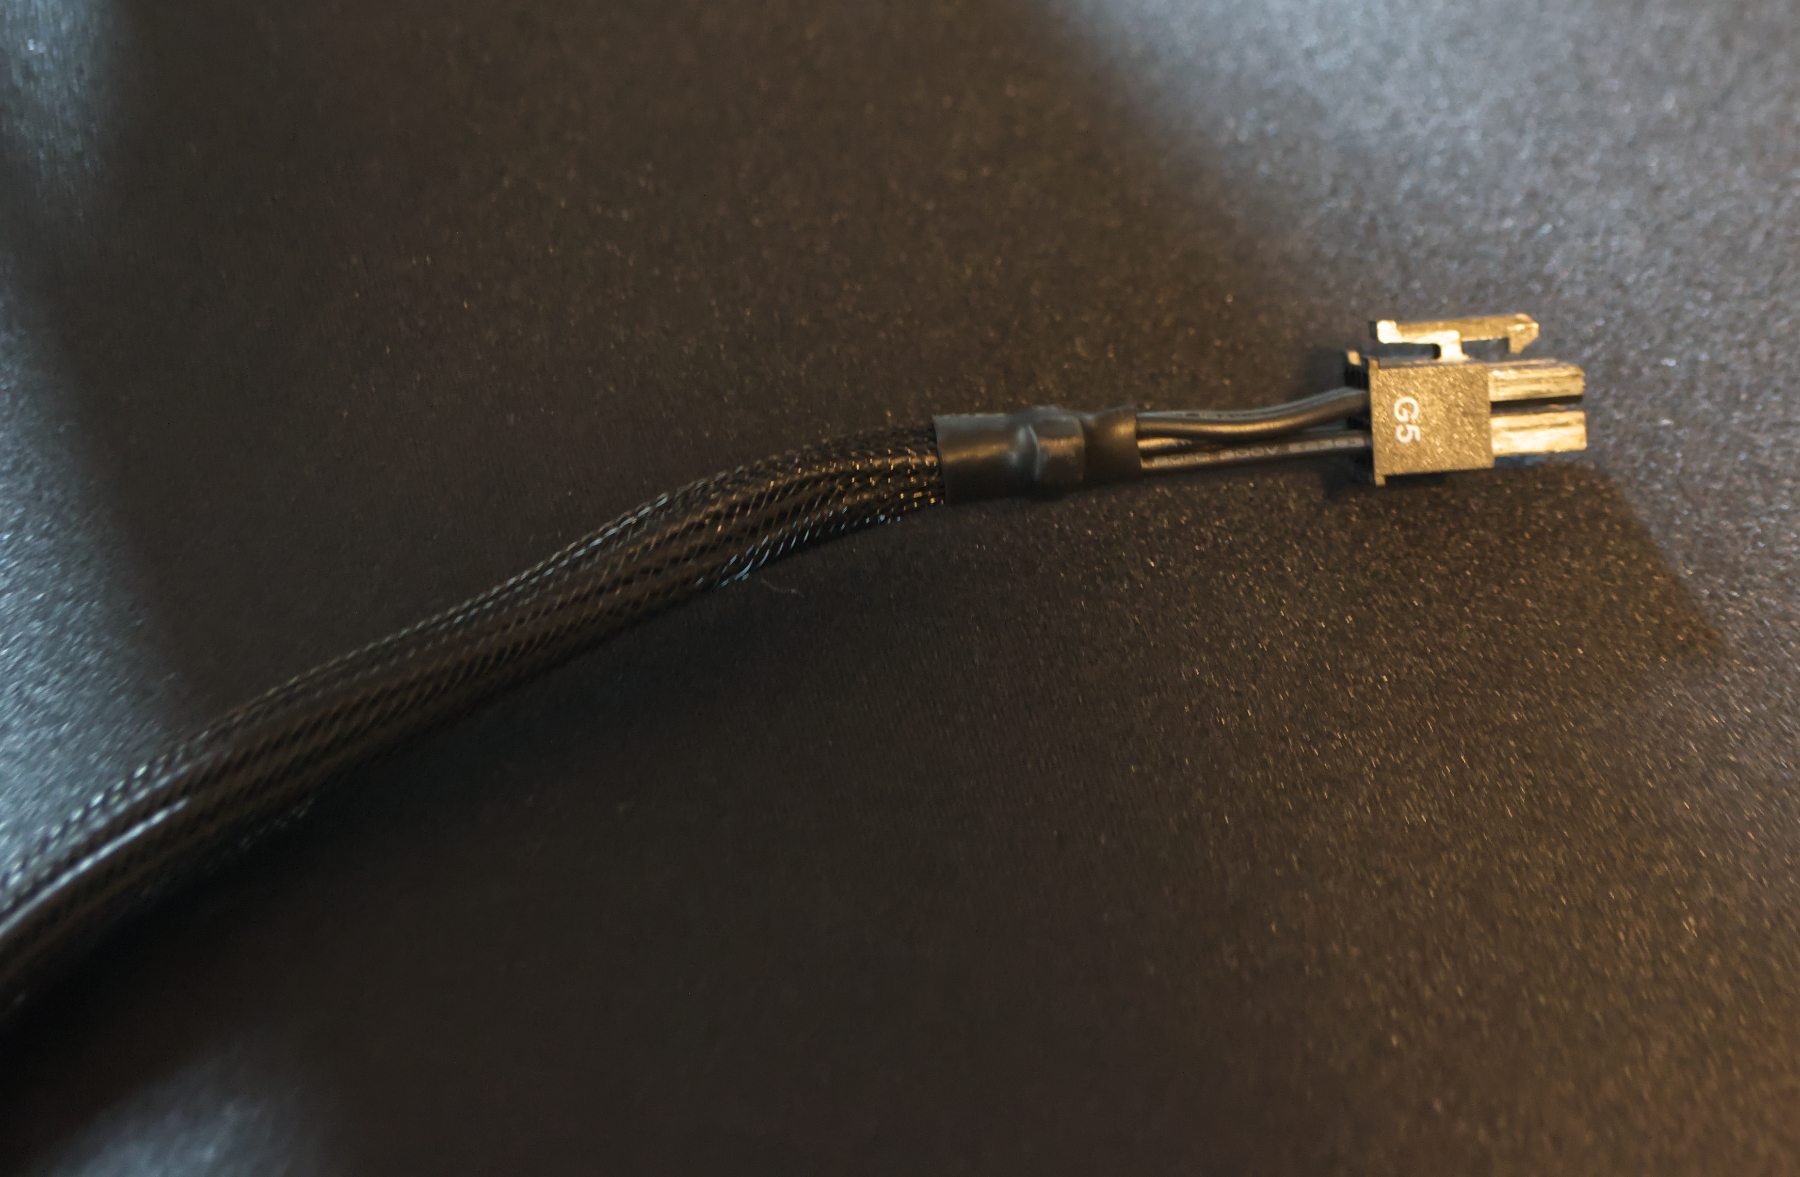
As a side-note, shout-out to all vendors who print some kind of identifier on the cable as to what PSU it belongs to. The G5 has clear markings that tell me that if I ever find a bunch of these cables in a box, I can instantly see which PSU they are for.
With the PSU swapped, I was finally ready to plug in the card into the motherboard.
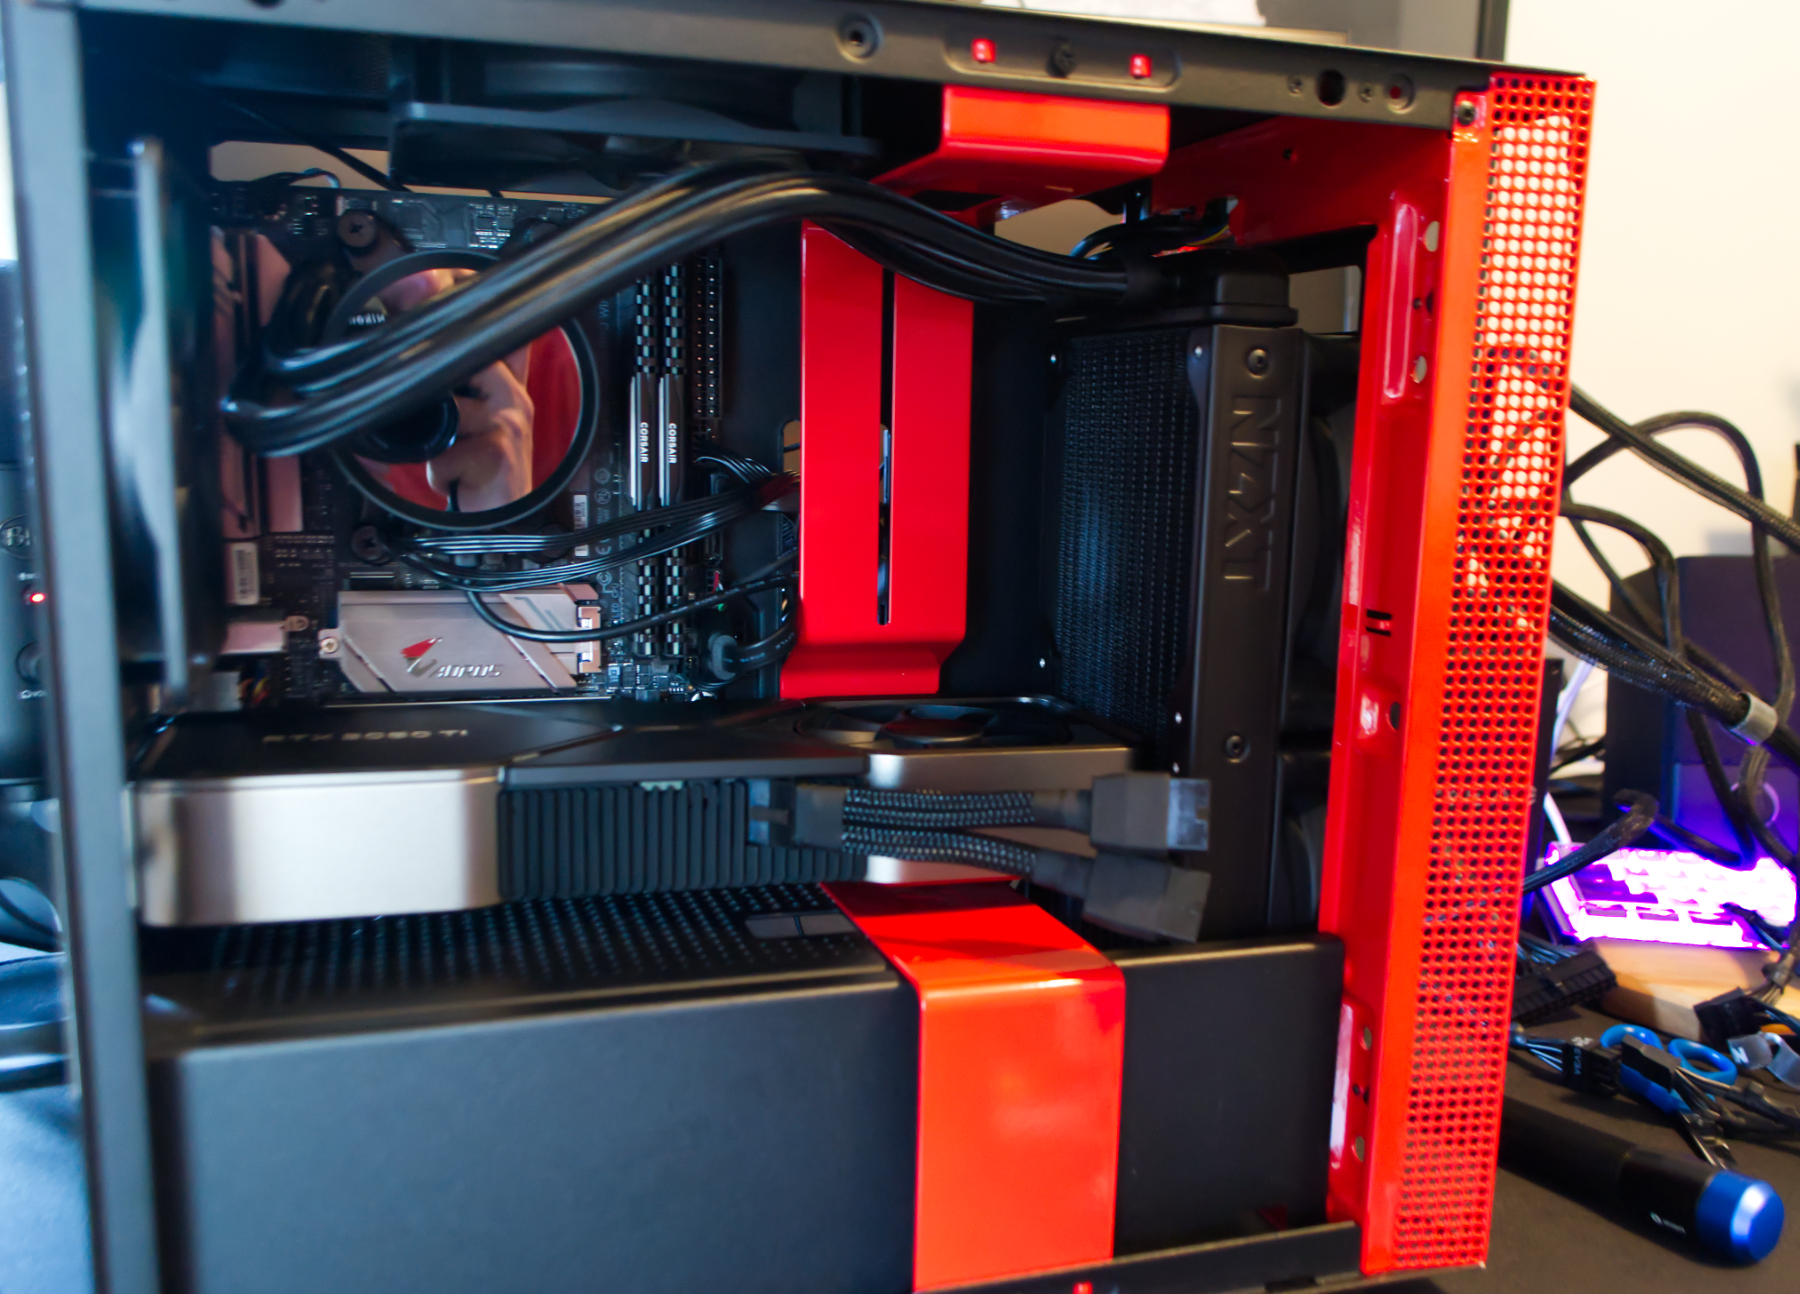
There is one peculiarity about this case that I did not quite account for, and that is the sheer length of the card. I thought that the NZXT H210 had enough space to fit this GPU but the radiator from a vertically installed NZXT’s very own AIO (pre-built water cooling solution) wasn’t leaving any room to get the card into the case. We’re talking “Oh wow, so I won’t be able to use this card here?” for a second.
After taking the radiator panel out (thankfully an easy process with H210) I inserted the card and then the radiator, only to notice that there is zero clearance between the card and the mounting brackets for fans on the radiator.
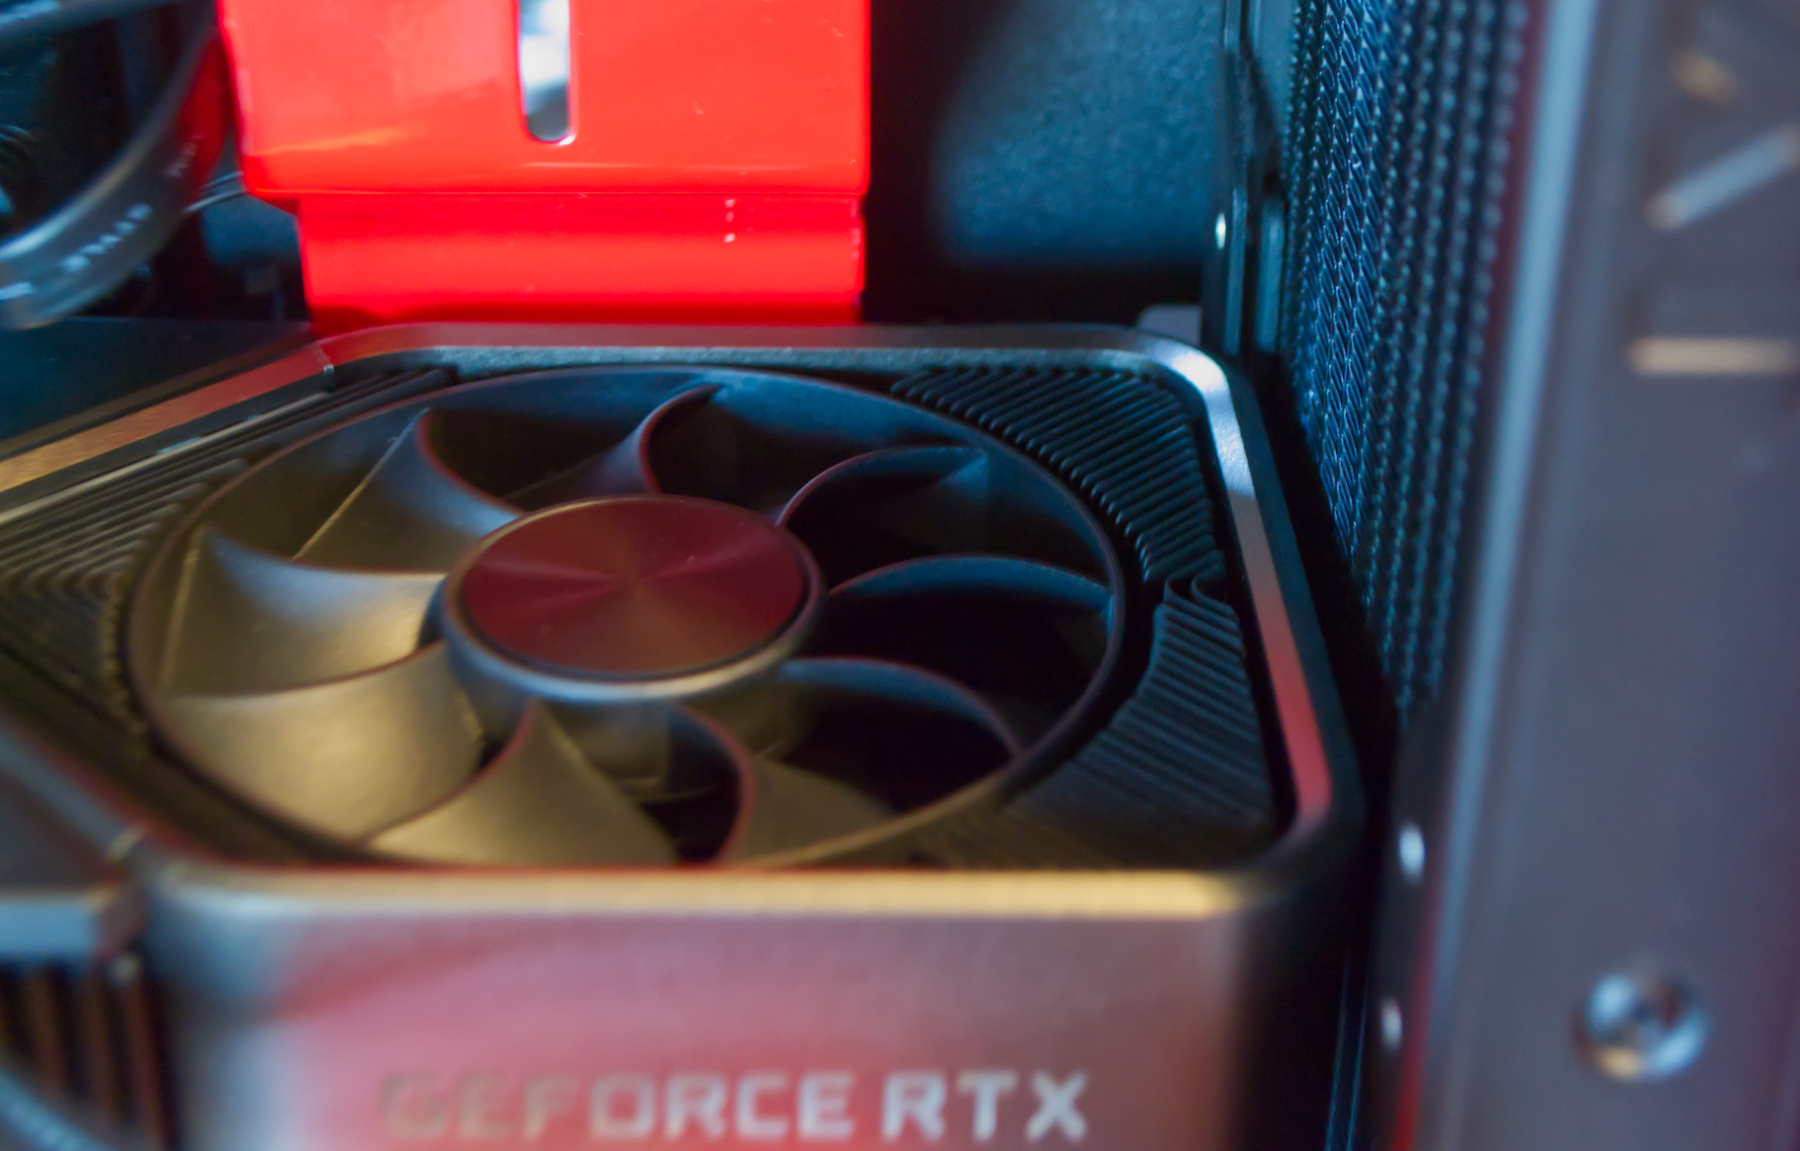
This is suboptimal and I actually though that I could work around this issue with something like a rubber insert that I can put on the bracket so it doesn’t scratch the card. I re-used one of those slot covers that ships with some PCI-E peripherals.
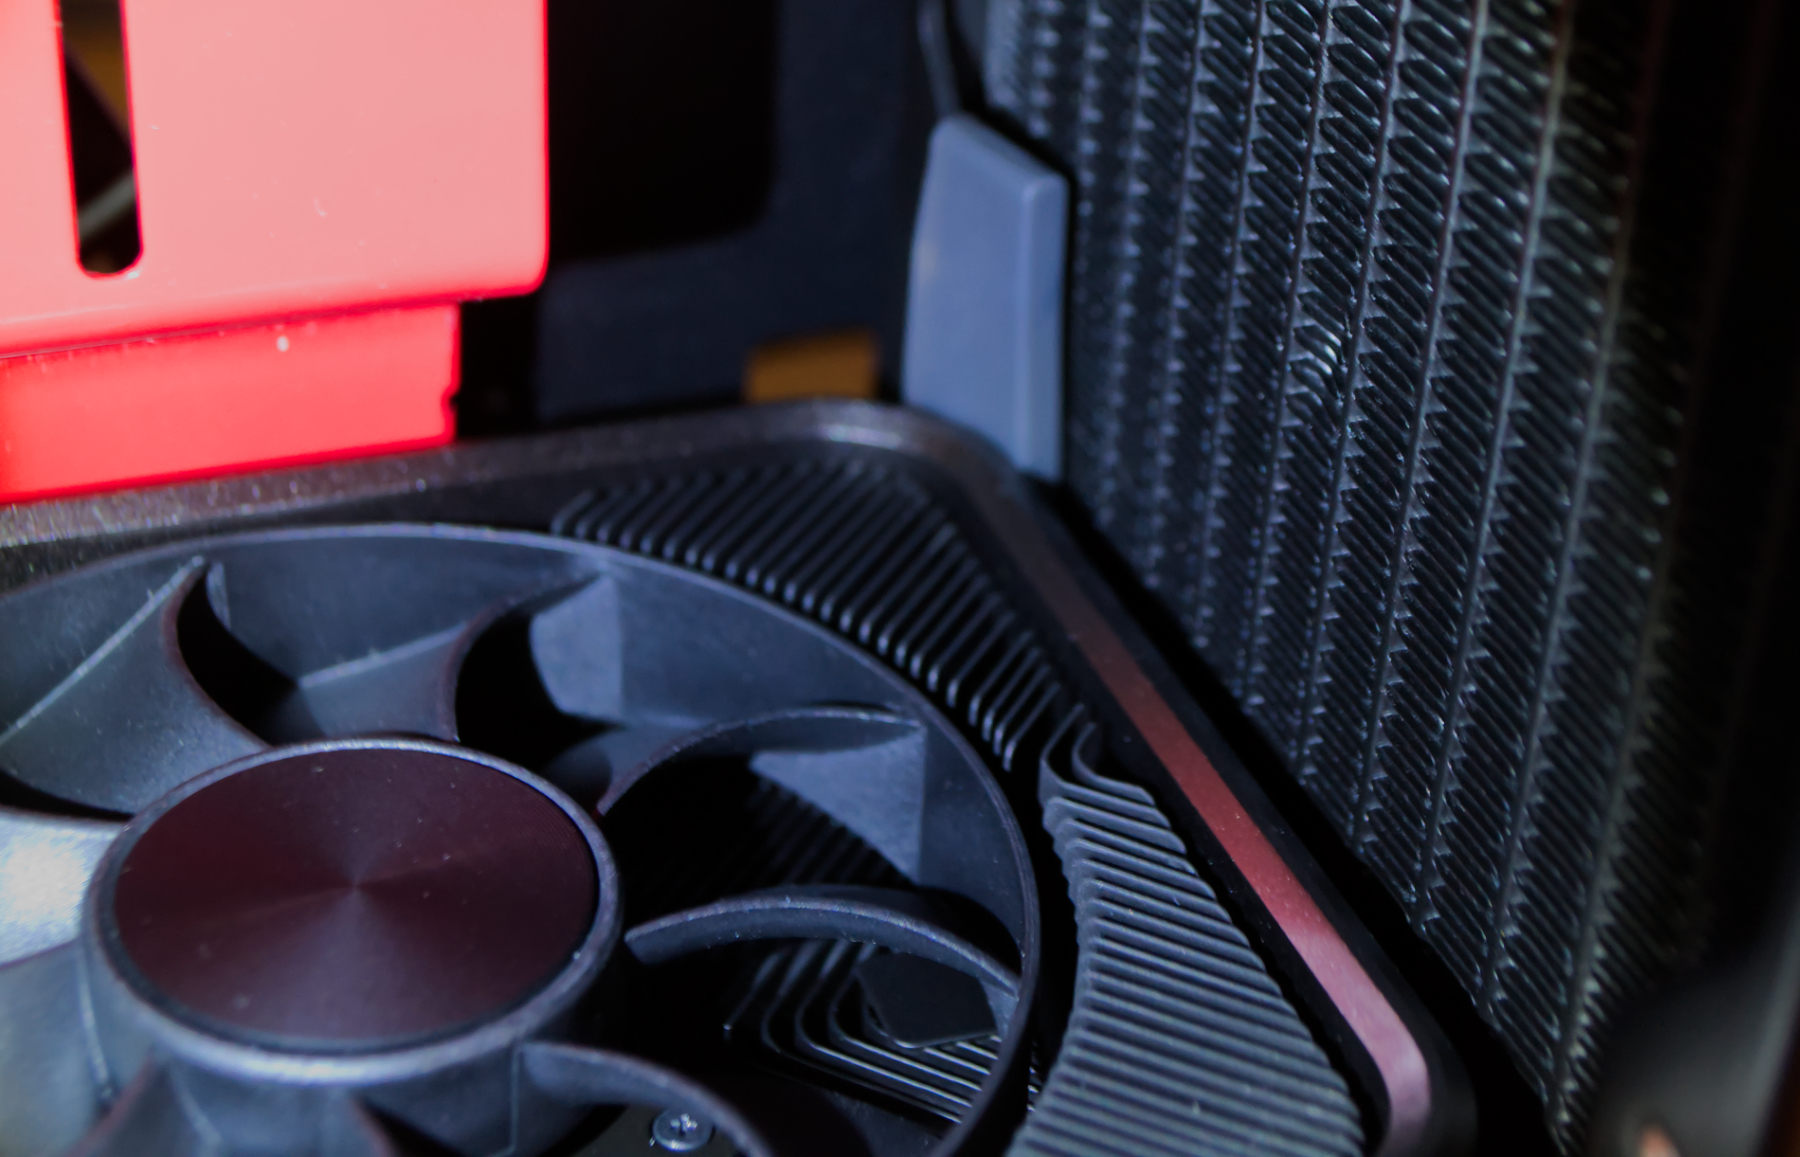
This is not too bad but still feels kind of hacky - it just didn’t sit well with me that the card will be that close to the radiator, despite the fact that there is no danger in that. It’s just not aesthetically pleasing. That is until I discovered the absolute genius move of installing motherboard standoffs on the H210 radiator mount points.
Remember how I mentioned I fried a motherboard a year or so ago? Well guess who has two thumbs and left-over standoffs from that adventure? I quickly removed the built-in screws and replaced them with standoffs, and then mounted the radiator with the help of motherboard screws right on the standoffs.
When screwing standoffs, if you do go that route, be very careful to make sure that you don’t rip them. The ones that come with motherboards generally can’t withstand too much torque, so if you screw them too hard you might end up breaking the grooved piece from the hexagonal one, which then will result in you needing to drill into the case to get the leftover piece out. Don’t do it.
As a test-run, I did confirm that the card was running before I started fiddling with standoffs.
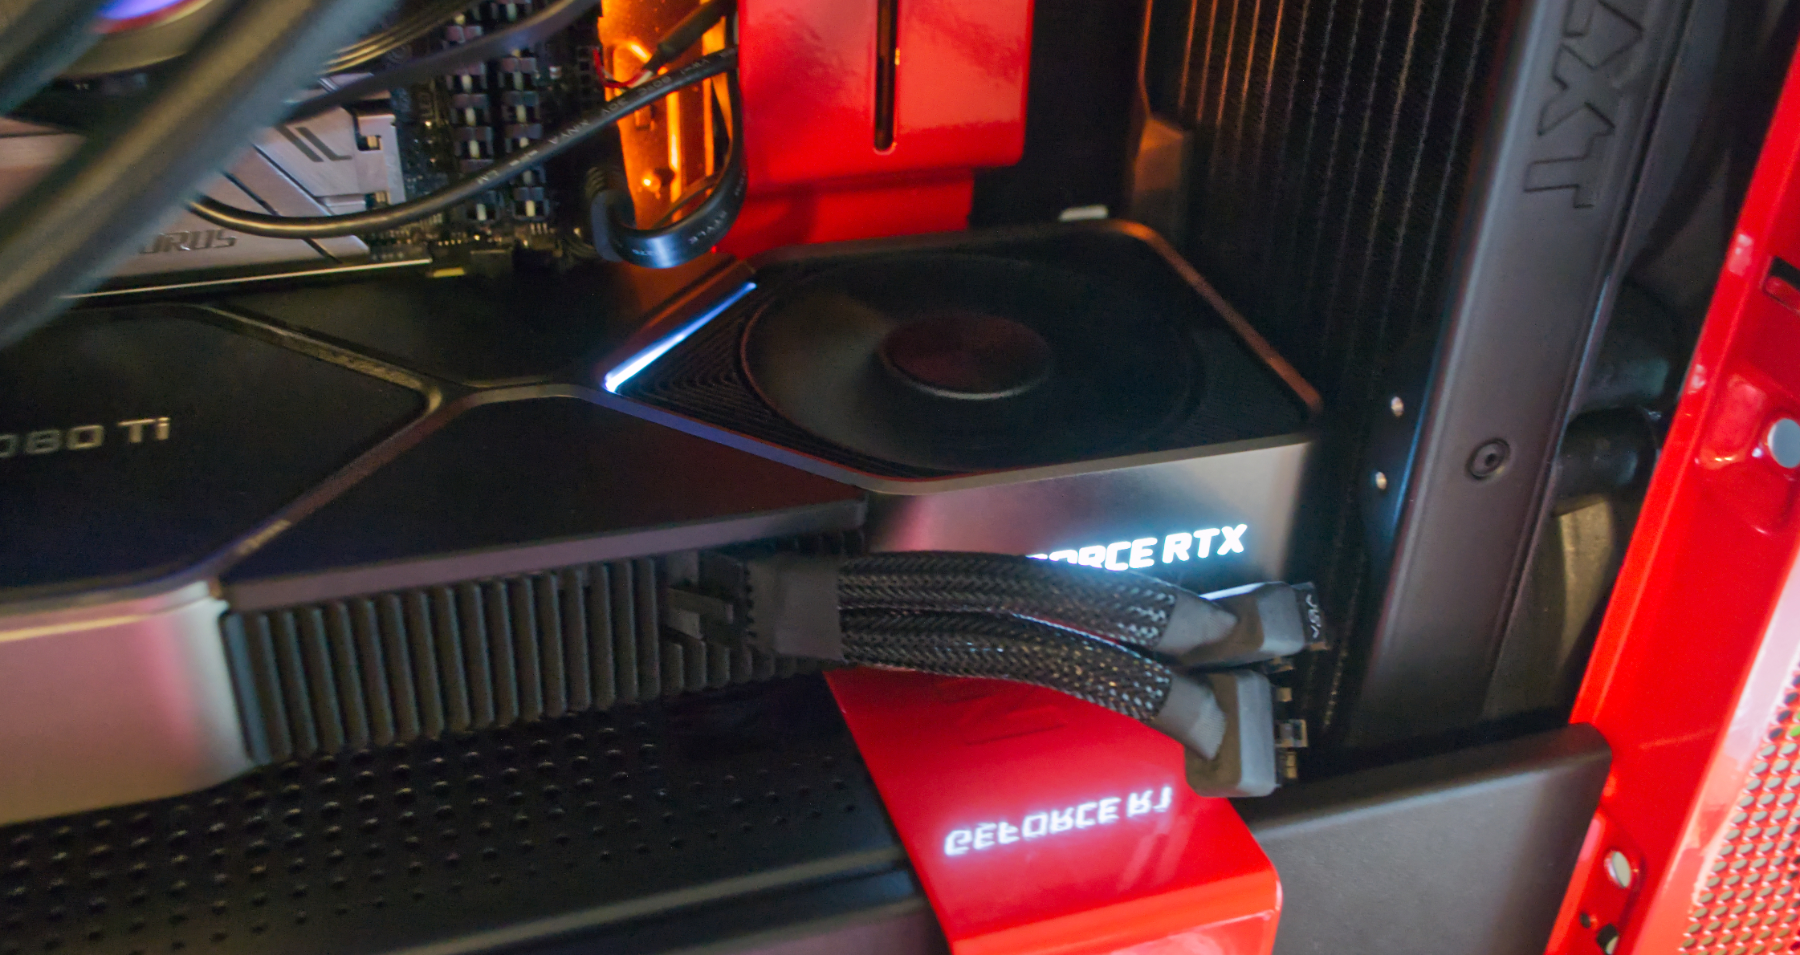
Now the 2080 can rest for a bit, and I even have the perfect box to store it in for the time being.
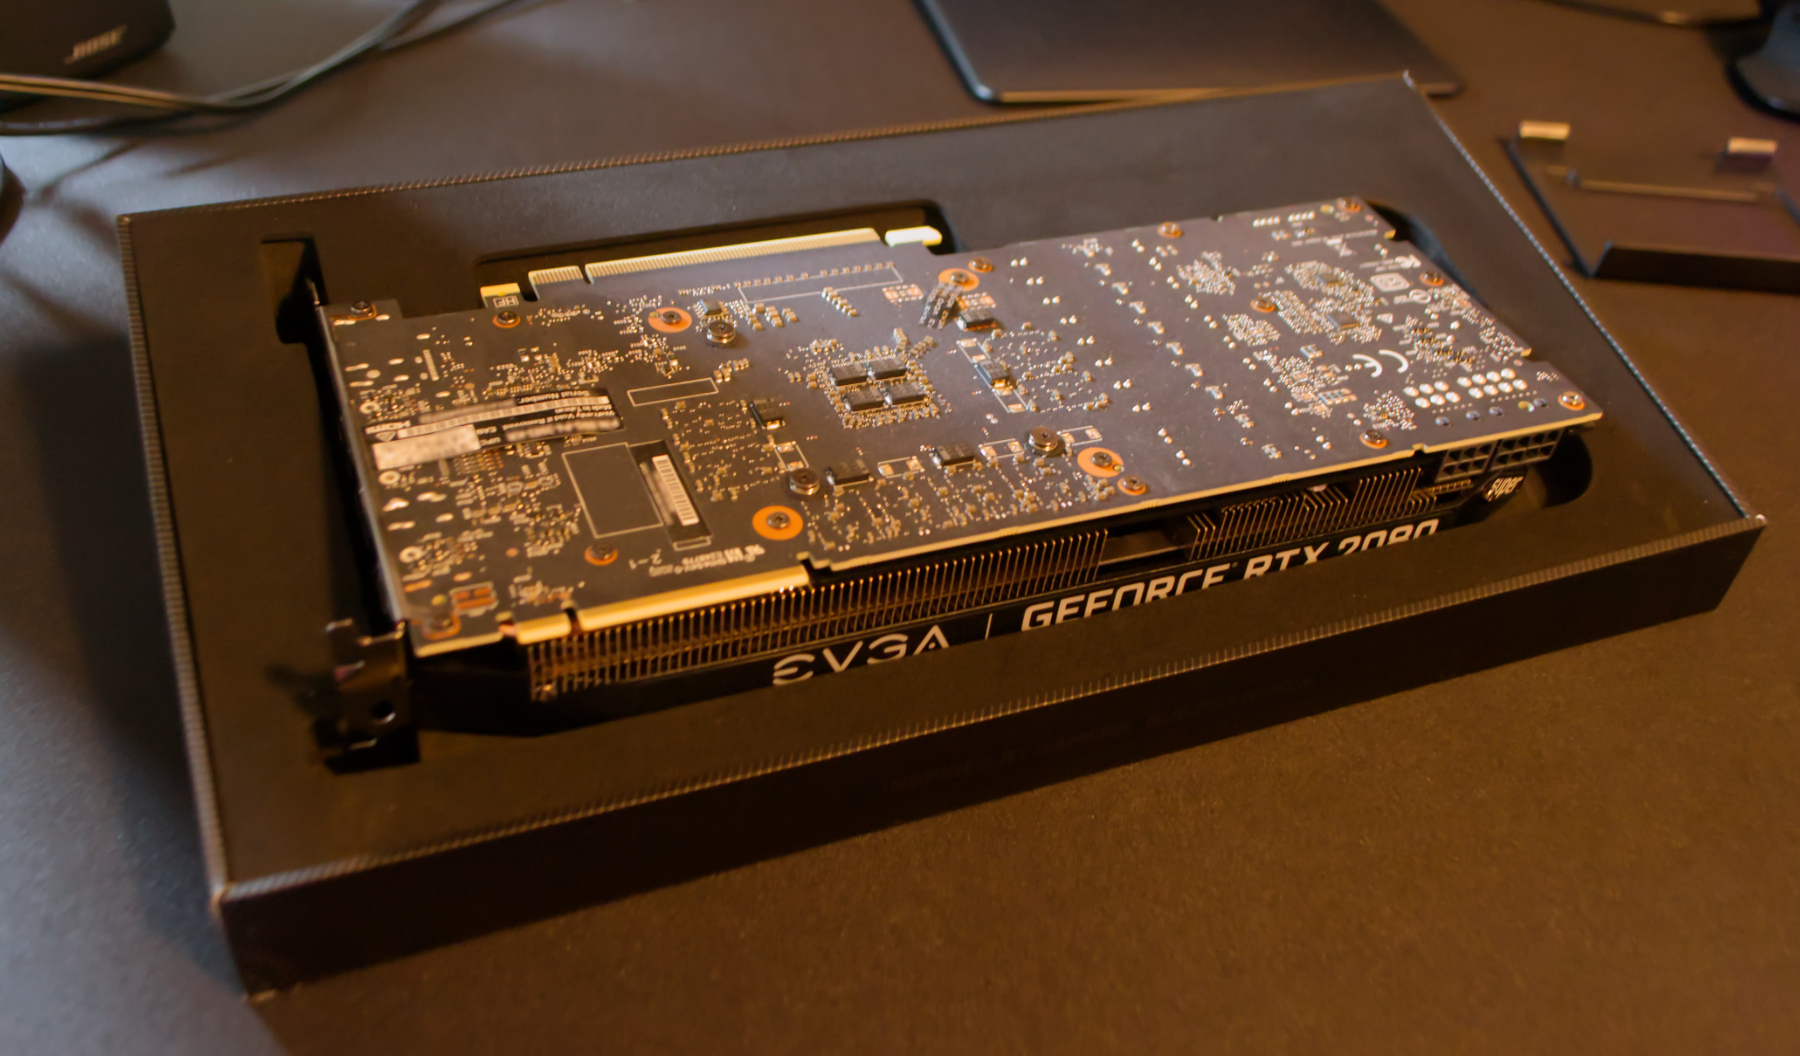
As an added bonus, my case finally has more breathing room and the wiring is all nicely tucked behind the backplate.
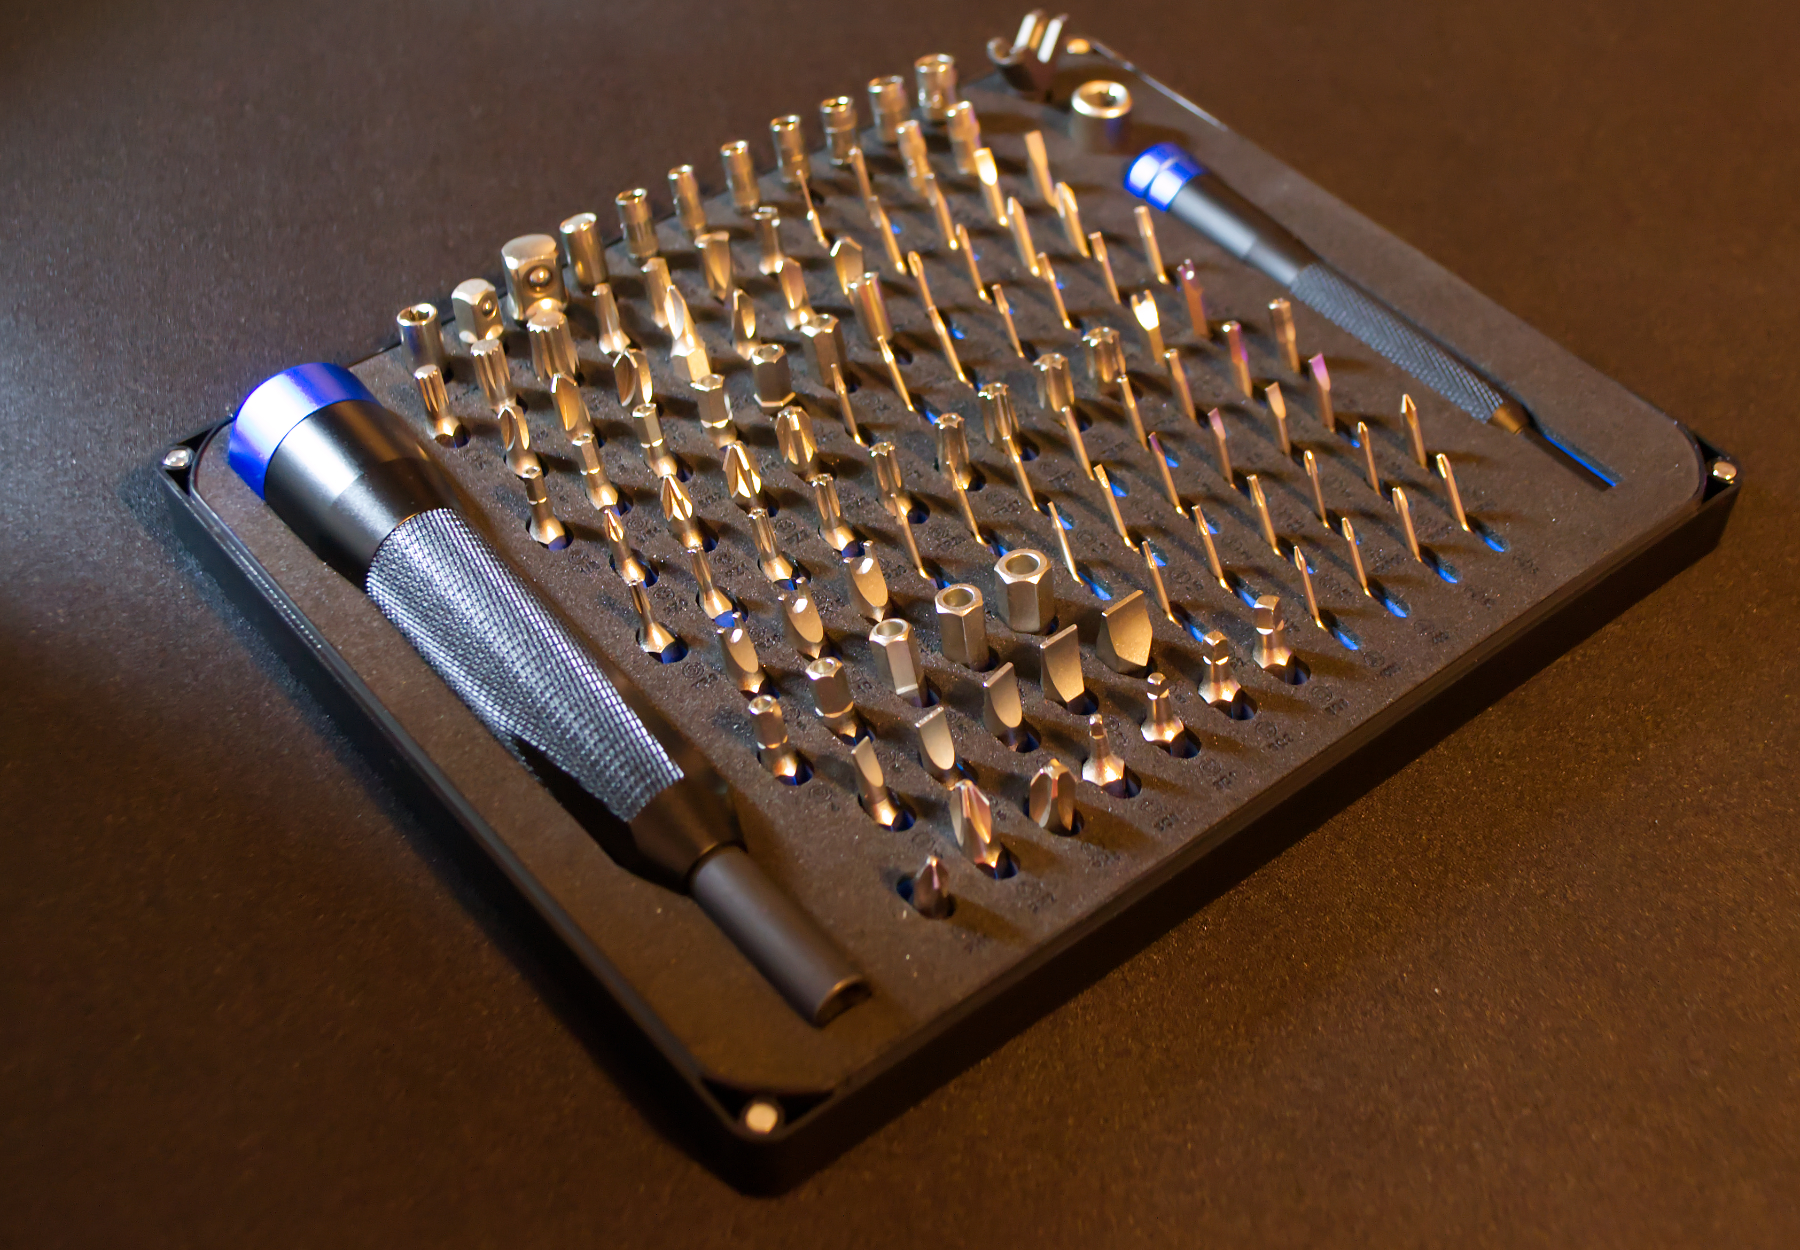
Last but not least, shout-out to the folks at iFixit. Their toolkit saved me so much effort by having all the right inserts and screw heads at my disposal (not affiliated with them, but a big fan of the product).
This is likely my last upgrade for a while. And yes, I know that the 40 series is around the corner and you’re likely thinking that getting a 3080 Ti right now is not the best move, but folks said the same thing when I got the 2080 some time ago right before the chip shortage hit. I am not holding my breath for mass 40 series availability for some time after release. Happy to be wrong about this, though.