Using Netlify API Authentication for Static Site Builds
Table of Contents
What’s the most painful part of building anything with APIs? According to a tweet question I asked recently, one of the common themes was “authentication.” Surprise, surprise - we’re making that experience a bit easier with Netlify API Authentication by completely removing the step of handling the OAuth process “by hand.”
You can use this in Netlify Functions, as shown in our Beta documentation. This is great if you want to run an API for yourself that is able to, let’s say - produce analytics on the fly when you issue a request to the function. But what about your own websites? And specifically - what about static websites?
Worry not, because as long as you have a static site generator that is capable of executing API calls before it renders the final HTML pages, you are golden. To show how to do this, I put together a sample project. It uses Nuxt.js to generate a static site that renders the number of GitHub contributions queried through the GitHub GraphQL API for my account, rendered with d3.js. No client-side calls are executed, as the data is populated at build time, and then pushed to the edge as completely static content. The test site is online for you to see the output.
To get started, you can click the Deploy to Netlify button:
When you do that, Netlify will create a new repository in your account that is an exact copy of the sample one, so you should be mostly set to get things working. The only missing piece will be the API authentication. To get that piece ready, you will need to go to your Site Settings and configure API Authentication (and by “configure” I mean enable it and connect to GitHub):
Once you’ve authenticated with GitHub and re-deployed the site, you should see a page with the bar graph on it when going to the Netlify-provided site URL:
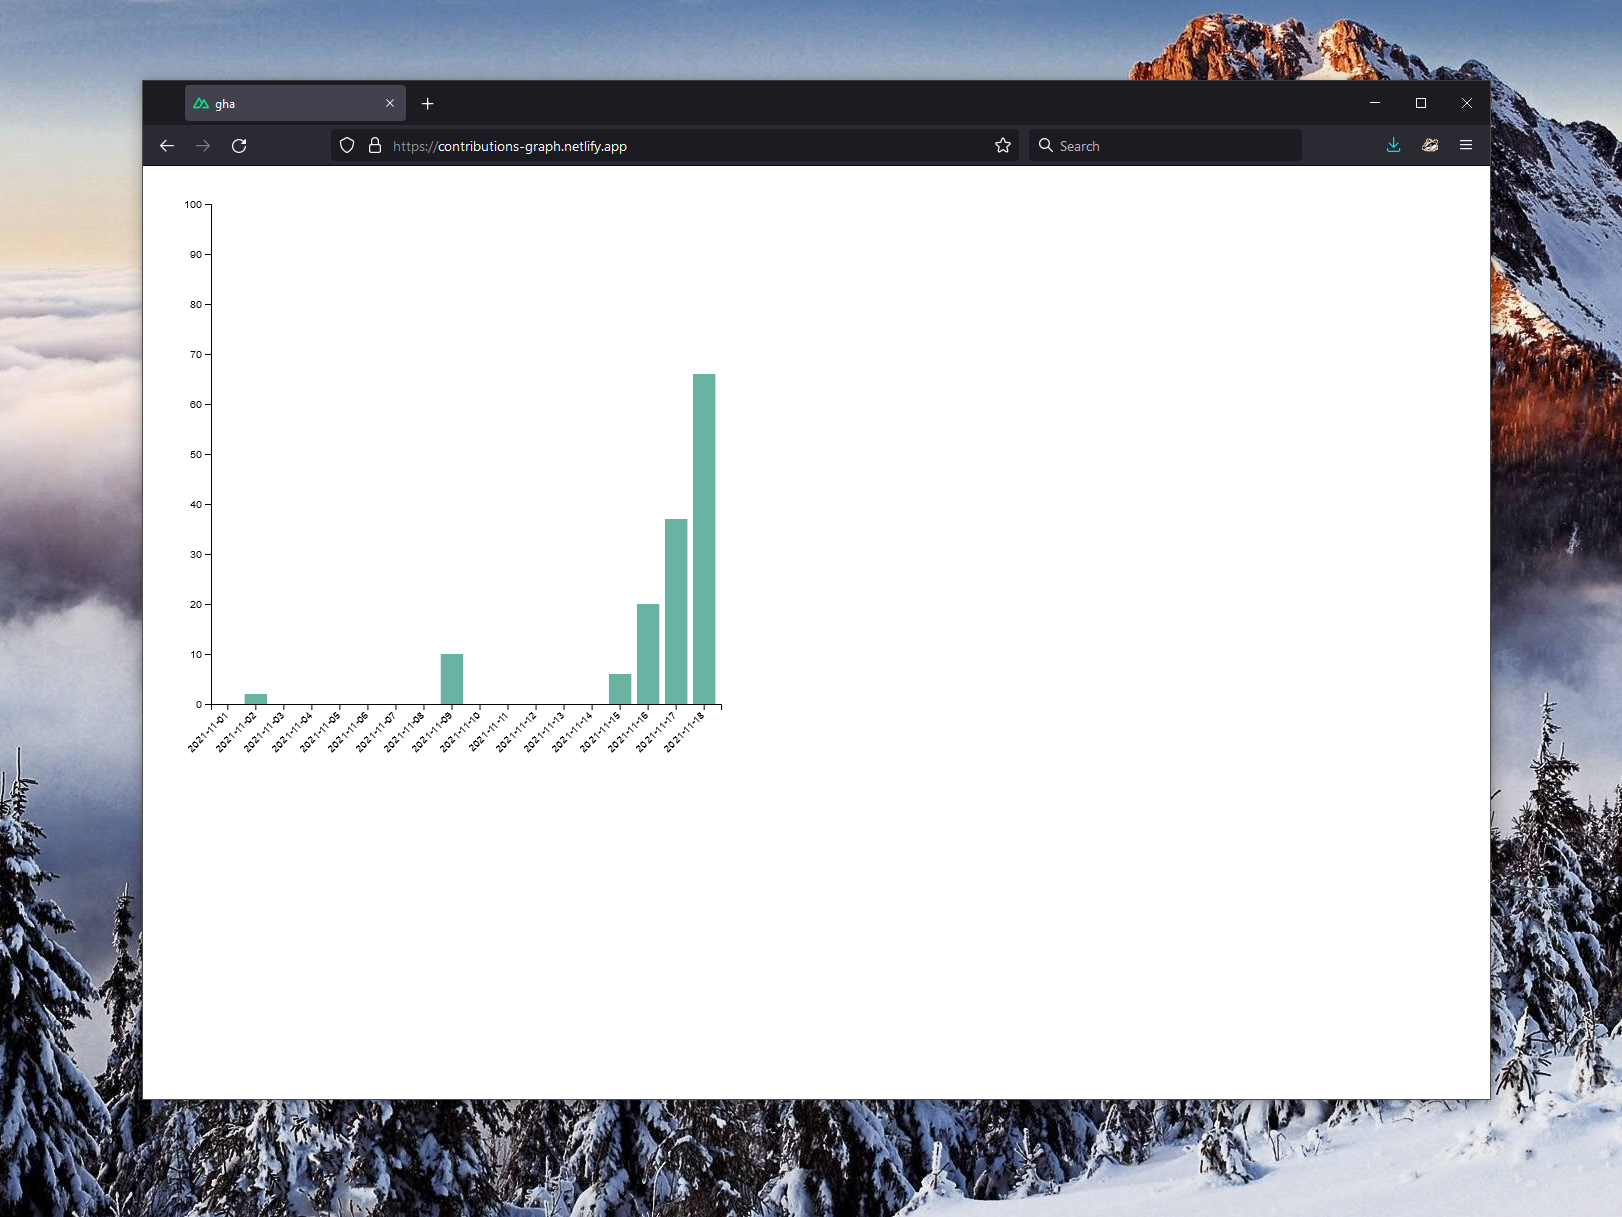
Congratulations! You now have a static site that is using your GitHub account at build time to generate the contribution breakdown.
Behind the scenes #
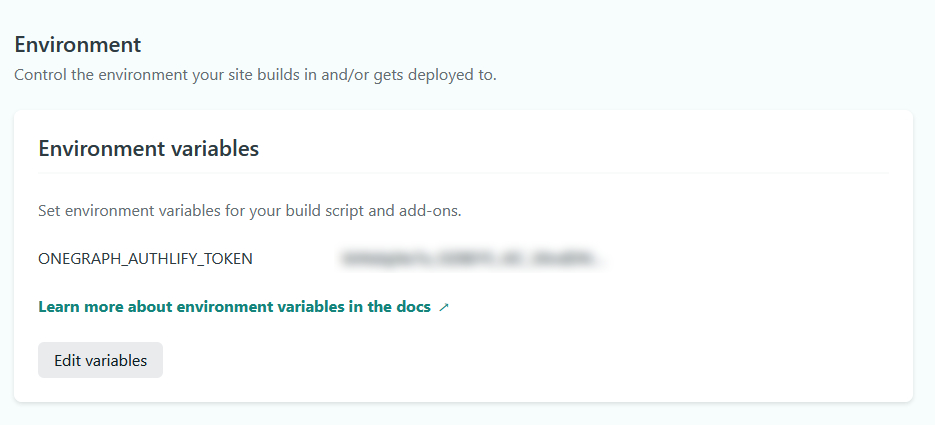
When you enable the API Authentication capability on Netlify, there is a new token that is generated for your site, called ONEGRAPH_AUTHLIFY_TOKEN. This token is the “key to the kingdom” - it allows access to all other tokens stored on the backend for all the services you connect to through API Authentication.
You don’t actually need to use this token for anything yourself - there is a nice wrapper around the functionality it’s needed for in the form of the @netlify/functions package.
When building the static site above with Nuxt, I have the following code snippet that gets the information about the GitHub token:
import { getSecrets, NetlifySecrets } from "@netlify/functions";

/* Some boilerplate code in-between */

async asyncData(context: Context) {
  try {
    let secrets: NetlifySecrets = {};
    secrets = await getSecrets();
    if (secrets.gitHub) {
      let contributions = await getContributions(secrets.gitHub?.bearerToken)
      let contributionArray = contributions.data.viewer.contributionsCollection.contributionCalendar.weeks;
      let flatContributions = flattenContributions(contributionArray);
      return {
        jsonData: JSON.stringify(flatContributions),
      };
    } else {
      return {
        jsonData: { error: "No GitHub token available." },
      };
    }
  } catch (e) {
    context.error(e);
  }
}
I am using the wrapper offered through NetlifySecrets to get access to the GitHub bearer token offered through the authenticated connection I’ve set up before in the Netlify web user interface (UI), that exposes the relevant data through a call to getSecrets.
That call returns a list of authenticated services (if any) and all the relevant metadata. I only care about GitHub, hence the attempt to get the token through secrets.gitHub?.bearerToken. Notice that throughout this entire process, I never actually touched ONEGRAPH_AUTHLIFY_TOKEN - it’s passed as an environment variable during build time, which then gets read by the @netlify/functions package.
The GitHub token is passed to getContributions which is a wrapper around GitHub’s GraphQL API:
async function getContributions(token: string | null) {
  const headers = {
    Authorization: `bearer ${token}`,
  };
  const body = {
    query:
      "query {viewer {contributionsCollection (from: \"2021-11-01T00:00:00Z\", to: \"2021-11-18T00:00:00Z\") { contributionCalendar { totalContributions weeks { contributionDays { contributionCount date }}}}}}",
  };
  const response = await fetch("https://api.github.com/graphql", {
    method: "POST",
    body: JSON.stringify(body),
    headers: headers,
  });
  const data = await response.json();
  return data;
}
The GraphQL query is intentionally time-bound to make sure that we are not flooded with a full year of contributions. In its more readable form, it looks like this:
{
  viewer {
    contributionsCollection(from: "2021-11-01T00:00:00Z", to: "2021-11-18T00:00:00Z") {
      contributionCalendar {
        totalContributions
        weeks {
          contributionDays {
            contributionCount
            date
          }
        }
      }
    }
  }
}
You can try this query in one click in the browser by using OneGraph.
Because GitHub returns the contributions in weekly chunks through its ContributionCalendar object, we need to flatten them for d3.js consumption. That’s where flattenContributions comes into play and loops over the array of objects, generating a new, this time flat, array of daily contributions:
function flattenContributions(contributions : any) {
  let flatContributions: string[] = [];
  for (let item of contributions) {
    for (let contributionItem of item.contributionDays) {
        flatContributions.push(contributionItem);
    }
  }
  return flatContributions;
}
Once the data is processed, it’s passed as JSON to the GitHubView component, where it’s promptly put to use to generate the bar graph.
Conclusion #
As you can see above, through the entire process I never had to worry about handling the GitHub authentication process. I did not need to worry about secrets, application-specific tokens, or even token refreshes. It’s all handled for me on Netlify, and I just use the token to do all the data manipulation I need.
We’re looking to grow the number of services that we support out of the box, so if you have suggestions - voice them in the forums. We have more goodness in store for making API interactions a delight - stay tuned!