Bulk Updates To Azure Blob Storage Cache Control Metadata
I host media content (all images and videos) related to this blog in an Azure Blob Storage account that is exposed publicly via a CDN. It’s the most cost-efficient way to do it for the scenarios I have in mind and also given the fact that the rest of the website and related infrastructure lives in Azure (yes, it finally outgrew GitHub Pages). Despite working at Microsoft, I personally like the service because I can use a whole bunch of well-developed tools to manage my content and there is a solid API that I can use to write content automation, such as image compression or metadata tweaks.
However, one thing remained a bit of an inconvenience - setting proper Cache-Control headers. You kind-of need those headers if you want to make sure that every time someone visits your site they can get an image from the cache rather than by pulling it from the account directly, impacting the overall cost. I actually needed something very simple - set the Cache-Control headers to public, max-age=31536000 for literally all media content in a container. All of it. It’s all public anyway, and I want it all cached.
Sadly, this kind of functionality is not available out-of-the-box - I can’t just tell Azure that I want everything that will ever be dropped in the container to automatically inhering some kind of caching policy. Well, I could but I am not using the Verizon or Akamai SKUs of the CDN, so I am out of luck there. So what can I do?
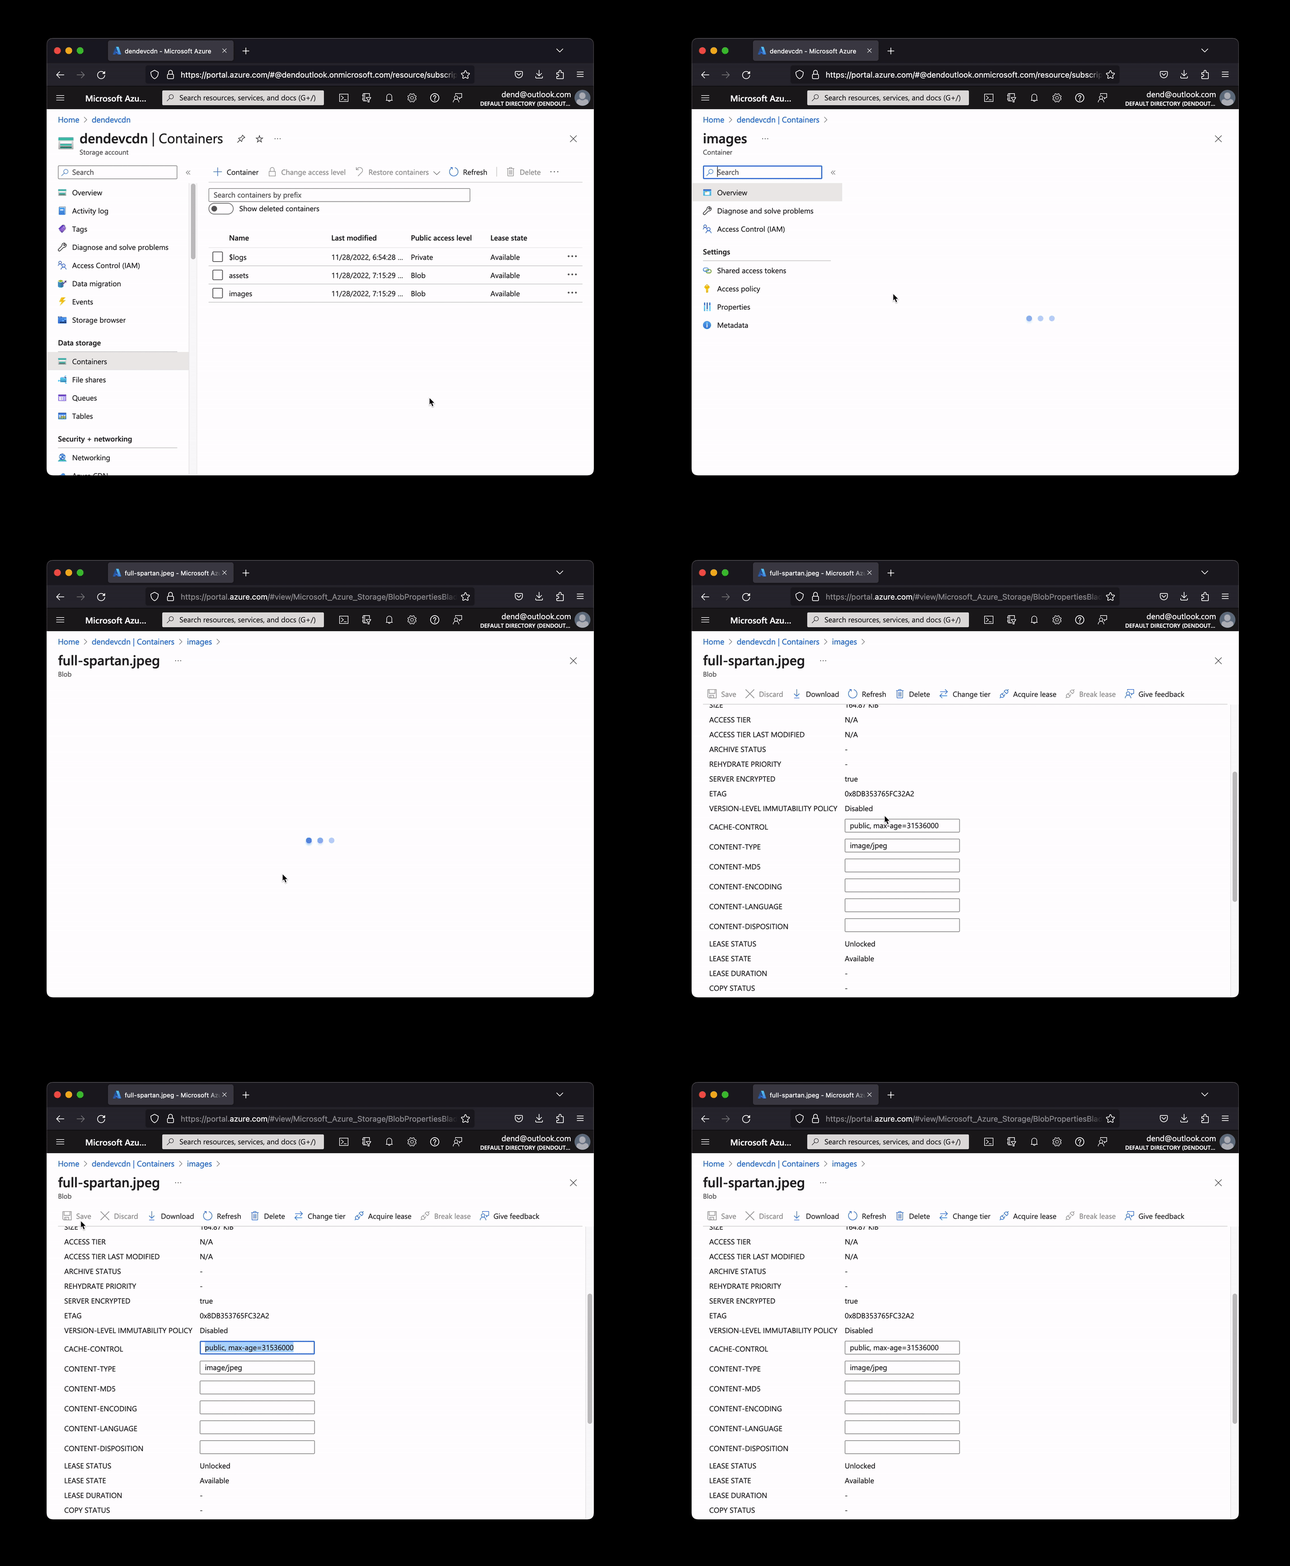
I could use the Azure Portal to manually set the Cache-Control header for every single image that I upload there for any blog posts such as this one.

That could work for shorter blog posts with a few images, but will be extremely tedious for larger, heavy on photos, posts, such as the one I did recently on the Halo Museum. So, that puts automation on the table.
As I mentioned earlier, Azure Storage actually has a pretty robust API, including a fairly straightforward interface through the Azure CLI. We could chain some commands together on my local dev box, but just as easily replicable in a CI job at some point in the future. The outcome of that ended up being this little bash script:
files="$(az storage blob list -c MY_IMAGE_CONTAINER --account-name MY_ACCOUNT_NAME --query "[].{name:name}" --output tsv)"
for f in $files
 do
   echo "==== Processing $f ===="
   az storage blob update --container-name MY_IMAGE_CONTAINER --name $f --account-name MY_ACCOUNT_NAME --content-cache "public, max-age=31536000"
 done
I should mention that prior to running this script I already logged in with Azure through az login on my local machine, but this can also be accomplished on the server with the help of a service principal or managed identities. That’s beside the point, though - just know that you need to authenticate with Azure to get the script to work.
At its core, the script is ridiculously simple - it gets the list of all available blobs in a container and throws the list in an array. Then, I go through the array and for each blob update the metadata with az storage blob update. Conveniently, a developer can use the --content-cache argument to set the right value for the Cache-Control header.
Worth mentioning that the --query argument in az storage blob list can also be tweaked to only return files in a given “folder.” I am using quotes here because folders are not really a thing in Azure Storage - they are virtual constructs that create the impression of a hierarchical structure but are nothing more than an identifier for the blob itself. Anyway, the --query argument contains a JMESPath query that allows a developer to query the JSON output. It can be tweaked to only select blobs that match a specific pattern, or you could also use the --prefix argument to only work on blobs that start with a given string.
Once executed (and it can take some time, depending on the size of the container) - the media content will be properly cached.