Serve Your WordPress Blog Via HTTPS On NameCheap (For Free)
Table of Contents
Gone are the days when you no longer have to worry whether you want to fetch a website through HTTPS. No matter whether you are handling private information or not, there is no excuse to have a site residing in plain HTTP land. That said, this tutorial assumes that you, the reader, already have some knowledge as to why HTTPS is necessary. If not, a cursory search will yield thousands of articles you can read through.
Obtaining the certificate #
This is the first step, and probably the most important one. You might be thinking that this would be that time when you need to shell out $90 to $100 a year for a certificate that will give you that coveted green lock in the browser address bar. But that is no longer the case with services such as Let’s Encrypt.
Let’s Encrypt offers a straightforward way to generate a certificate through a trusted authority that you can use on your site at no cost to the requestor. The service itself (and most of the documentation for it) is geared at users who run their own web server, so I will explain how you can use it with a shared hosting subscription, specifically NameCheap.
NOTE: I am writing this and testing this on a Mac. Your steps might slightly vary depending on the platform, but overall should be the same on both Linux and even Windows (now that it supports bash).
First and foremost, lets clone the letsencrypt toolchain:
sudo git clone https://github.com/letsencrypt/letsencrypt
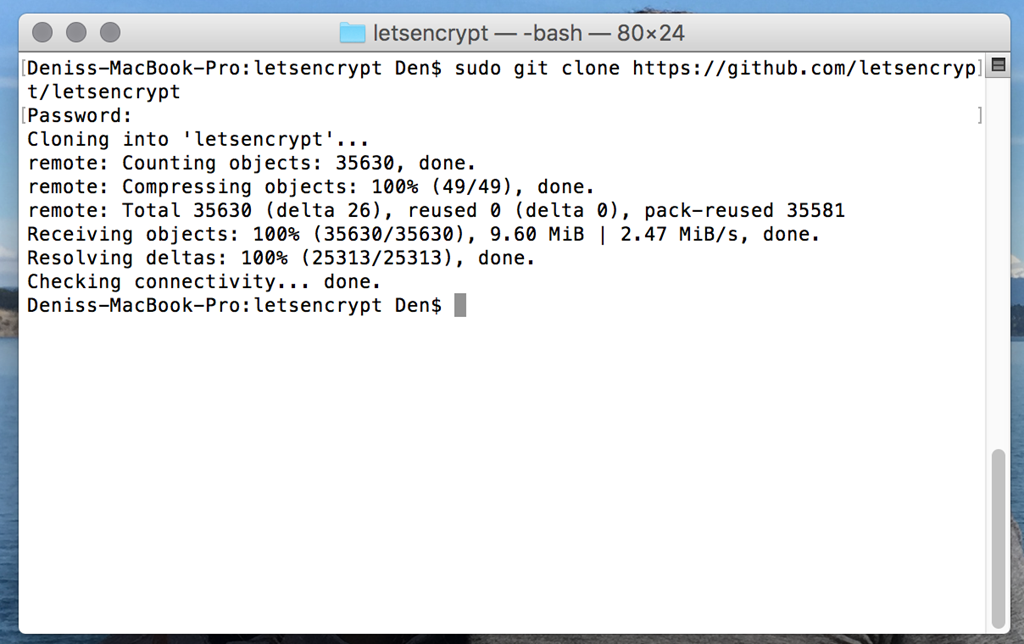
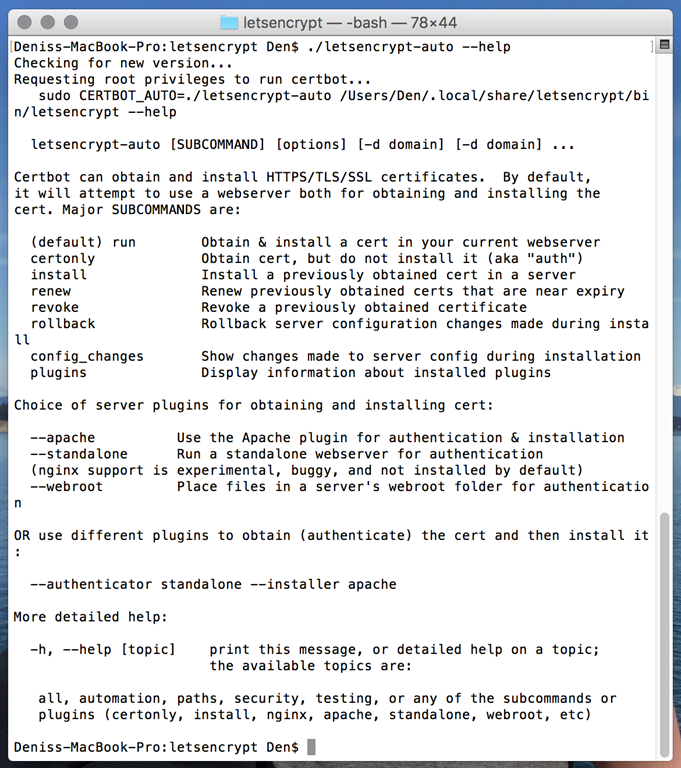
This should take anywhere between 5 to 30 seconds, depending on your connection. Next, you need to install letsencrypt. To do this, make sure that you go one folder down in the tree, in whatever location you downloaded the packages:
cd letsencrypt
./letsencrypt-auto -help
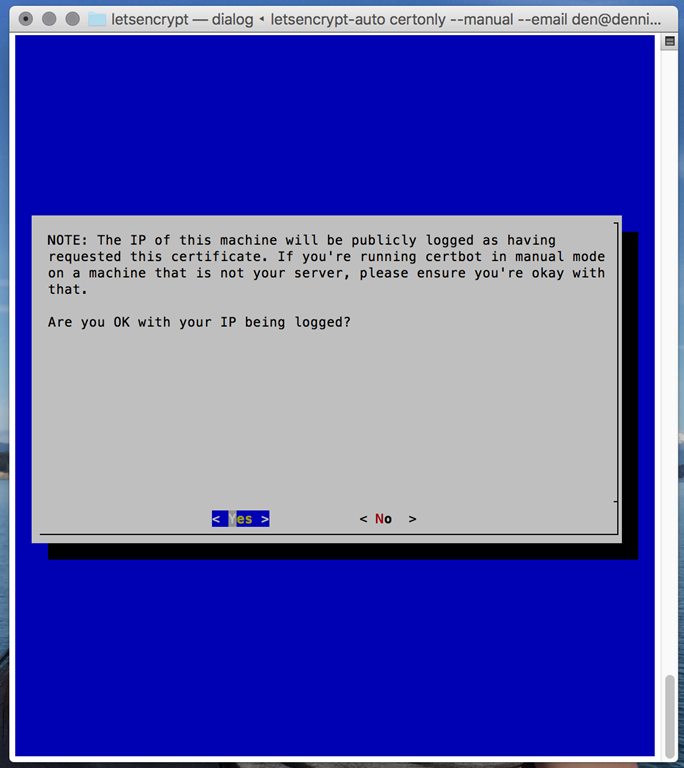
Now, let’s actually generate the certificate:
letsencrypt-auto certonly -manual –email [YOUR EMAIL HERE] –d [DOMAIN].com -d www.[DOMAIN].com
You will be prompted with a number of questions, including whether you agree to the fact that the requesting IP address will be logged.
You will then be prompted to create a folder on your server, and within that folder – a simple index.html file with just a blob of text in it:

You can easily do this with the help of a FTP client (I recommend FileZilla). Make sure you have the correct FTP credentials before proceeding.
Installing the certificate #
Once everything is ready to go and the verification succeeds, you will get three files on your hands:
- cert.pem – this is the certificate itself.
- privkey.pem – this is the private key.
- chain.pem – this is the CABUNDLE, or the Certificate Authority Bundle.
By default, once the files are generated, you might not be able to access them. Use the terminal to chmod your way in. You can open the files in your favorite text editor to see their content.
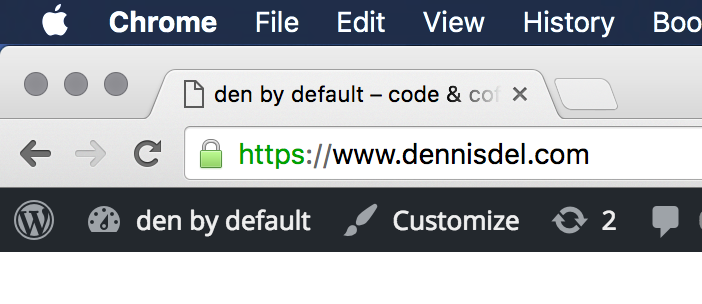
In cPanel, you will now be able to add the contents of the certificate files (unfortunately, at the time of writing this article, there is still no support to actually upload certificate files).
Now your blog will run on HTTPS with a green lock in the browser:
Force SSL #
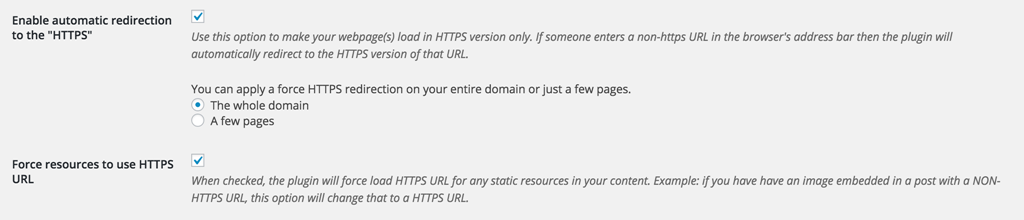
Now you need to make sure that the blog always fetches content through HTTPS. For that, you can install a free plug-in, such as Easy HTTPS (SSL) Redirection. The plugin exposes a range of settings, that make it live up to its name:
Congratulations, you are now all set!