Signing GitHub Commits With YubiKey
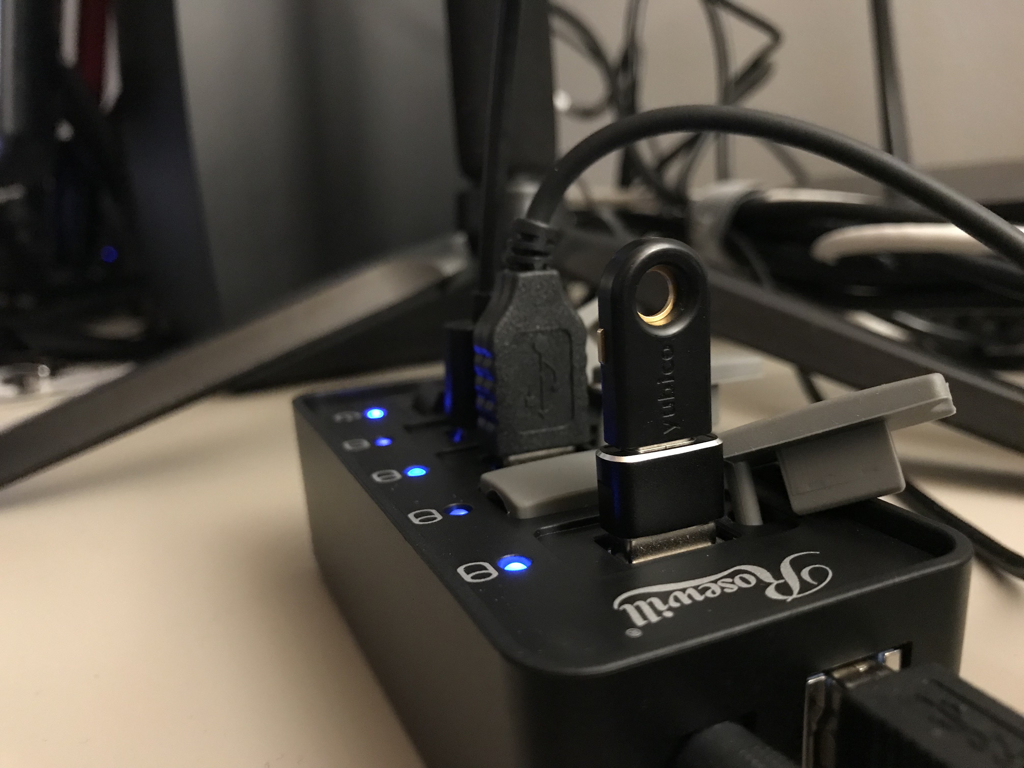
I got into the habit of signing my GitHub commits. It’s awesome - anyone that looks at my repositories is able to tell that it really came from my account (and not someone just using my email). As an added bonus, I get a fancy badge associated with my commits, which makes me feel special (since I am not really “verified” anywhere else).
![]()
The signing on GitHub is done with the help of GPG keys. If you are not yet familiar with the concept, at a very high level GPG stands for GNU Privacy Guard, an open-source implementation of OpenPGP (Pretty Good Privacy). A GPG key is an identifier that you create to identify you, and it is represented by a keypair - a public and a private key, which allow you to sign a message (or a commit, in this context). This, in turn, allows anyone to verify that the message (or, again - a commit) is truly yours.
GitHub has natively supported GPG keys for some time now, and I’ve been using a very primitive approach to handle them. I generated a keypair, added the public key to GitHub, and then was using GPG on Windows to sign all my Git commits. Every time I would commit something, a prompt would pop up from a tool called pinentry that would ask me for the key passphrase. I would enter it, commit the changes, and push them to GitHub. I liked this because I could sign commits in a secure manner.
But then I started thinking - this is quite a bit of hassle. That is, I always needed to enter the keyphrase on every commit (yes, I could configure the GnuPG timeout). I was already using a YubiKey to with many services, so I wonder if I can use it for code signing? As it turns out - yes I can! And I can do this directly with GnuPG tooling.
To start, install GPG4Win. This brings the awesomeness of GPG to your Windows computer, all in a neatly-packaged box. Once installed, make sure that you have the GPG tooling in the PATH environment variable (by default it should be done automatically by the installer). You can test this in the terminal by typing gpg and seeing if you get any output. You can Ctrl+C out of the application.
You’re now ready to get started! There are two ways in which you can go about the task at hand - either by generating the GPG keypair and then importing the data onto the YubiKey, or by generating the key directly on the YubiKey. I am going to present the steps for the latter.
Insert your YubiKey device into the computer, and in the same terminal where you tested the initial GPG presence, you can now use the following command:
gpg --card-edit
This is part of GPG’s smart card tooling but it works just as well with the YubiKey.
If you have a FIPS-compliant YubiKey 5 Series, it won't work for GPG key generation.
What you want to do now is request administrative privileges to manage the key, and that can be accomplished by using the following command in the gpg/card application:
gpg/card> admin
Once you’re in, and if you haven’t done it yet, make sure to change the PINs for the key. By default, those are 123456 for the standard PIN, and 12345678 for the admin PIN (PUK). You can verify these with the official documentation. To change the PINs, use the following command (and then follow on-screen instructions):
gpg/card> passwd
Once the PIN is changed, we can proceed to keypair generation, and once again, it’s a one-word command:
gpg/card> generate
Follow the on-screen instructions, as you will need to specify:
- How long do you want the keypair to live? If you set a time limit, upon expiration you will need to re-generate another key, as the current one won’t be able to validate your identity.
- Your name.
- Your email. I’ve used the GitHub-provided “no reply” email address here - I am making sure that I keep my real email private in commits, so it makes sense for it to match in the generate keypair.
- Comment. Include whatever short remark you need about the keypair.
That’s it! Once generated, you will see the key ID displayed in the terminal - take note of it, as we’ll need it shortly.
With the key ID in hand, enter the following command to quit:
gpg/card> quit
You can now export the generated keypairs. For the public key (you will use this with GitHub), enter the following command (outside the gpg/card application):
gpg --armor --export YOUR_KEY_ID
This will provide you with the public key directly in the terminal. You can copy this, and take it to GitHub key settings:

Click on New GPG Key and paste the public key there. Click on Add GPG Key when done.
You now just let GitHub know that you have a key set up - this is great. Now you need to let your local git application know as well that you want to sign your commits with the key you generated. To start, associate the signing key with the git configuration:
git config --global user.signingkey YOUR_KEY_ID
Remember the key ID that we looked at earlier? Well, we’re using it here again. With the key ID specified, it’s time to tell git to sign all commits:
git config --global commit.gpgsign true
And lastly, let’s also tell git to use the right GPG program:
git config --global gpg.program gpg
You’re now fully set! You can use your application of choice to test this out.
If you get an error at first, that’s OK - try again. If everything works well, on the first try you should get a prompt for a PIN that you set previously for your YubiKey.
From then on, as long as the YubiKey is plugged in, all commits will be signed. Take the YubiKey out, and commits will start failing.