Using Vossibility Stack To Track GitHub Community Contributions
Table of Contents
One of the key parts of my job as a Program Manager on the docs.microsoft.com team is to assess community contributions across different documentation repositories and areas. That might appear to be a very complicated task, and as we go, I will document more on the process. This post, however, is dedicated to setting up the core environment to make the task somewhat easy.
Get Vossibility and all dependencies #
Vossibility-stack is a product published by Arnaud Porterie of Docker. To get started, simply clone the repository with all the dependencies. Personally, because I plan on adding some modifications that are specific to my field of work, I forked the repo first and then cloned.
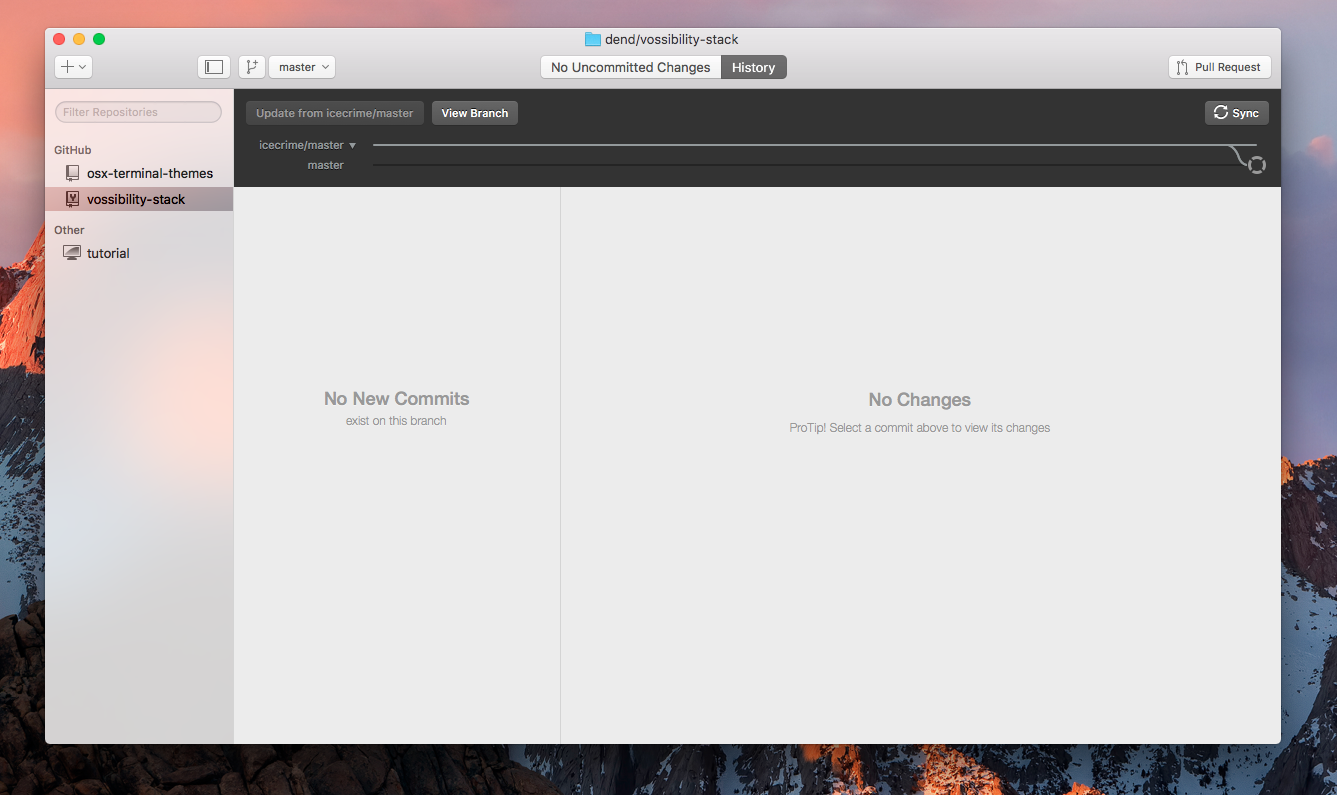
Post-fork, I just used the GitHub Desktop client for Mac to get the bits locally.
The stack relies on Docker, so the next obvious step would be to install the Docker Toolbox for Mac.
Configure the local instance #
For testing purposes, it’s always helpful to set up the first instance locally, test it and perform all the necessary adjustments, and then deploy it to the cloud.
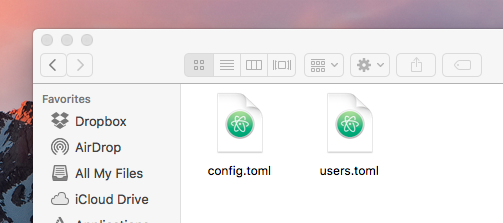
Next, open /vossibility-stack/collector/examples and change the file extension to .toml– simply strip the .example suffix.
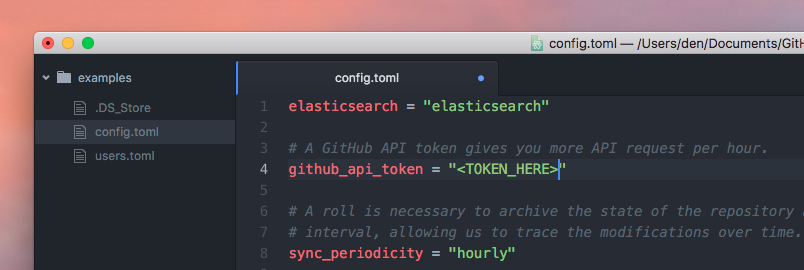
Open config.toml and set a value for the github_api_token variable. You can get the token in GitHub settings.
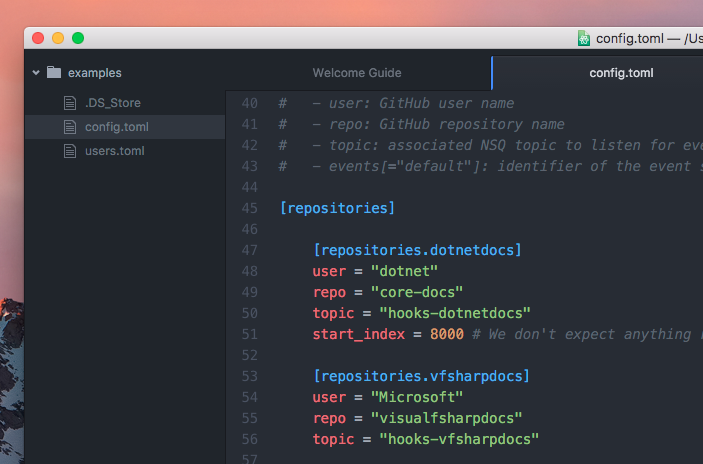
Next, make sure to add the repositories that you would like to track. That is done in the [repositories] node.
Save and close the file. Move the configuration files to /vossibility/volumes/collector. Navigate to the Vossibility folder in the Terminal.
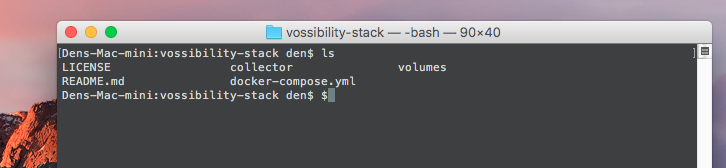
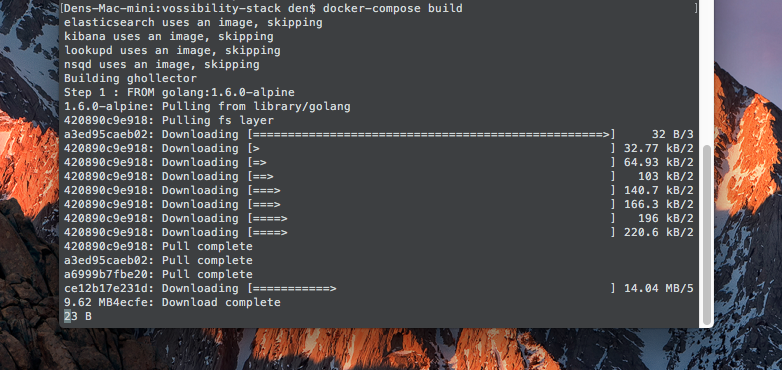
Make sure to also start the local docker machine. You can do so via docker-machine start default. Once ready, trigger docker-compose build.
Once successful, trigger docker-compose pull. This will pull all required dependencies.
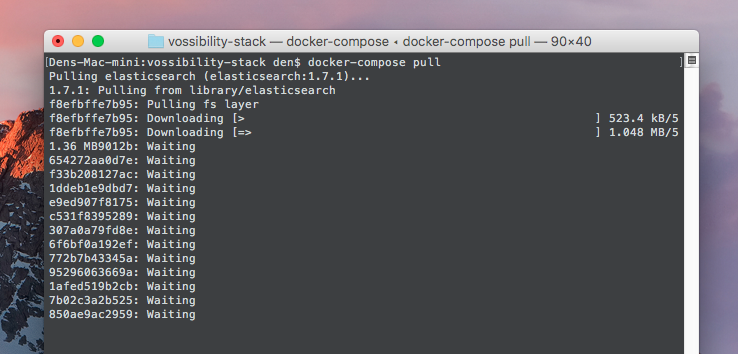
This can take a couple of minutes depending on the quality of your internet connection and server latency.
Last but not least, trigger docker-compose up.
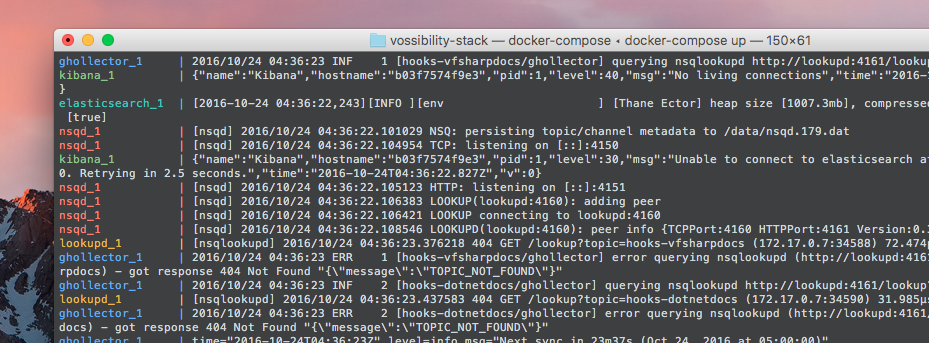
Wait for the system to bootstrap, and then you will be ready to go, able to access Kibana (the visualization stack) at https://localhost:5601.
In future articles, I will outline the next steps that you can take to actually visualize the inbound repository contribution data.
Important Note – Elastic Search #
In case you are running this on a Mac (just like I did) and are running into issues with ElasticSearch not being able to start, try using the native Mac Docker client (at the time of writing this article it is in beta).