Deploying A Personal Blog With GitHub Actions
Table of Contents
There comes a time when one needs to re-assess how and what they are using for their blog software. For years, I have been an avid WordPress user, jumping from shared hosting to shared hosting in search for a good deal, but always encountered issues - there was either little room to customize things, or I had to deal with the ever-growing bloat of a large code base for a little site. Extensions became insecure and easily exploitable (after all, who has the time to check whether they work properly), so I started looking for something simple.
This landed me on Hugo - a static site generator built in Go. It offered many capabilities that I found appealing - the main one being its performance. It’s snappy, it’s easily extensible and its templates do not require a PhD in CSS and JS (I am not a web developer, after all). The question came down to how would I host it. Shared hosting was no longer an option - it simply added too many dependencies, and provided little added benefit. So I turned to the cloud.
In this blog post, I am documenting how you too can create a blog that is powered by the Hugo static site generator, and deployed to the cloud with the help of GitHub Actions (you can build docs with those too). You can, of course, easily modify the instructions to use something like Jekyll or Wyam, however that is out of scope of this particular article.
Getting started #
We get started by defining the workflow. When you publish your personal blog, you might want to keep the infrastructure relatively simple. In this article, I am tackling this with the help of Microsoft Azure.
Local configuration #
Before we get to the configuration in the cloud, we need to make sure that we can test the content locally. Depending on the platform you are using, you might need to follow specific instructions to install Hugo. Because I am using macOS, I have installed Homebrew, and can easily install Hugo by using this command in the terminal:
brew install hugo
Once the installation completes, I can check whether it’s good by running:
hugo version
This should output the version of the currently installed Hugo instance.
With the Hugo instance ready, you are now ready to create your own blog that we can deploy from GitHub! To start, create a new GitHub repository, clone it locally, and set the location of the terminal context to the folder where the repo was cloned (yes, we’ll be using some shell commands here). Now, run the following command to bootstrap your own site:
hugo new site .
What this does is create the scaffolding for your site in the current folder. This does not include the theme, but we’ll get to that in a second. You should now have the basics necessary to get the content rolling, but there is one piece missing - the theme. To get that lined up, pick one of the themes listed on the official themes page. I like simplicity, so I will start with Whiteplain.
To add the theme to the working folder, you can just add the theme folder as a submodule:
git submodule add https://github.com/taikii/whiteplain themes/whiteplain
Using a submodule is generally the best way to add a theme, as this way you can easily manage the theme content in a way that ensures you get the latest bits whenever those are live in the GitHub repository without having to just constantly maintain your own local version.
With the theme in place, you now need to make sure that you set up the blog configuration to use it. You can do so by calling nano config.toml - just add a line with the theme name:
baseURL = "https://example.org/"
languageCode = "en-us"
title = "My New Hugo Site"
theme = "whiteplain"
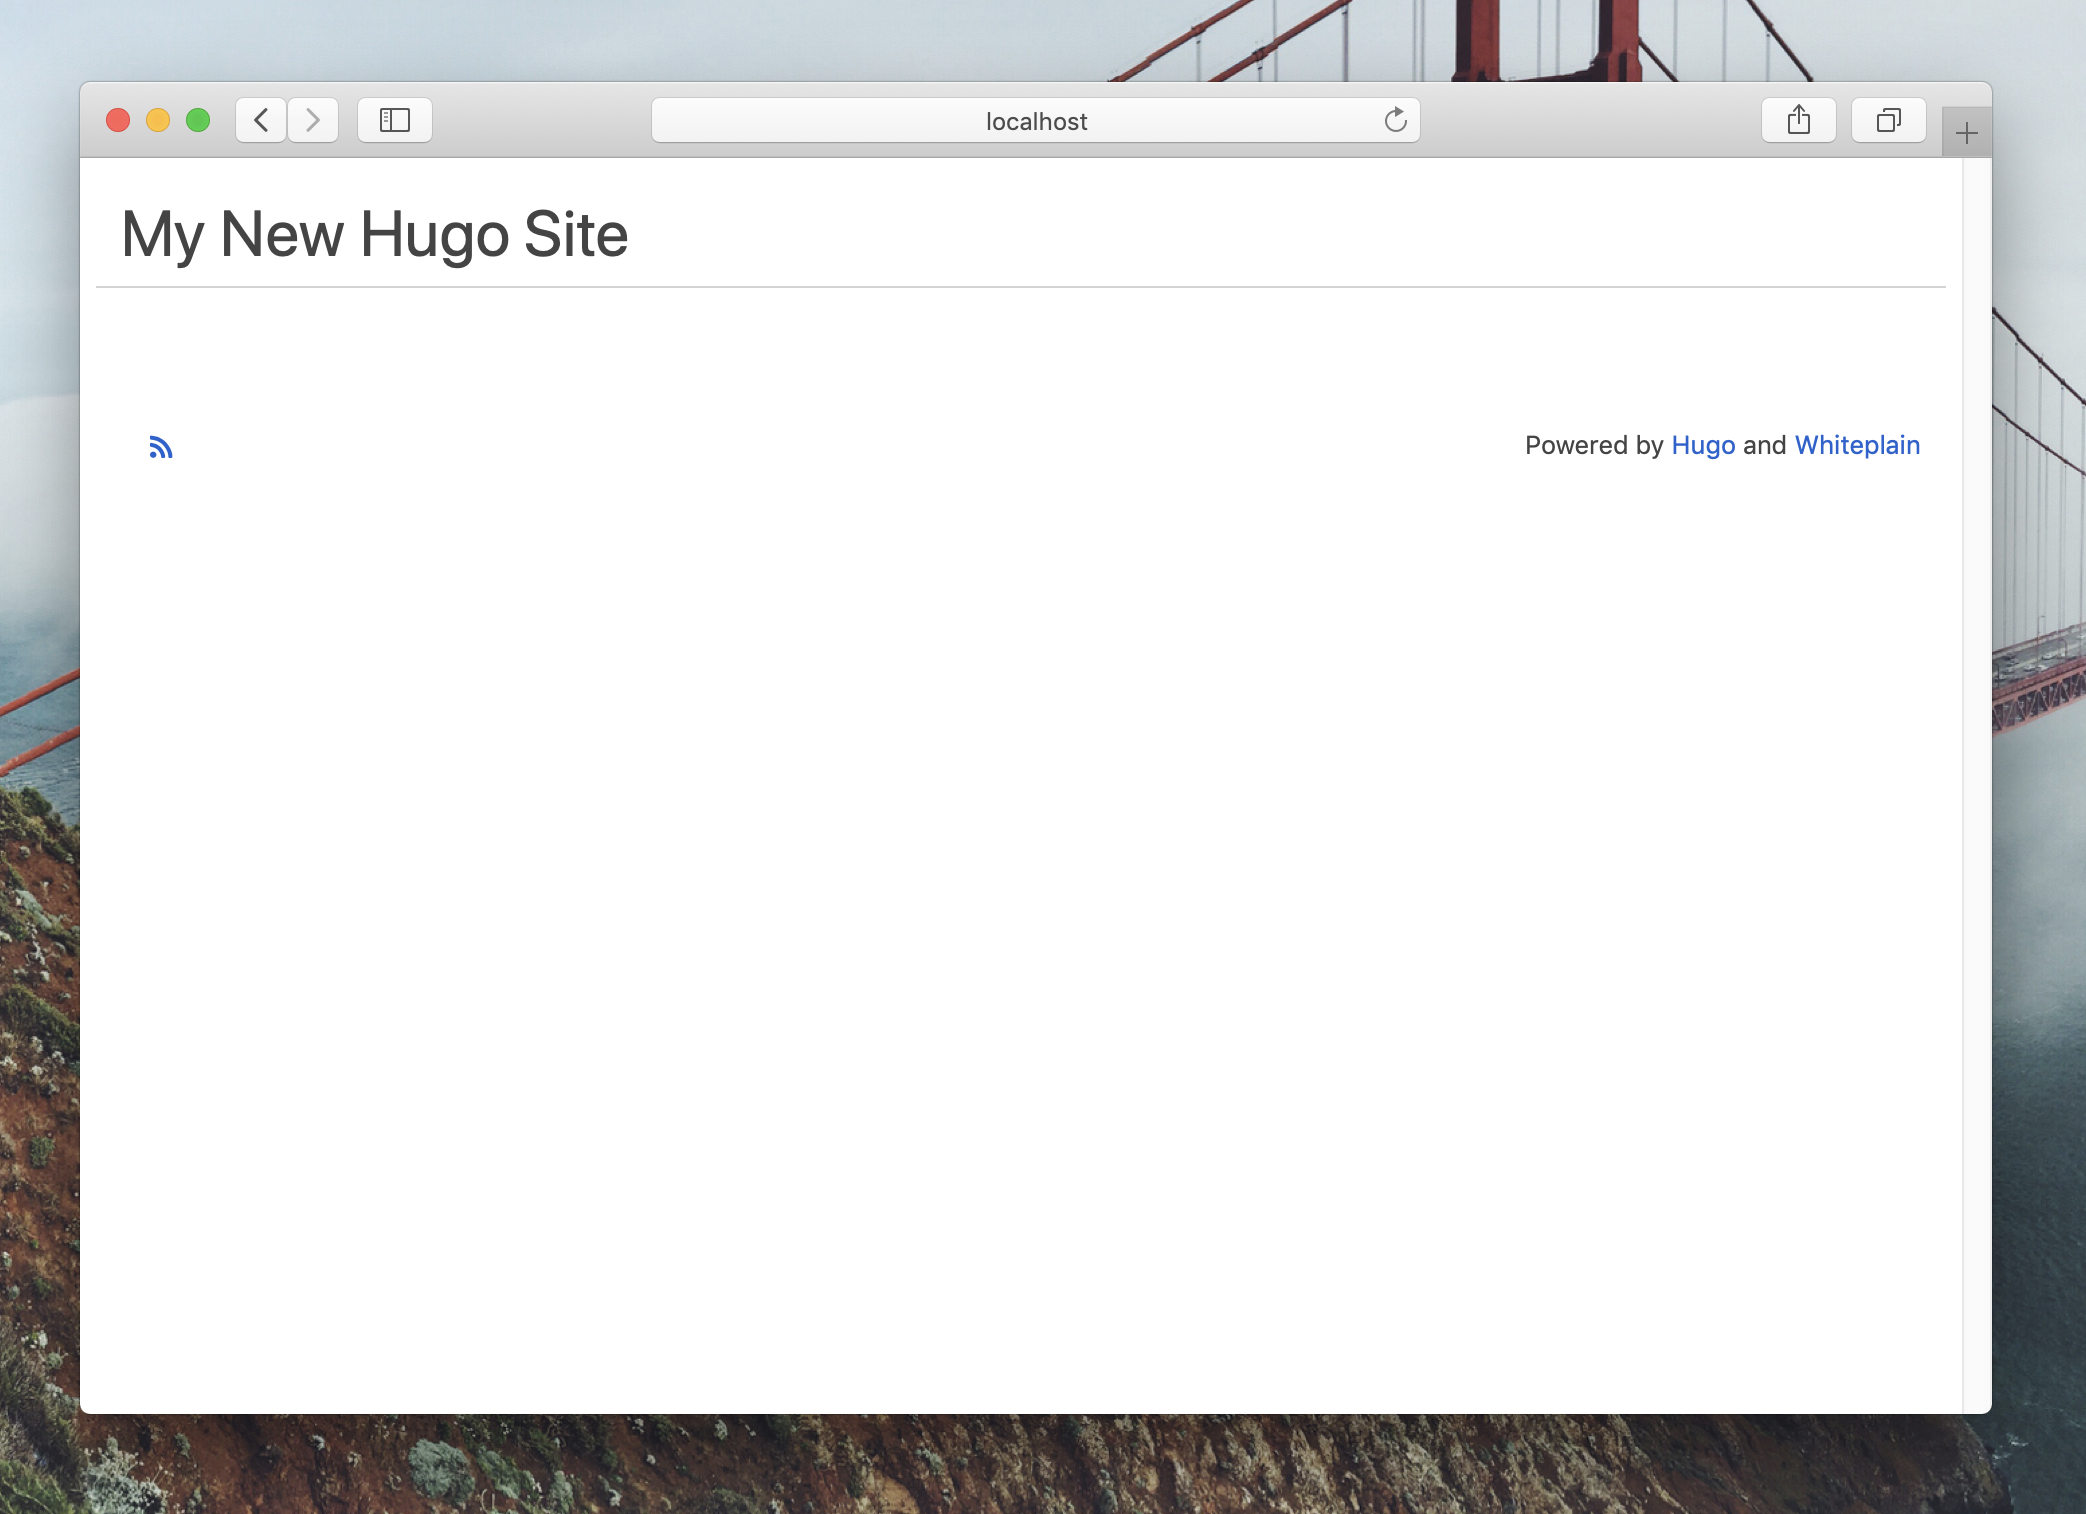
Save the file (Ctrl+O) and close nano (Ctrl+X). At this time, we can test the site rendering - in the context of the blog folder, use the following command in the Terminal:
hugo server
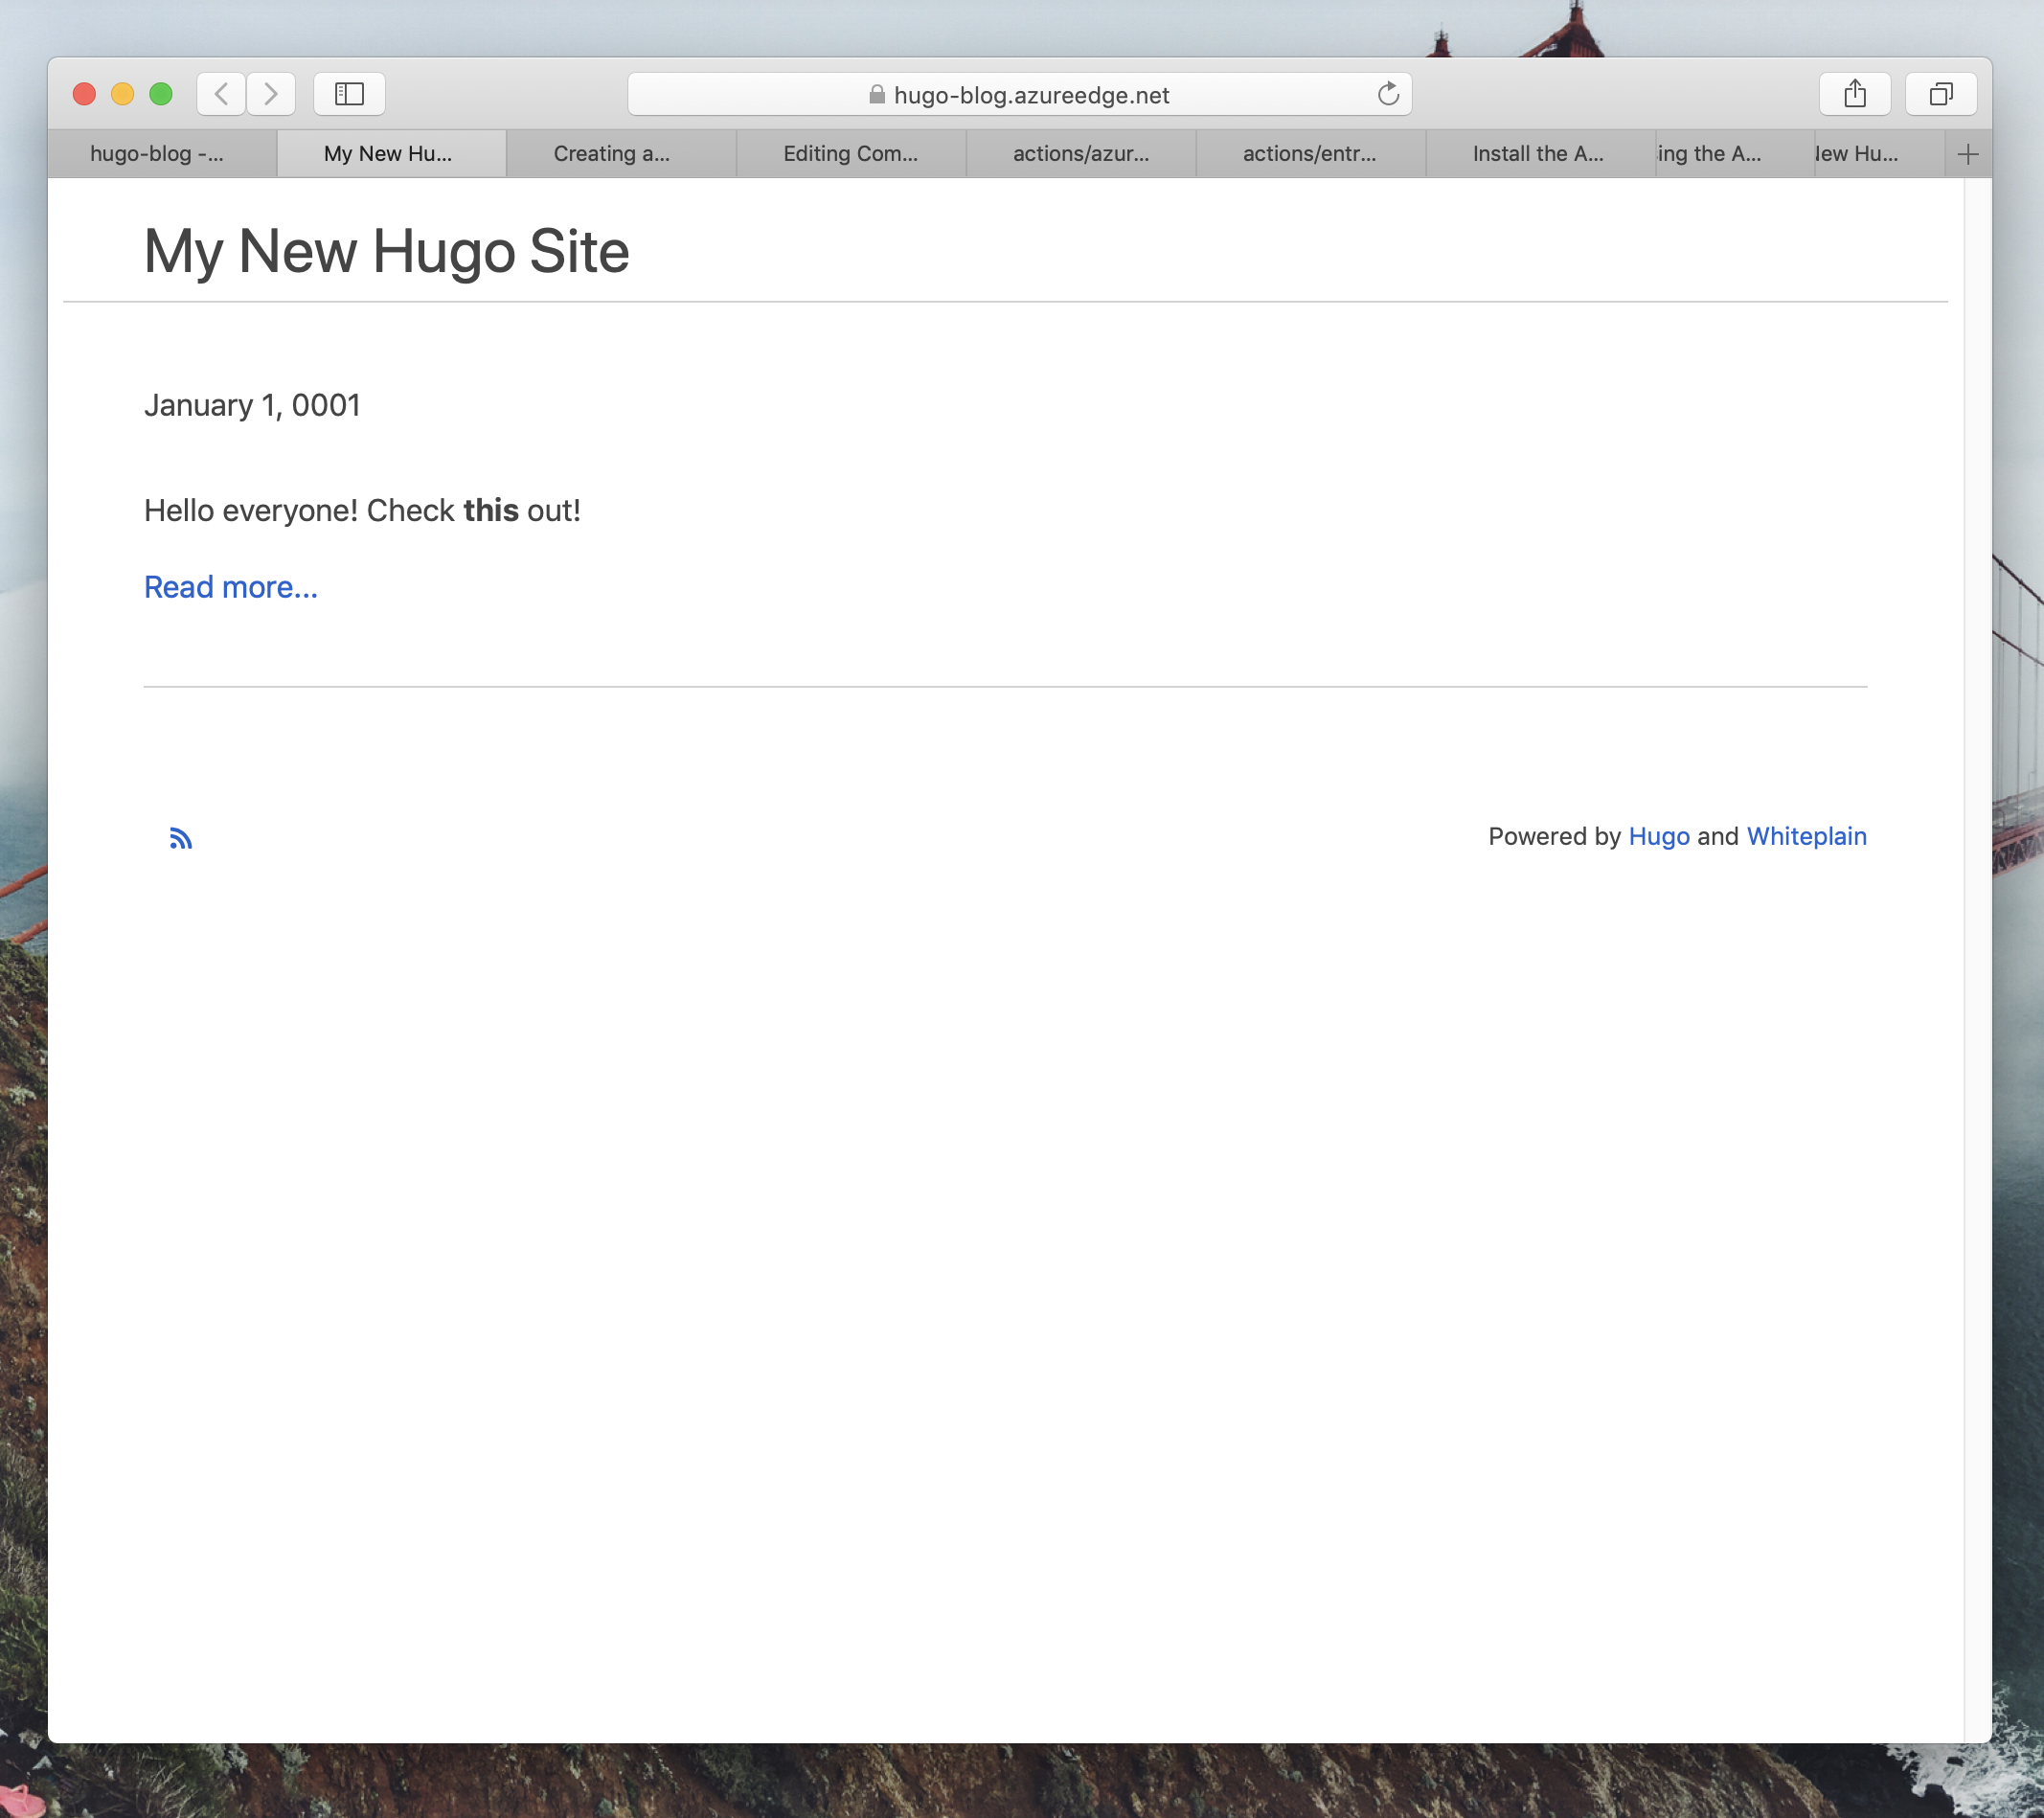
You will get a URL which you can use to preview the content. Opening it in the browser should result in you seeing a page similar to the one in the screenshot below:
In the content folder in the blog, create a new Markdown file (extension is .md) with a test blog post. We will use this to validate the site content. Commit the changes to GitHub to make sure that the repository has all the necessary basics for deployment.
Infrastructure configuration #
With the content in the repository, let’s now work through the process of defining the infrastructure which will be powering the blog.
Azure #
Let’s start with assuming that you want to deploy your blog to Azure - given that you are working with static content (Hugo generates HTML from Markdown blog posts), we can leverage a recent addition to the Azure Storage stack - the ability to host static sites.
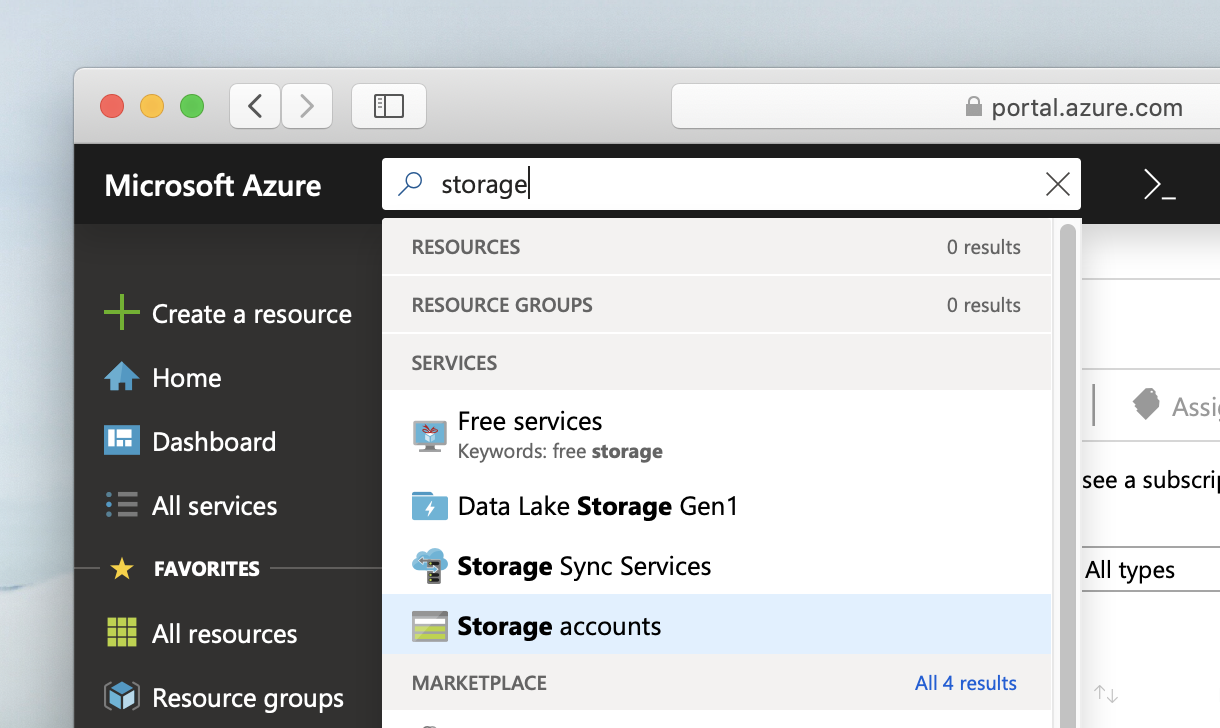
To create a storage account, start by searching for storage in the top search bar in the Azure Portal:
Click on Add and give a unique name and resource group to the storage account:
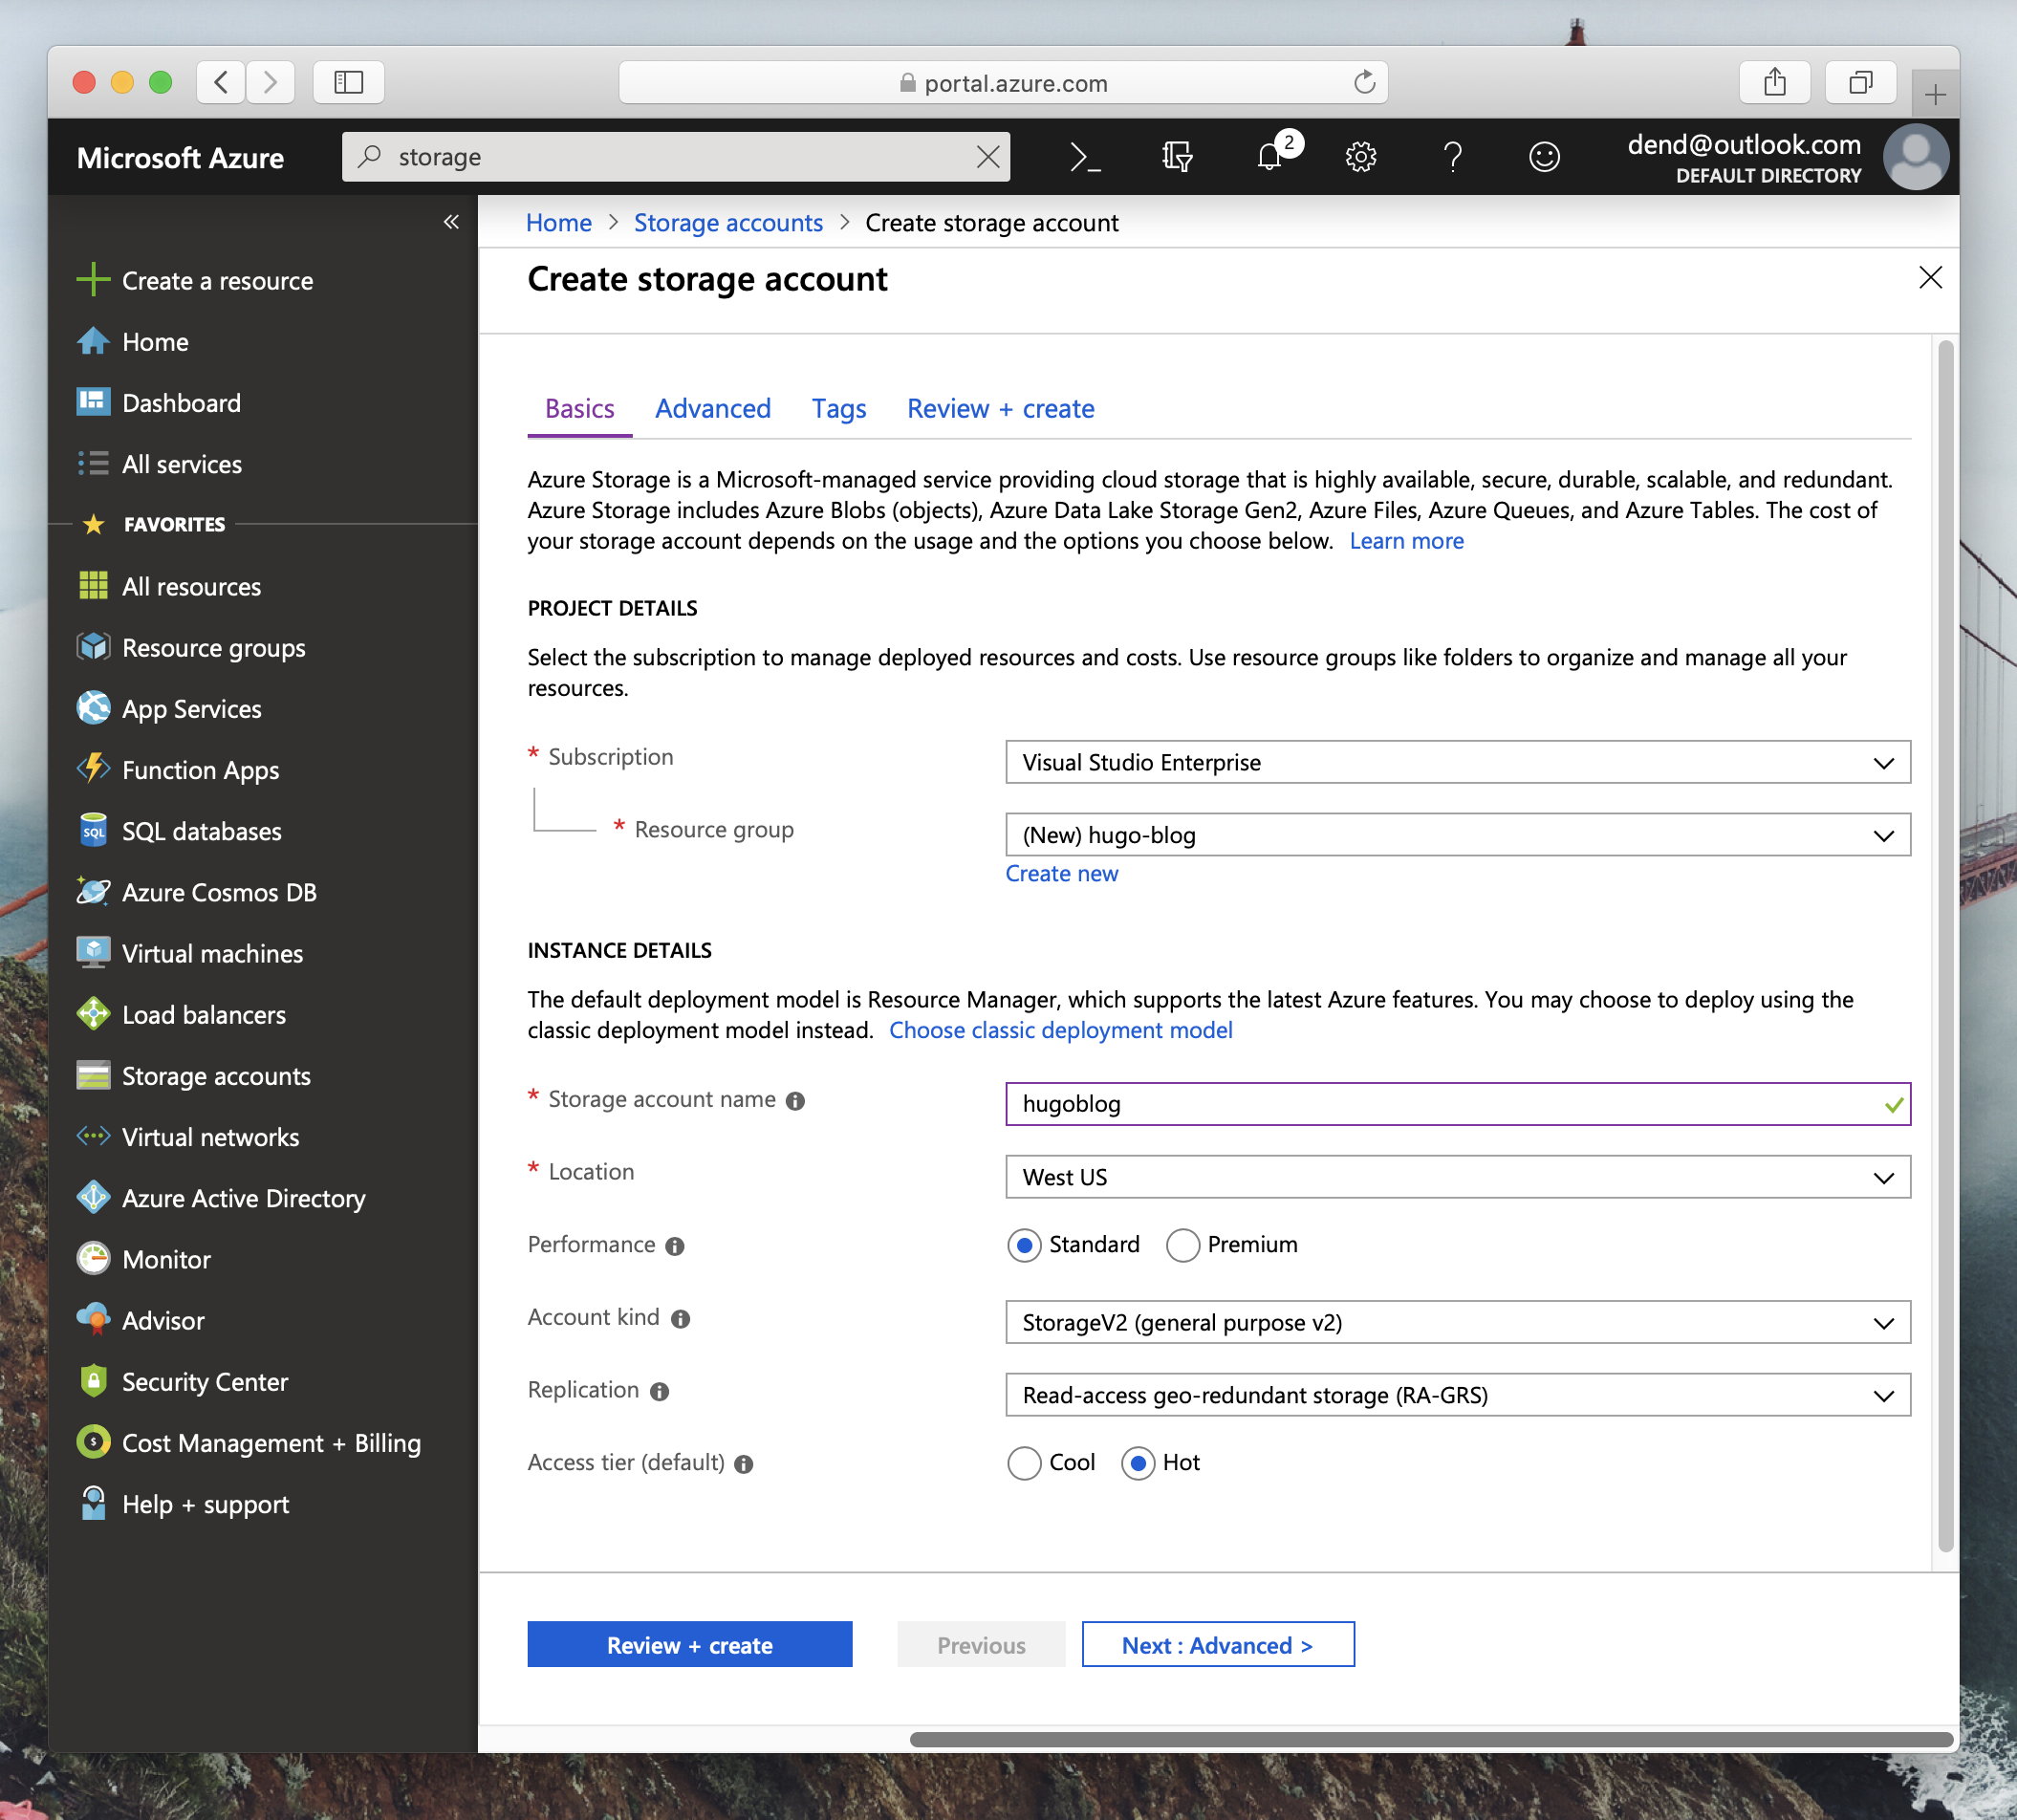
It’s important that you are using a StorageV2 (general purpose V2) account kind - that is the only one that support static site hosting at this time. You can leave most of the other settings the way those are, and just create the storage account as is.
When the provisioning is complete (you can track the status directly in the portal), you will need to enable static site hosting by navigating to the storage account and opening the Static website panel:
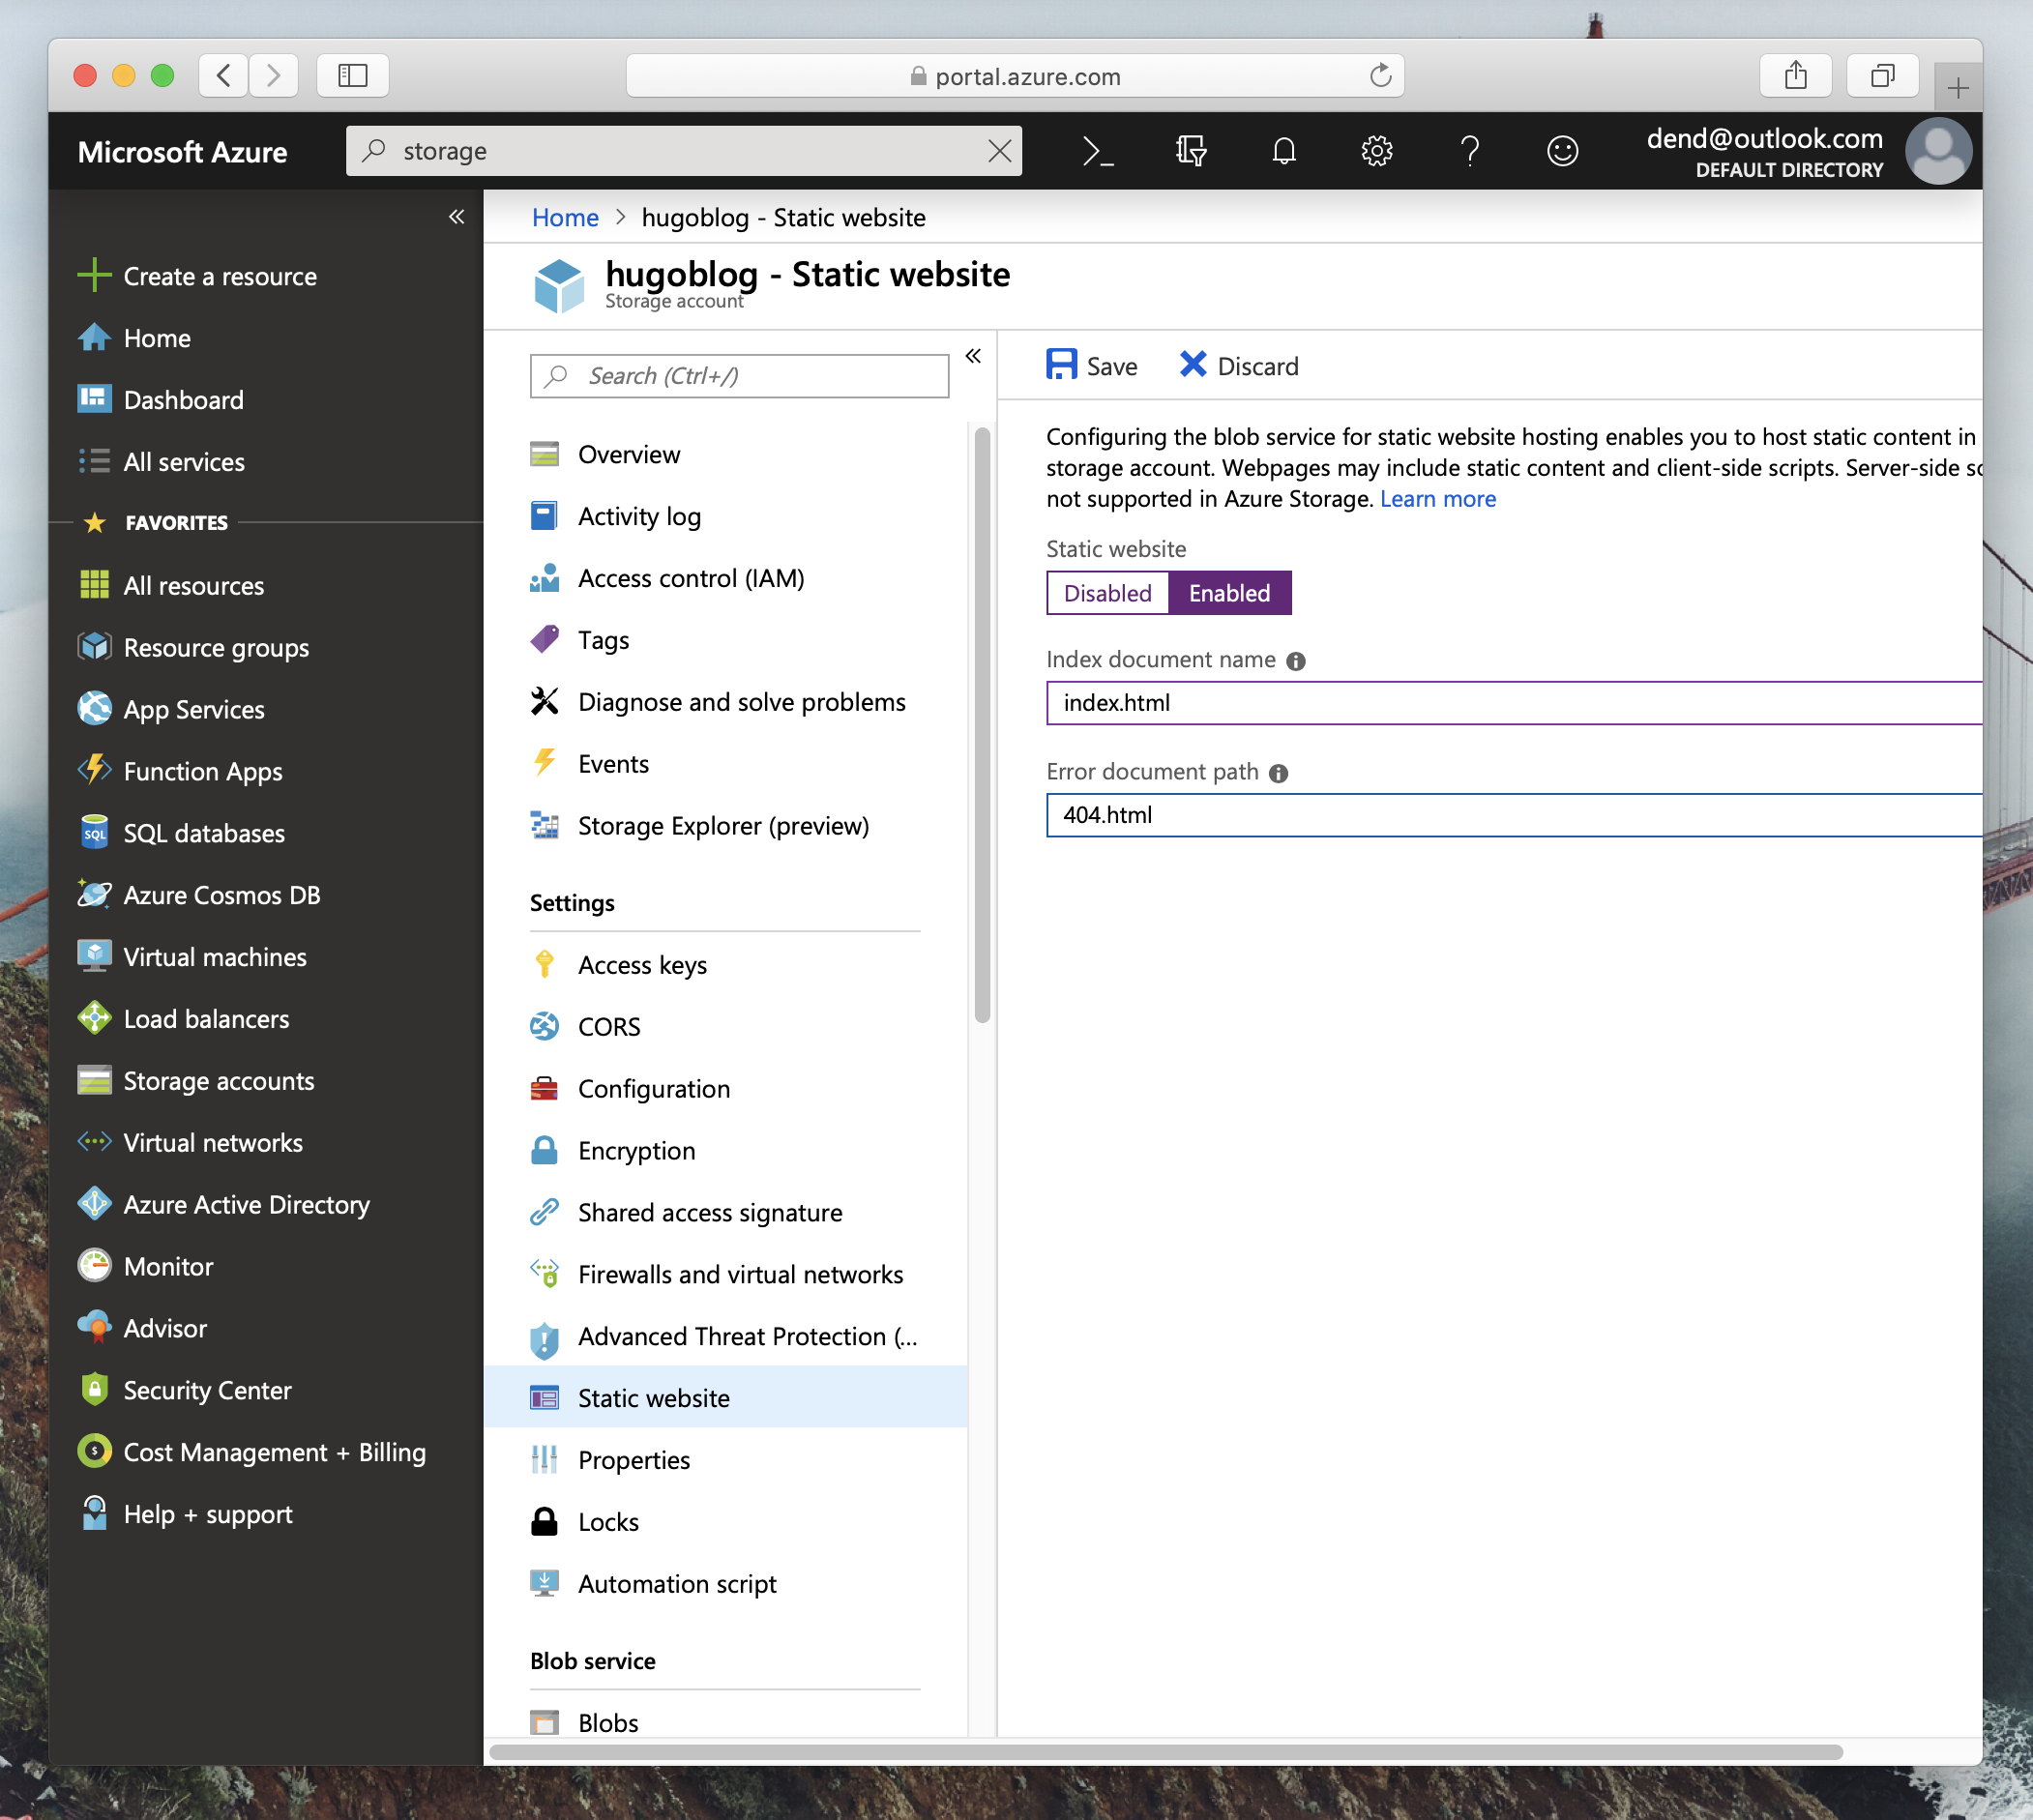
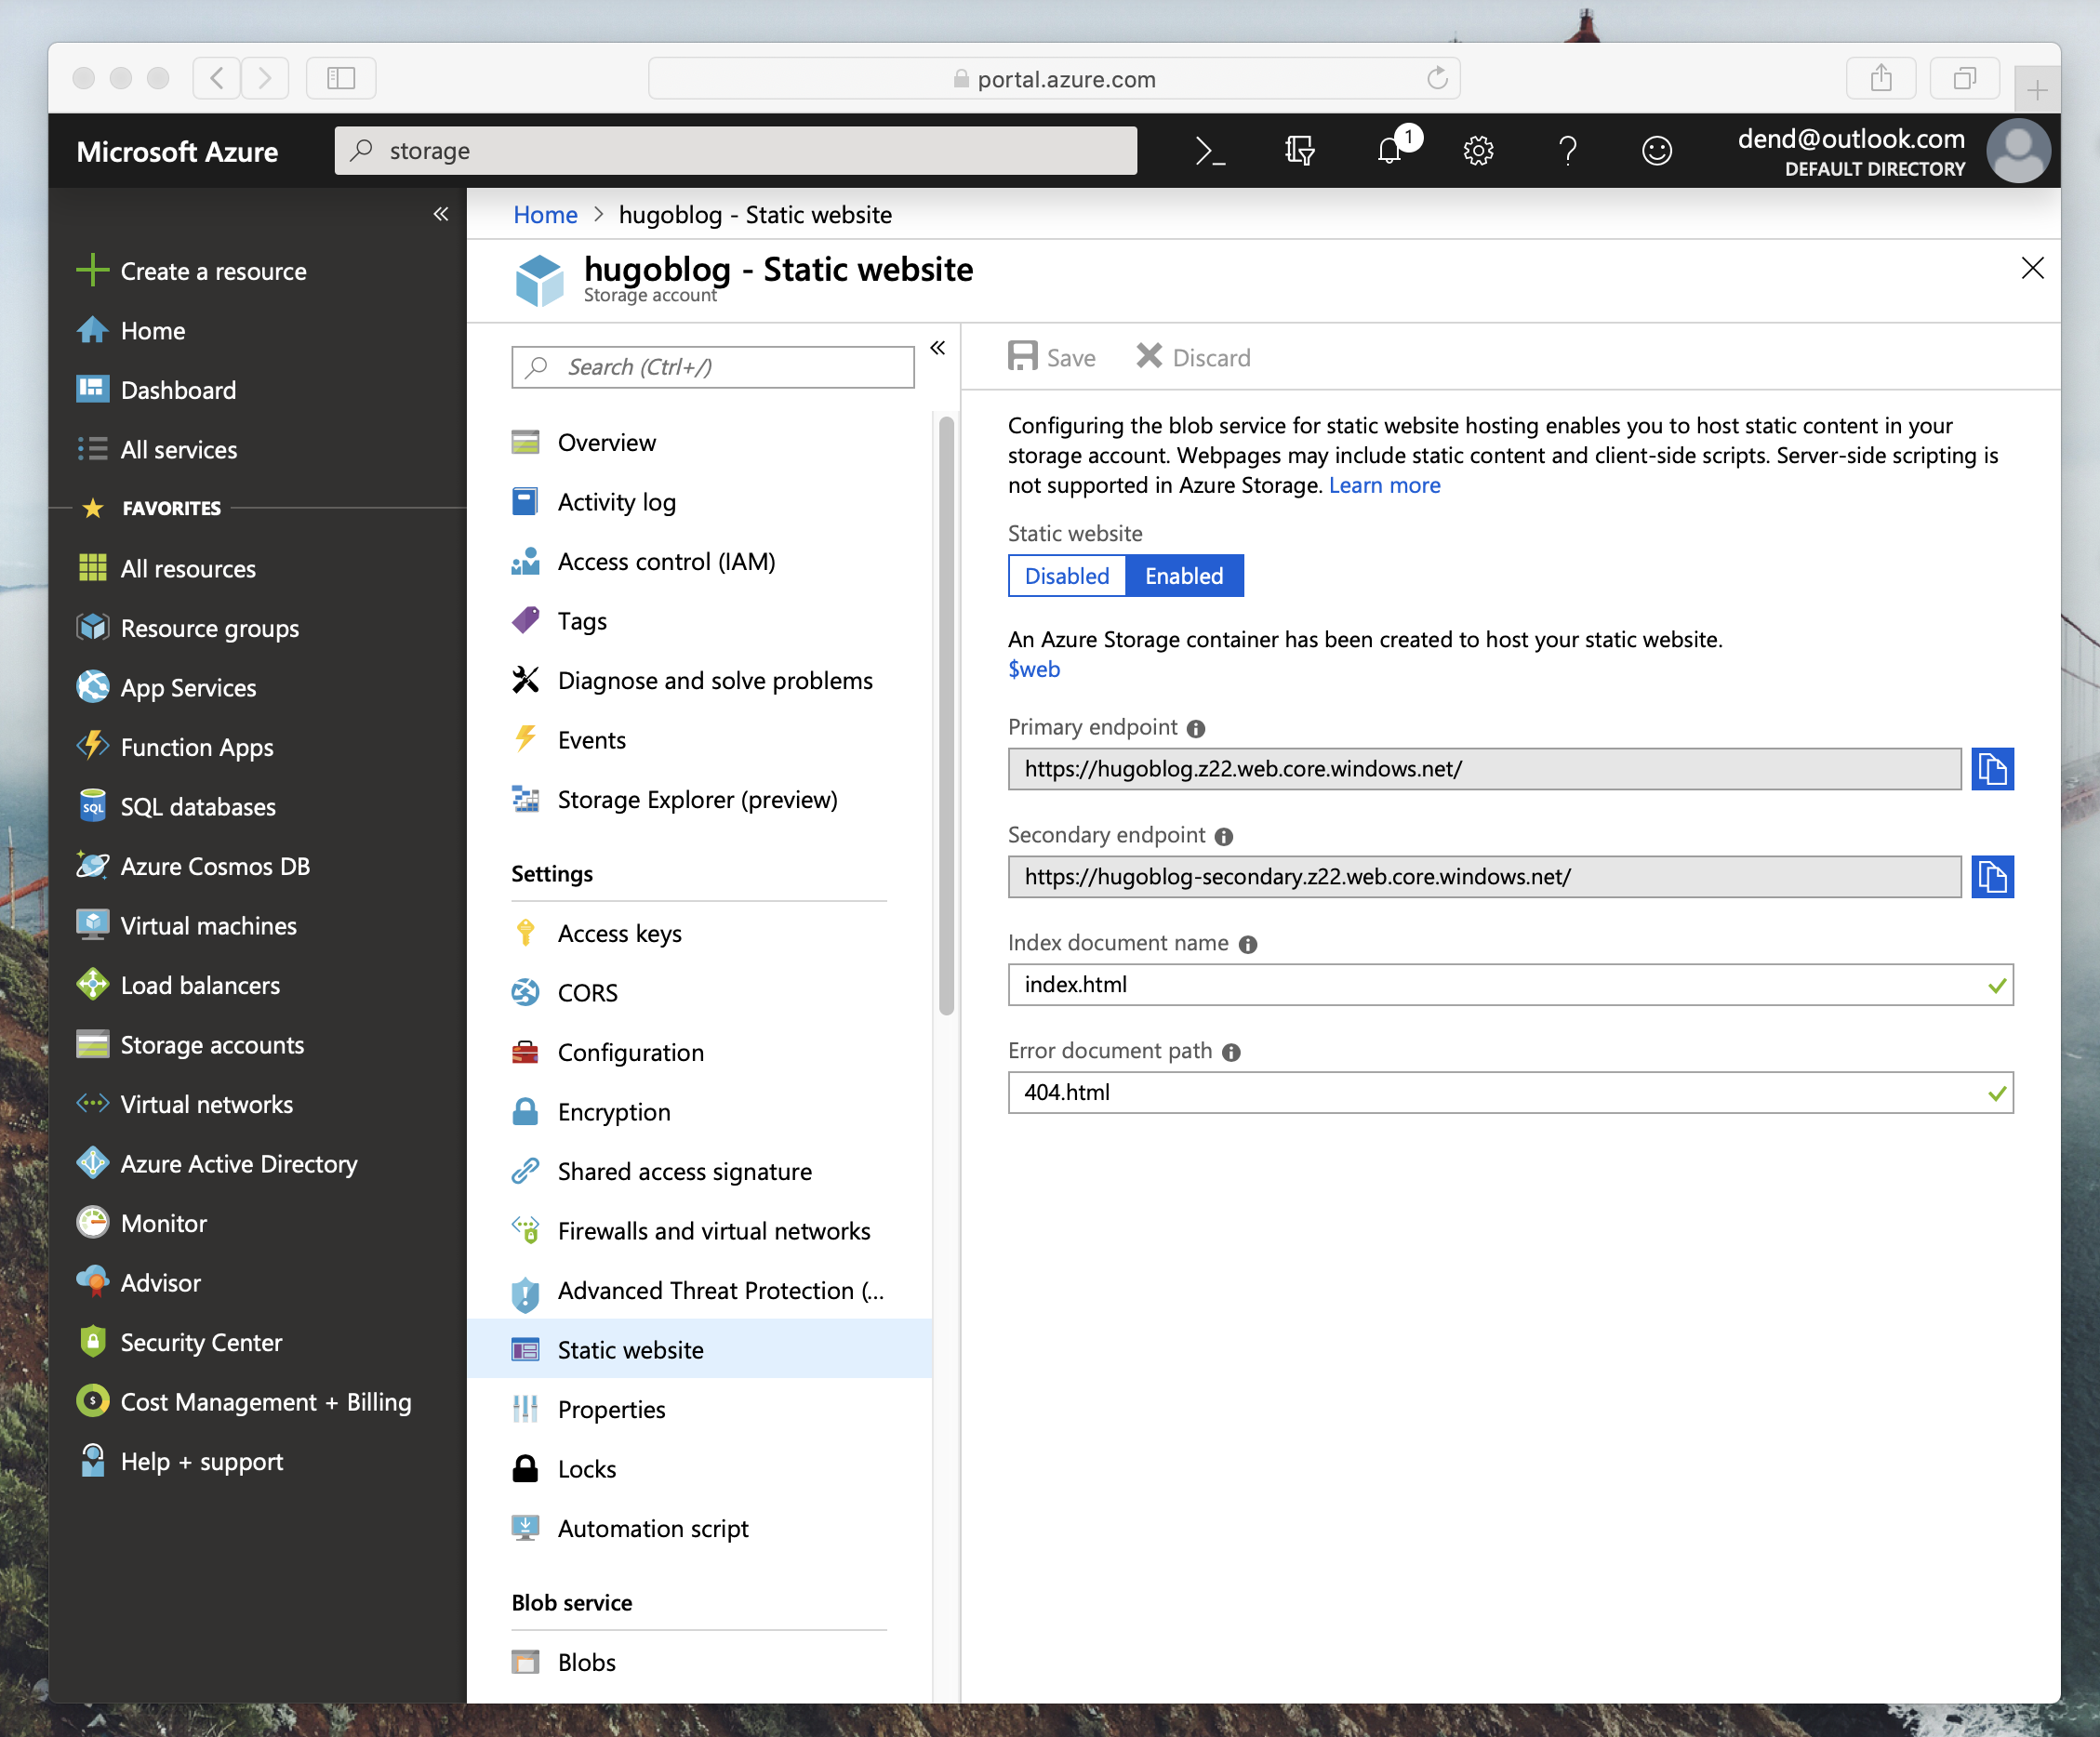
Once you save the setting, you should get the endpoint where the site would generally be available if you are accessing it directly:
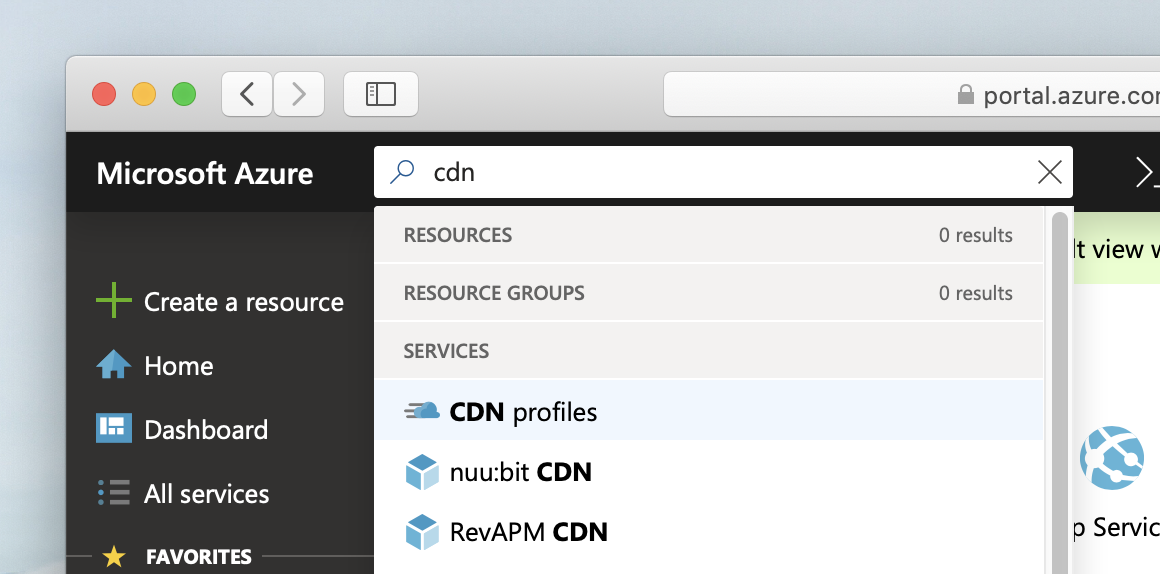
In addition to the storage account, we probably also want a CDN to make sure that all the static content is not pulled every single time the site is requested. In the Azure Portal, search for CDN:
If you’ve never used Azure CDN before, you should see an empty list of profiles:
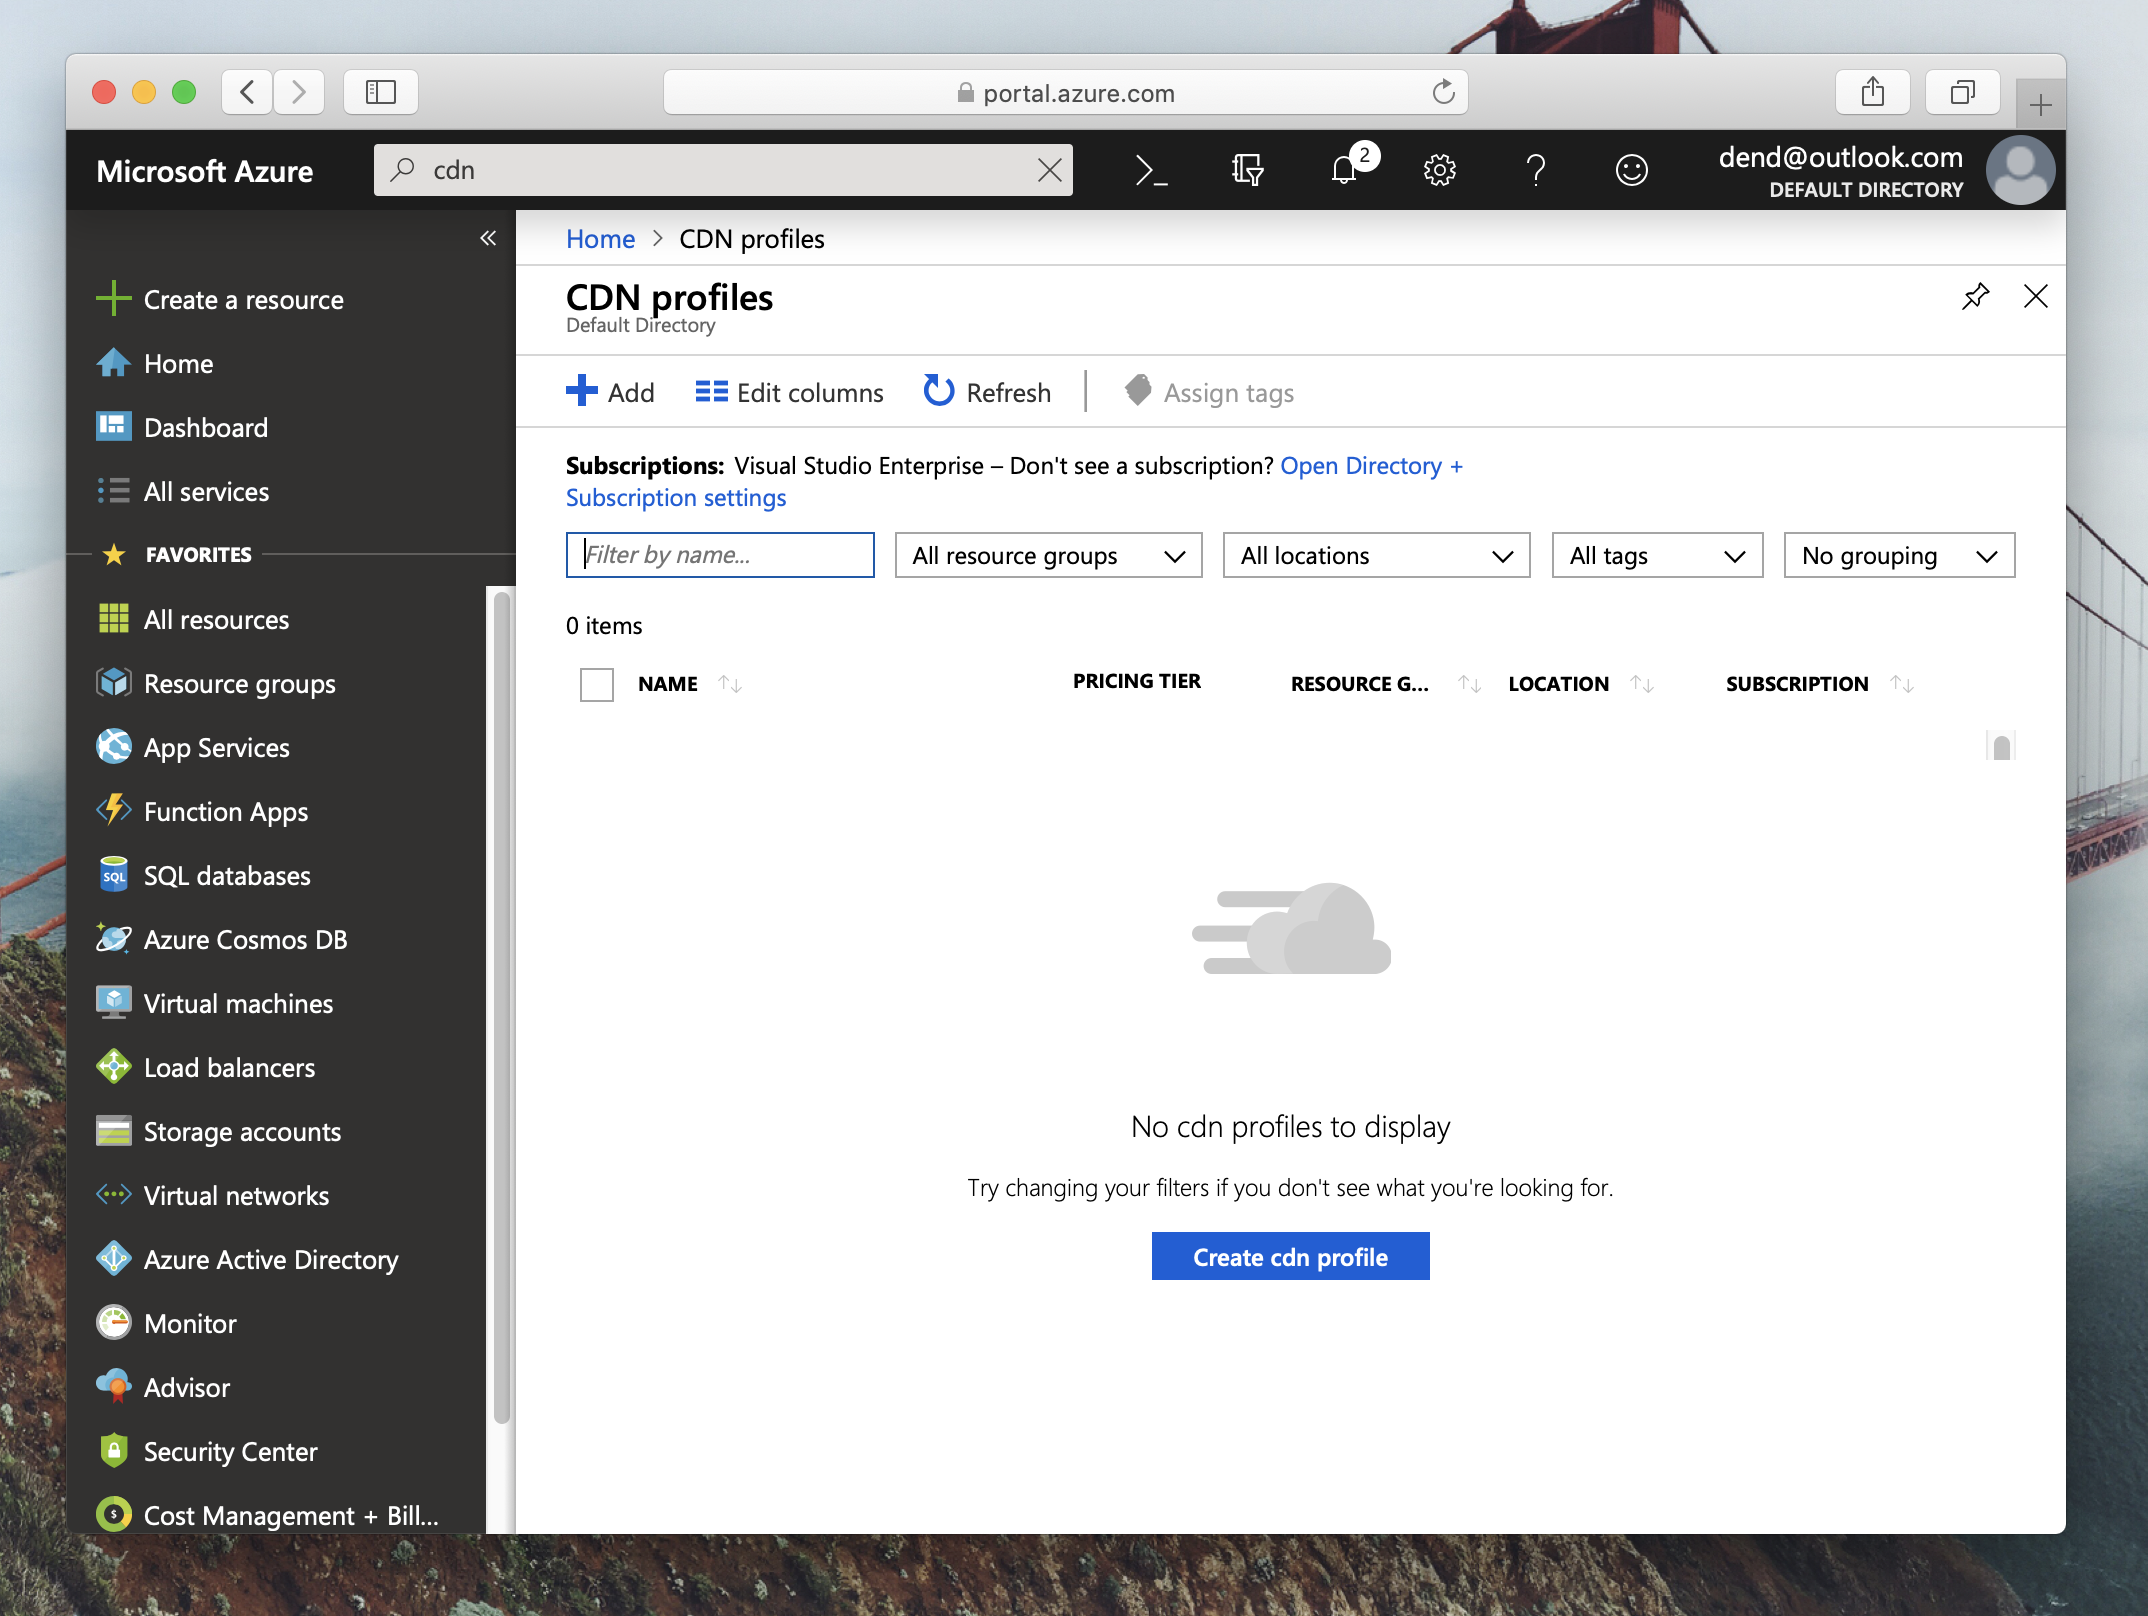
Create a new profile and give it a unique name. Make sure that you check the Create a new CDN endpoint now option, and bind it to the Azure Storage static endpoint that we just created (that is - a Custom origin). In my case, it was the following URL:
hugoblog.z22.web.core.windows.net
Because we are working on a static site fetched from Azure Storage, we should not use the Storage origin type, but rather rely on a direct origin URL configuration. The default storage option would not point to the static site container.
You can use the Standard Microsoft pricing tier for now.
Click on Create and wait for the CDN profile to be provisioned. Once it is, you are ready to start experimenting with deployments from GitHub.
GitHub #
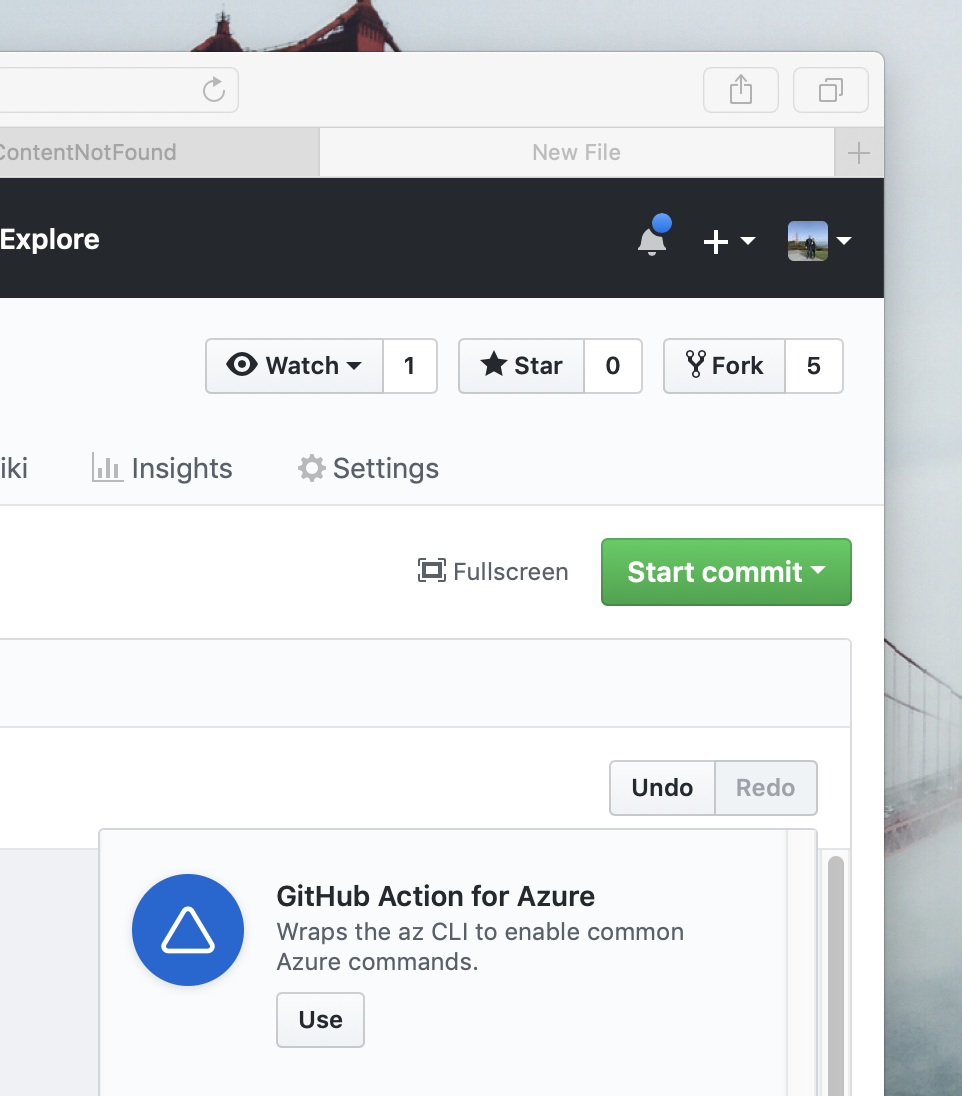
We need to create a new workflow in our repository - that is the entity what defines how actions behave. To do that, navigate to the Actions tab and create a new workflow - it’s that simple.
If you read some of the previous posts I wrote about GitHub Actions, you’ve noticed that I was hand-writing most of the bash scripts for any sort of deployments. However, because we are using Azure behind the scenes, there is already a set of tools provided through GitHub Actions for Azure:
To make sure that we can use these, we need to create an Azure service principal. The best way to do that is by installing Azure CLI locally and then triggering the following command:
az ad sp create-for-rbac --name HugoBlogDeploymentPrincipal
In the Terminal, you will get the information about the principal:
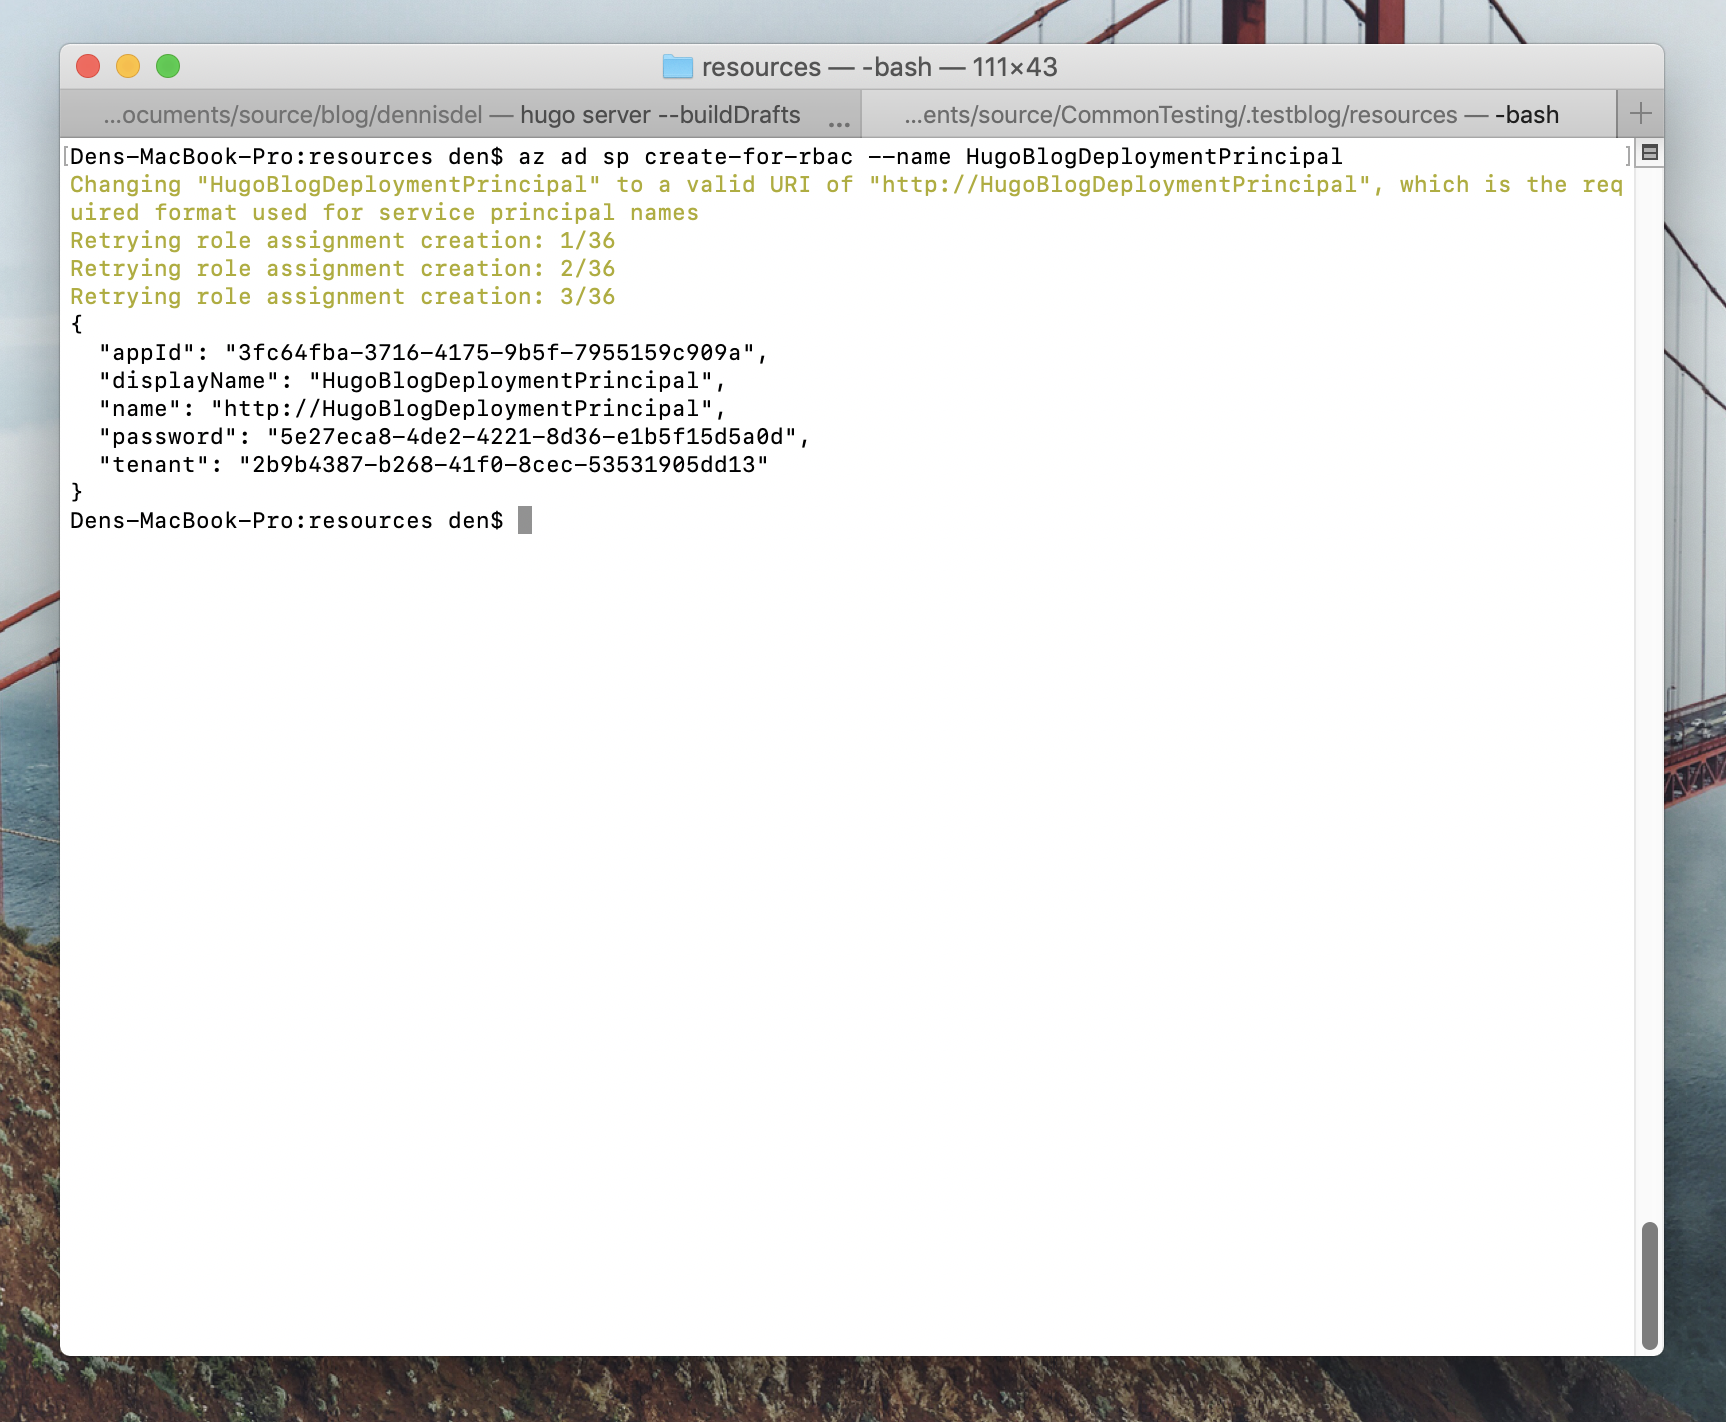
For each of the values shown, create individual secrets in the Azure-based action.
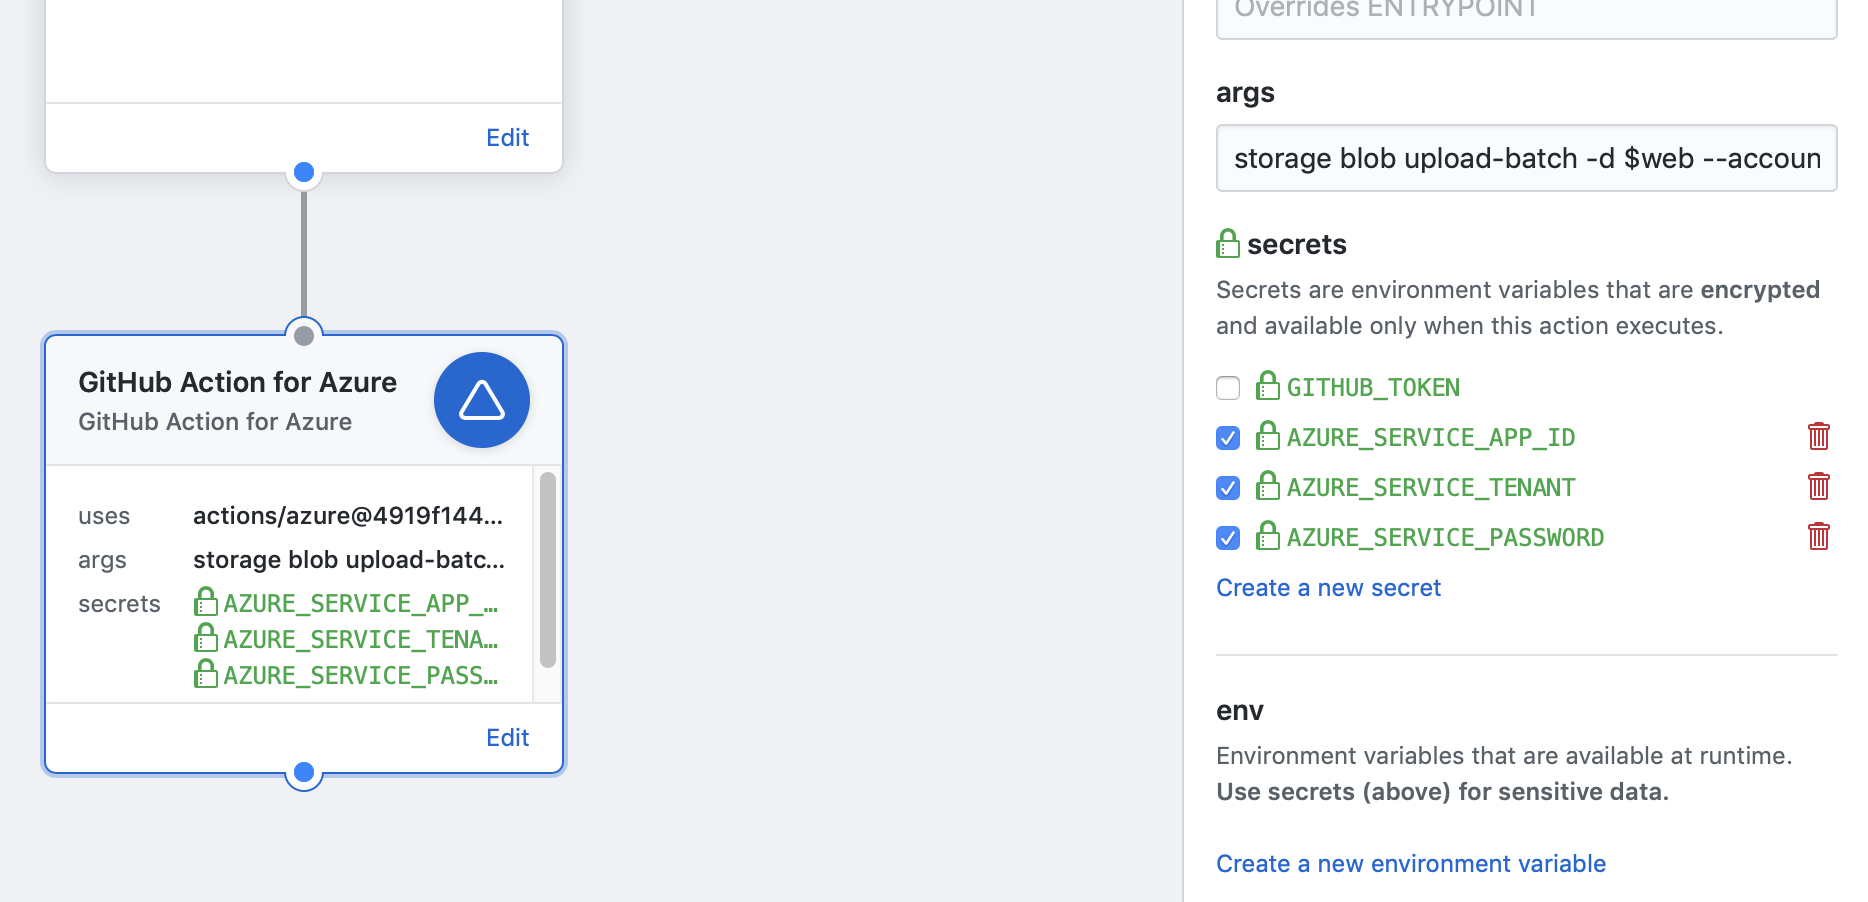
It is very important that you configuration accounts for standard secret names:
AZURE_SERVICE_APP_ID- TheappIdof your service principal.AZURE_SERVICE_TENANT– Thetenantof your service principal.AZURE_SERVICE_PASSWORD- Thepasswordof your service principal, required for password-based authentication.
Commit the changes - we will make more changes shortly. Before we make modifications to the Azure-based action behavior to deploy the content to Azure Storage, we need to make sure that we build the content and have the produced HTML handy. Unfortunately, there is no pre-built GitHub Action for that yet, so we will need to write a custom one.
That is not a complex task - we just need to create a new folder in our repo for the action. I called mine hugo-blog-action. In said folder, create a new Dockerfile with the following content, defining what the action is:
FROM debian:9.5-slim

LABEL "com.github.actions.name"="Build Hugo content"
LABEL "com.github.actions.description"="Builds Hugo blog content locally."
LABEL "com.github.actions.icon"="mic"
LABEL "com.github.actions.color"="red"

LABEL "repository"="https://github.com/dend/CommonTesting"
LABEL "homepage"="https://den.dev"
LABEL "maintainer"="Den"

ADD entrypoint.sh /entrypoint.sh
ENTRYPOINT ["/entrypoint.sh"]
In addition to the Dockerfile, we need to create a shell script that will install Hugo and will build the content. This file also needs to live inside the hugo-blog-action folder, called entrypoint.sh. The contents of that file should be as such:
#!/bin/bash -l

apt-get update
apt-get install -y wget git

wget https://github.com/gohugoio/hugo/releases/download/v0.53/hugo_0.53_Linux-64bit.deb

yes | dpkg -i hugo*.deb

hugo version

# Make sure we have the latest theme.
git clone --progress --verbose https://github.com/taikii/whiteplain .testblog/themes/whiteplain

cd .testblog
hugo -v
We update system package listings, install wget (to be able to download Hugo) and git (to be able to manage dependent repositories). We then download the latest Hugo release and install it. Last but not least, we also clone the theme repository and build the content.
Before committing the script to the repository, let’s make sure that the script has the proper execution permissions:
chmod +x entrypoint.sh
Once this command is successful, commit the changes. We now need to modify the workflow file (located in the .github folder) to make sure that the Azure-based action is only executed after the blog is built. Here is what the file content looks like for me:
workflow "New workflow" {
  on = "push"
  resolves = [
    "Build Hugo content",
    "GitHub Action for Azure"
  ]
}

action "Build Hugo content" {
  uses = "./hugo-build-action"
}

action "GitHub Action for Azure" {
  needs = ["Build Hugo content"]
  uses = "actions/azure@4919f1449100fb0e6111a52466de7f2a1dc861dc"
  secrets = ["AZURE_SERVICE_APP_ID", "AZURE_SERVICE_TENANT", "AZURE_SERVICE_PASSWORD"]
}
Notice the needs parameter for the GitHub Action for Azure entry - this indicates that the action will only be executed once the Build Hugo content action is done. The Build Hugo content action is new - we just added it to the repository, and need to reference both through the action entry and in the resolves section in the workflow definition.
Once changes are committed to the workflow file, we can preview the action chain:
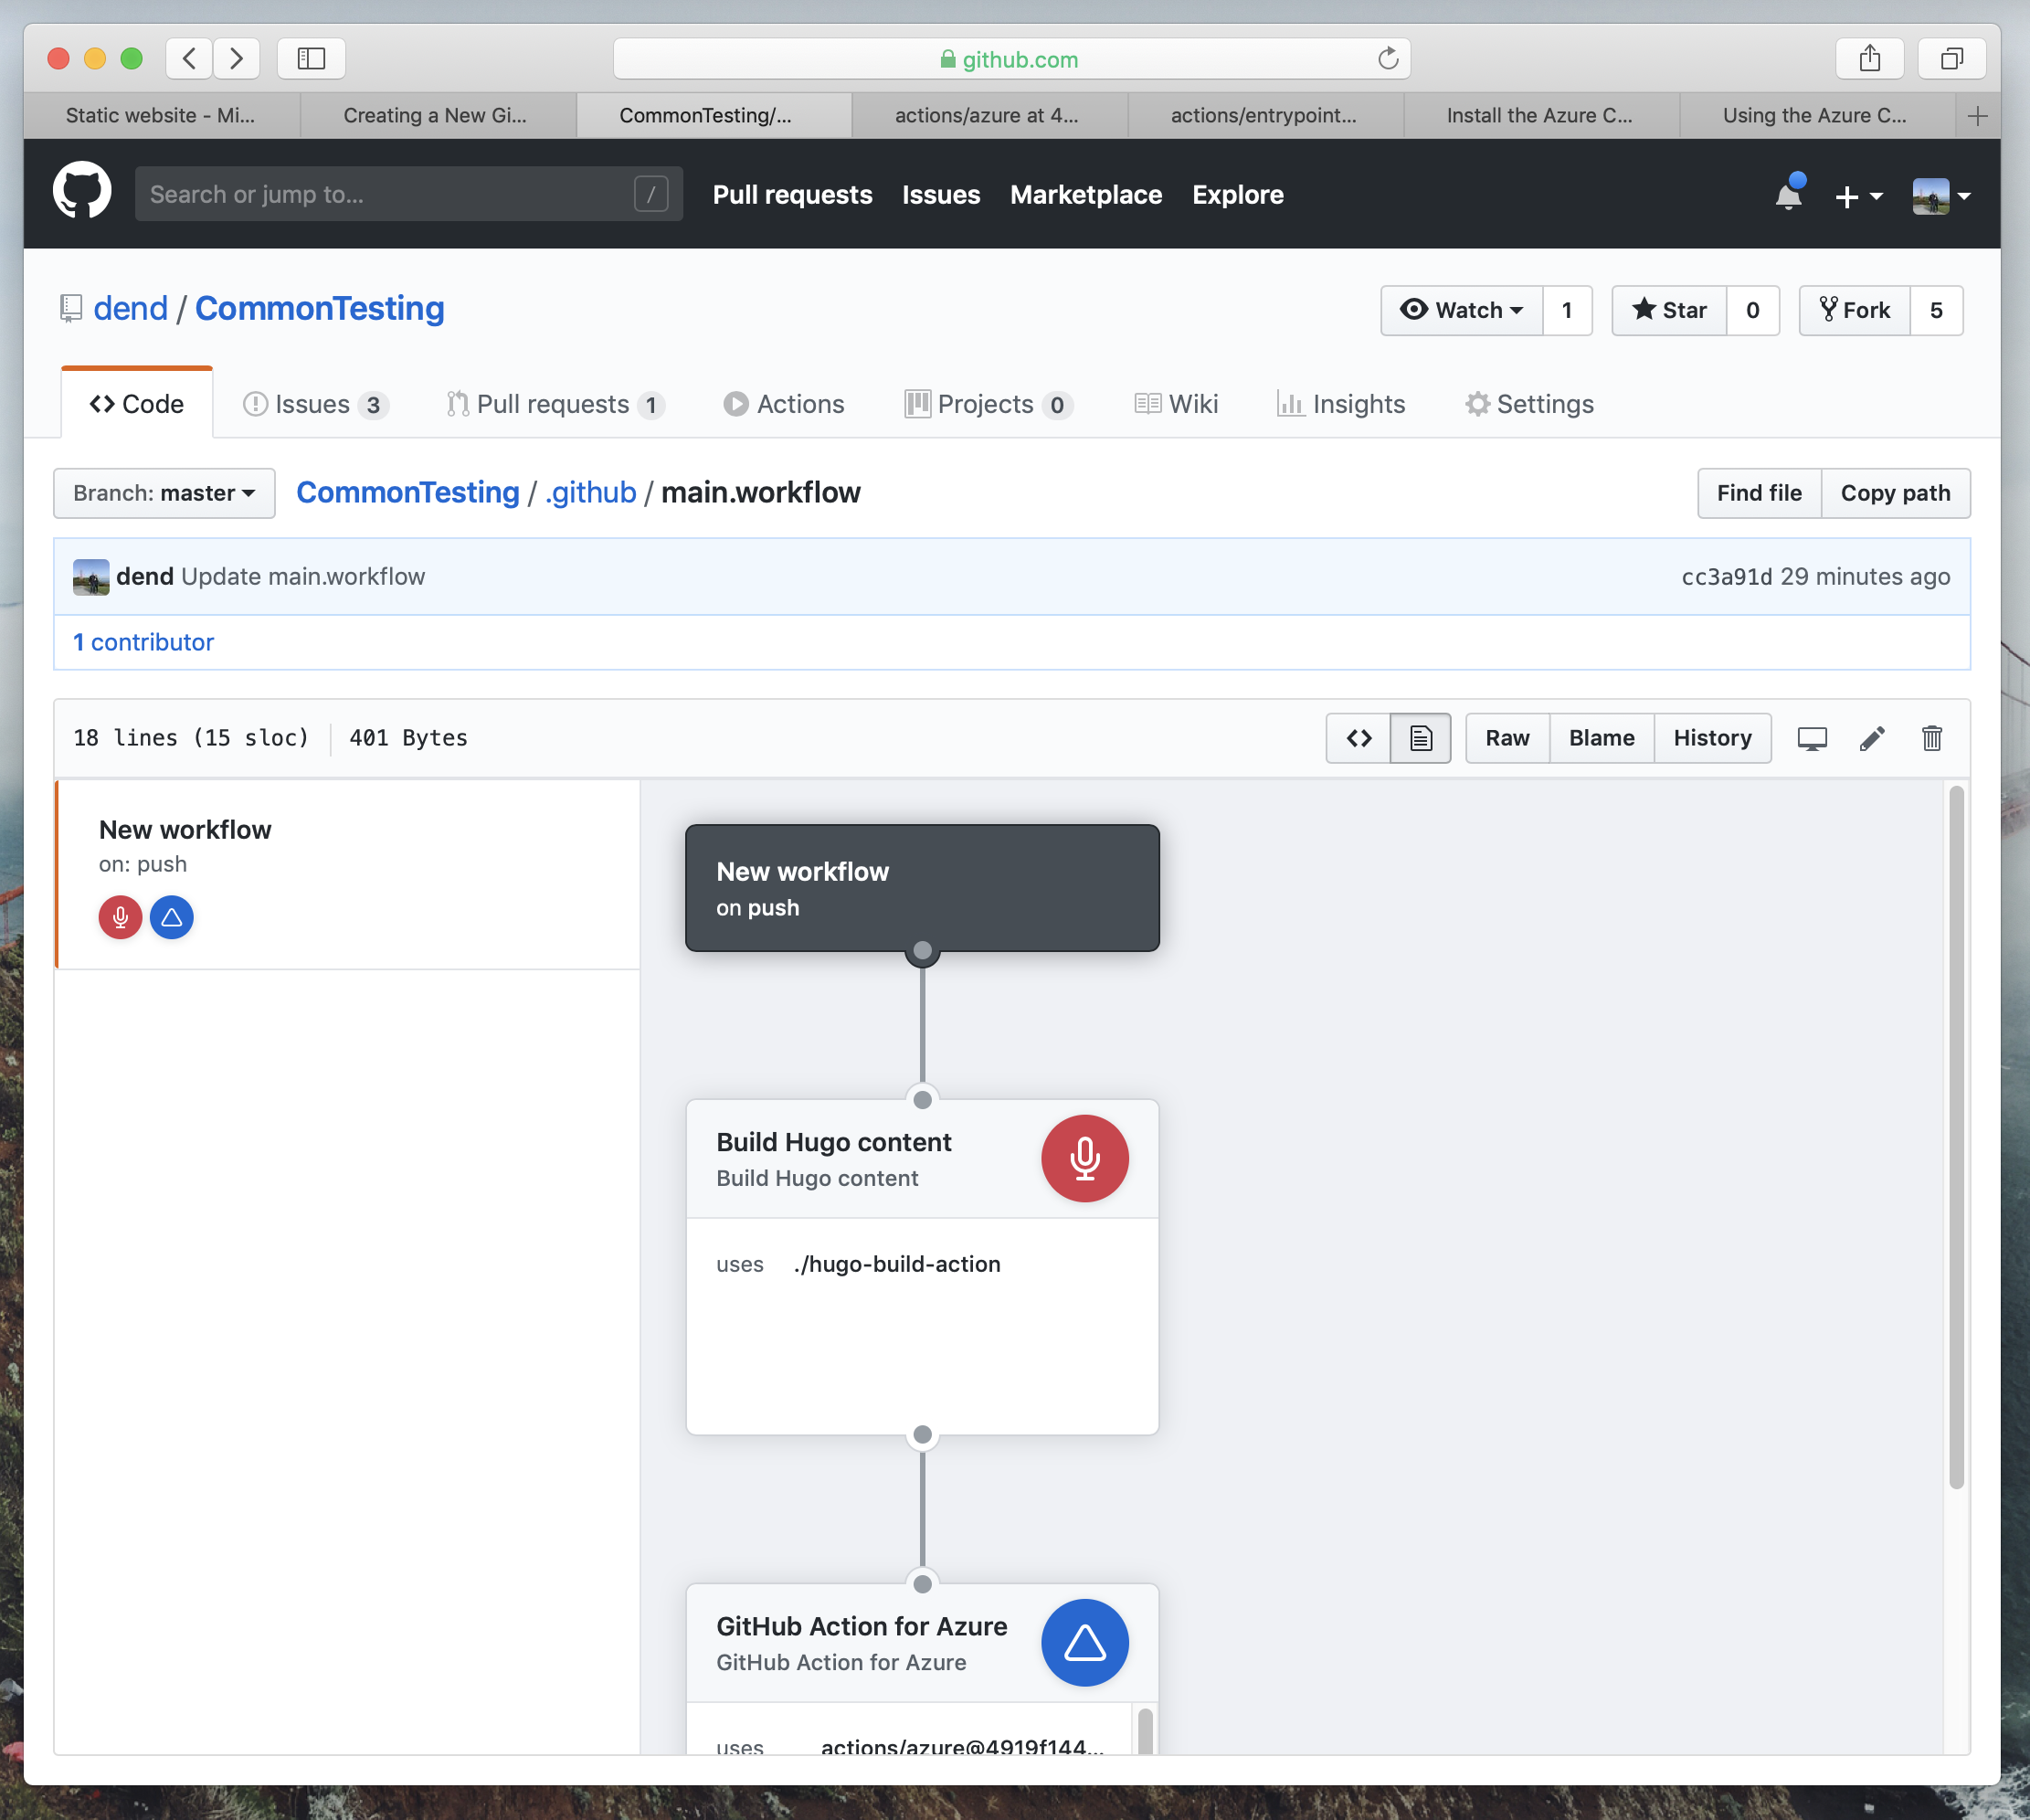
When the blog is being build, the content will be placed in the /public subfolder within the blog directory. We can use this information to set up the Azure-based action. Go to the workflow in the .github folder and edit it. For the args value in the Azure-based action, use the following value:
storage blob upload-batch -d \$web --account-name hugoblog -s .testblog/public
The authentication is handled for us behind the scenes, as long as the correct secrets are set. The destination for the generated HTML files is the $web folder (for which we have to escape the dollar sign) - that is where the static site files are always hosted in the storage account. The account name, determined by the --account-name argument, is the name of the Azure Storage account, and the -s argument points to the folder where the blog output was generated. The latter is always {blog-folder}/public.
Your new main.workflow file should look like this:
workflow "New workflow" {
  on = "push"
  resolves = [
    "Build Hugo content",
    "GitHub Action for Azure",
  ]
}

action "Build Hugo content" {
  uses = "./hugo-build-action"
}

action "GitHub Action for Azure" {
  needs = ["Build Hugo content"]
  uses = "actions/azure@4919f1449100fb0e6111a52466de7f2a1dc861dc"
  args = "storage blob upload-batch -d \\$web --account-name hugoblog -s .testblog/public"
  secrets = ["AZURE_SERVICE_APP_ID", "AZURE_SERVICE_TENANT", "AZURE_SERVICE_PASSWORD"]
}
Commit the changes. Now, every time you add more content or modify existing content, the workflow will be kicked off and the updates published to the Azure Storage account. Because our content is backed by a CDN, we can just use the CDN endpoint to get to the site:
There is more custom configuration that you can do, such as adding SSL and custom domains, however that would be slightly beyond this demo blog post. I hope you can now host your own blogs quicker, and most importantly - cheaper!