Running Scheduled Data Collection with Synology and Docker
I’ve used my Synology NAS for some time now - about two years and counting, and it’s been a great tool to backup information locally (e.g. from my phones or shared computers). Then, I got to thinking - it’s pretty much a mini-computer. It has a quad-core 1.4Ghz CPU, a whopping 2GB RAM, and plenty of storage. I can do more with it than just use it for occasional data dumps. That is - I could use it for frequent data dumps.
Not too long ago, I’ve started deploying my local knowledge base to the NAS. Given that it supports running Docker, this means that I can run almost any image with any combination of Linux software on it (or so I naively think), and that opens up a world of opportunities. I personally am big on data, and there were two projects that were kind of on the backburner - collecting air quality data, and gathering Twitter analytics in a local snapshot. Once I actually implemented them (check out the Unlocking My Air Data Through API Analysis and Building Your Own Twitter Analytics blog posts), I was stuck executing local data collection scripts that were nothing other than a bunch of PowerShell files that then called other Python modules. Boring stuff. Even worse, sometimes I would forget to run the scripts, and that resulted in missed data points.
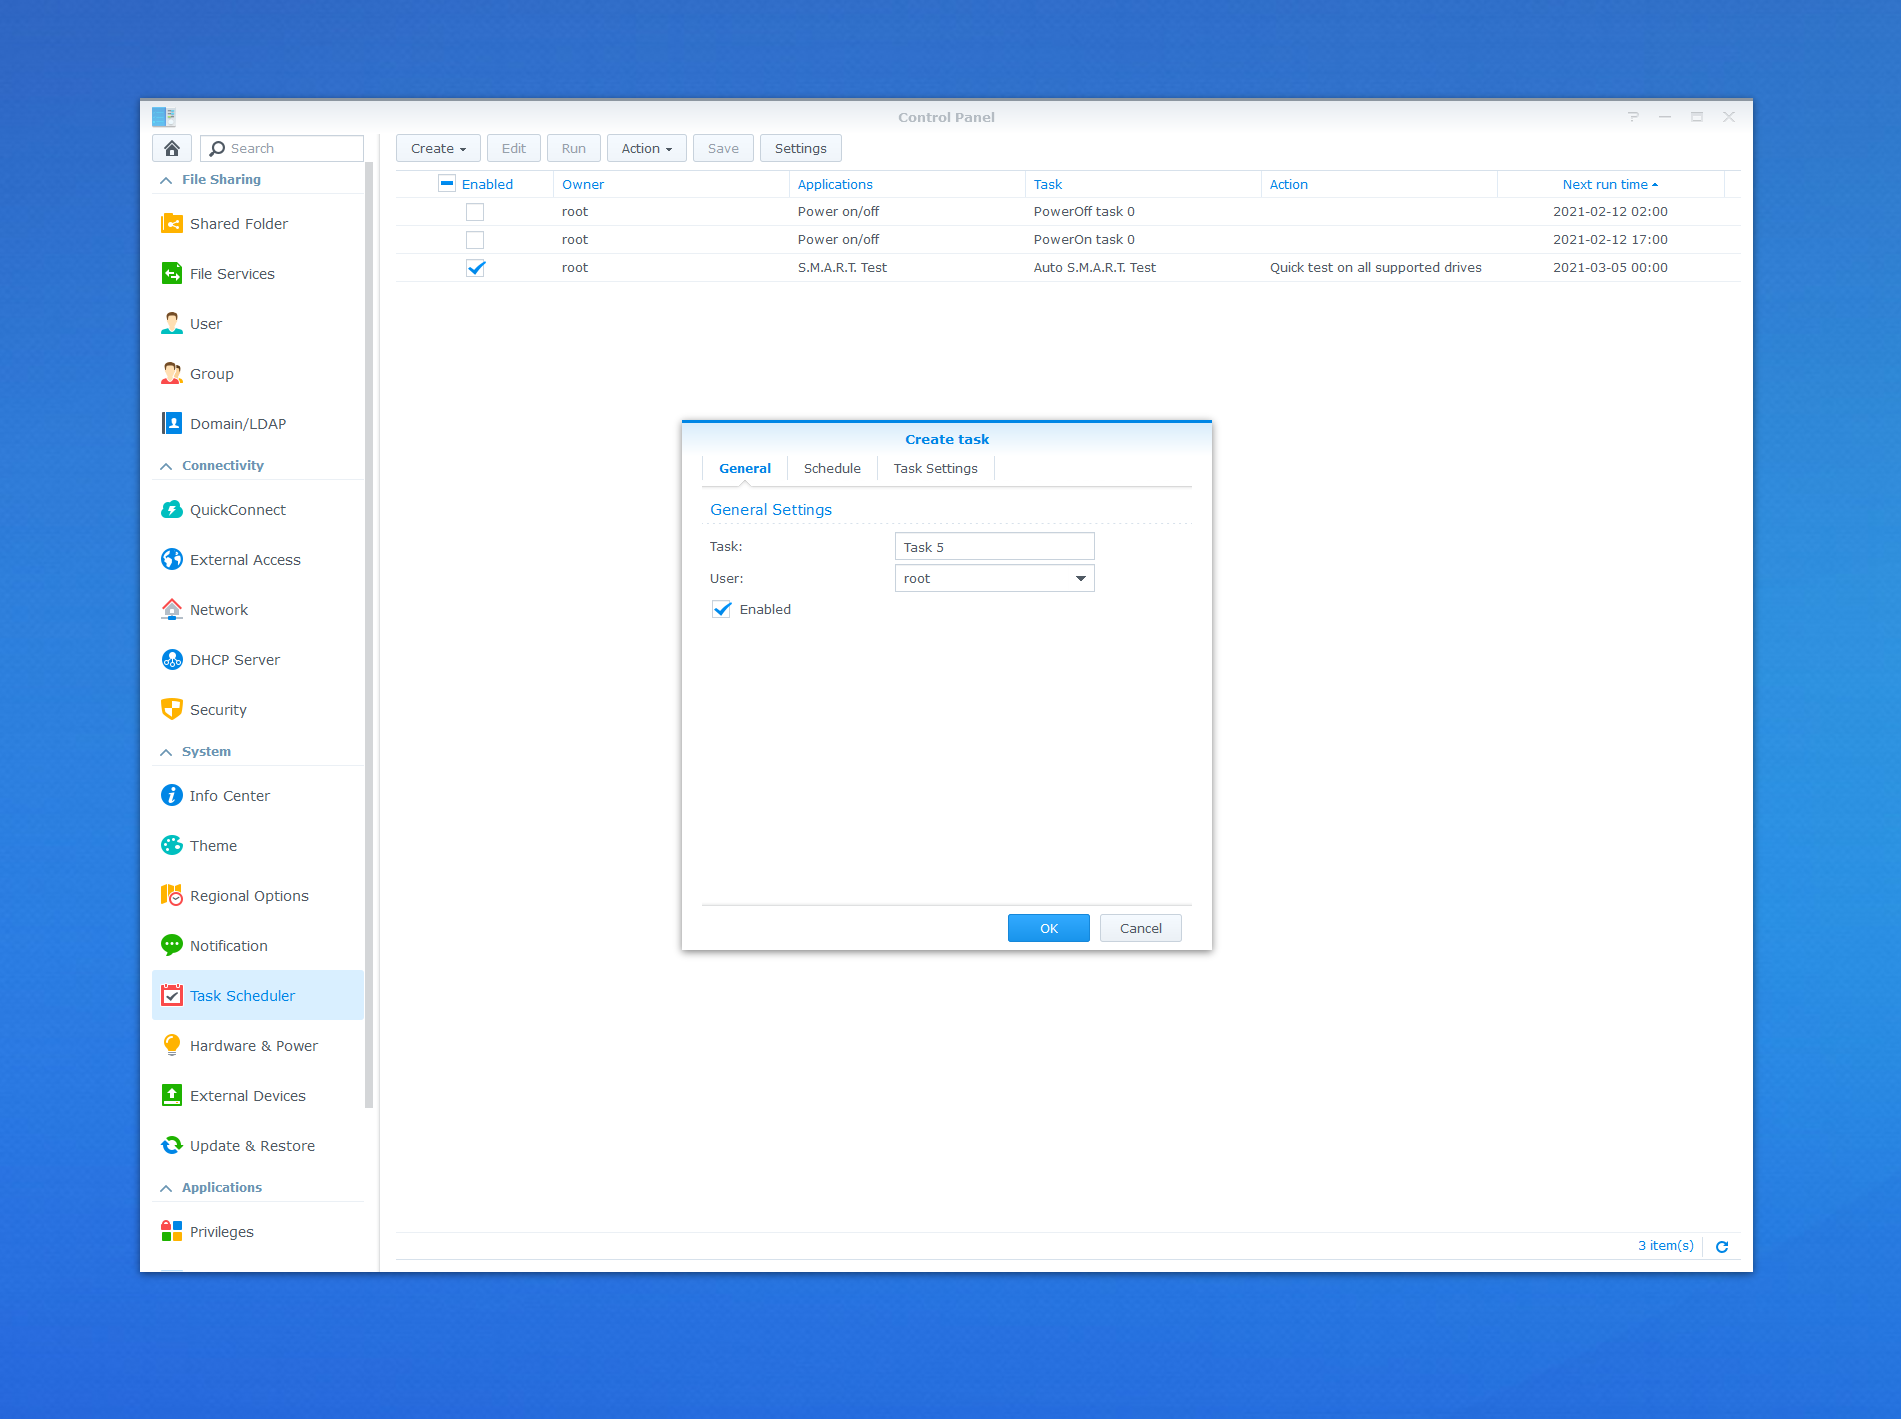
Come late December, I built yet another hacky project that can record my Nest camera streams - after seeing how much space those take on my local machine, I decided that it was time to move the workload to my “home cloud.” I needed to have a way to run scheduled jobs on the NAS. By default, the Synology OS offers the ability to trigger scheduled jobs through the Control Panel.
But that means that there is now another abstraction layer on top of what I want to do (Docker containers, of course) to run regular data collection and dump everything into a SQLite database. So instead, I will need to make the scheduled job run inside the Docker container itself, assuming that the container will be running constantly and can be restarted on failure. Thankfully, Docker on Synology handles the latter for me out-of-the-box.
The answer is cron - the tool that allows scheduling jobs on a *nix system. All I needed was install it within the container and make sure that there is a cron configuration file that tells the utility what to do at what intervals.
I spent half an hour whipping up a basic Dockerfile for my air quality collection service, that looked like this:
FROM ubuntu:latest
SHELL ["/bin/bash", "-c"]
COPY entrypoint.sh entrypoint.sh
COPY airdata_cron /etc/cron.d/airdata_cron
COPY src/requirements.txt requirements.txt
RUN apt-get update \
	&& chmod +x entrypoint.sh \
	&& chmod 0644 /etc/cron.d/airdata_cron \
	&& apt-get -y install cron \
	&& apt-get -y install python3.8 python3.8-venv python3.8-distutils python3.8-dev \
	&& python3 -m venv airdata_env \
	&& source airdata_env/bin/activate \
	&& pip install -r requirements.txt
RUN crontab /etc/cron.d/airdata_cron
RUN touch /var/log/air_log.log
ENTRYPOINT [ "cron", "-f" ]
On the surface, it’s pretty simple:
- Use the latest Ubuntu Docker image.
- Set the shell to Bash.
- Copy an entrypoint script from the local machine to the container.
- Copy the
cronconfiguration file from the local machine to the container. - Copy Python requirements configuration file from the local machine to the container.
- Update the container OS.
- Set up
entrypoint.shwith executable permissions, so the script can actually run. - Set the right permissions for the
cronconfiguration value (this could also be represented as-rw-r--r--). - Install the
cronutility. - Install Python requirements for my project.
- Create a new virtual environment for the air data collection project.
- Activate the virtual environment.
- Install the required packages for my air data collection project into the environment.
- Schedule my regular job by reading the
cronconfiguration file and writing it to thecrontable. - Create a “dummy” log file used for writing scheduled job output.
- Set the entrypoint to the
cronutility, running in the foreground (determined by the-fflag).
Wow, OK, maybe not that simple, but it’s pretty straightforward. So what’s in the airdata_cron file then? Not a lot:
0 * * * * /entrypoint.sh >> /var/log/air_log.log 2>&1
The job will run every hour (thank you crontab.guru) - it will execute entrypoint.sh, which is the data collection script, and route all output to /var/log/air_log.log.
One thing I learned while working with cron is that I need to make sure there is an empty line at the end of the cron configuration file (i.e. crontab), and only Unix line endings are supported. Not meeting those criteria will result in the job not executing, but I will never know about that.
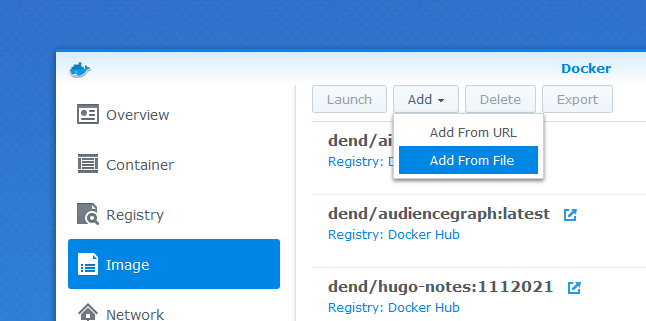
But this is all fine and dandy, until it’s time to actually put a container on the Synology NAS. How would I do that if I am not publishing my container on any public registry, which I don’t want in this case? As it turns out, you can bring your own image directly to the NAS with this wonderful feature:
To get the image packaged up, I just took what I had on my developer box, and threw docker save at it:
docker save -o ad_image.tar dend/airdata:latest
Hold on a second, you might be wondering, what’s with the tag (dend/airdata:latest)? Didn’t I just say that I did not want to push an image to a registry, and yet here I am using a tagged one? Here is a funny story - Docker on Synology will not accept an untagged image. That is, Docker on my local machine has no problem putting everything into a TAR file, tagged or not, but Docker on Synology will silently fail after attempting to import the image. Yet another lesson learned.
Once the image is imported, I can bootstrap a container from it - I need to make sure to use the same network as the Docker host, and mount the right local volumes that point to the SQLite database - it’s not copied inside the container because the data always lives independent of the collection engine.
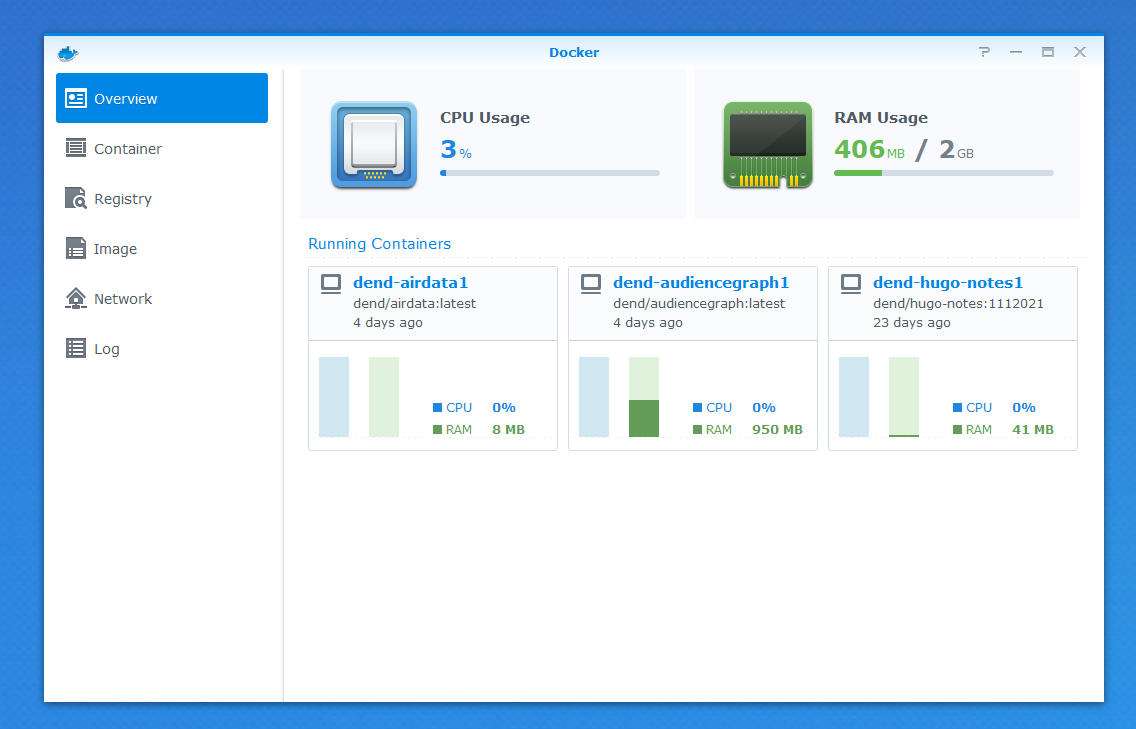
Here’s the running container:
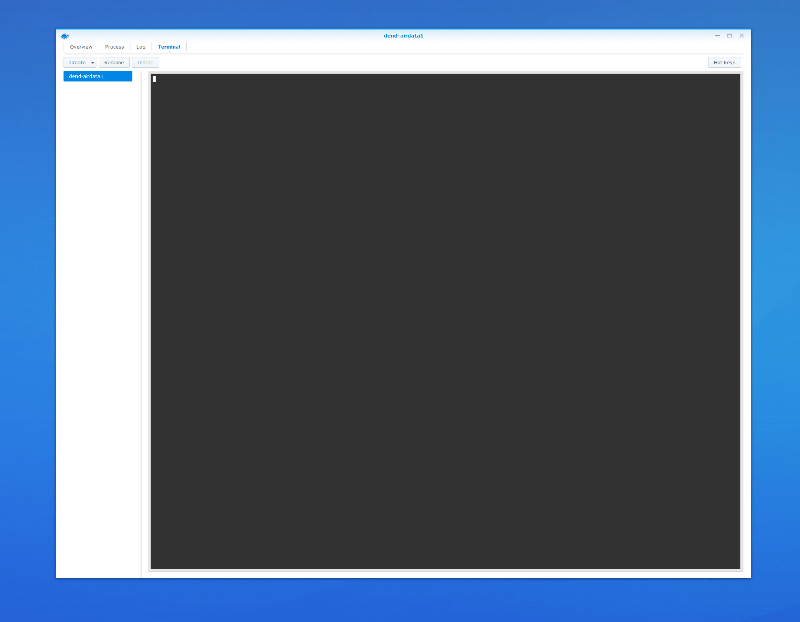
To monitor the job, I can just run the tail command to check the log:
tail -f /var/log/air_log.log
That’s pretty much it - now the data is collected regularly, without any manual involvement from the engineer (me). Because the SQLite database is hosted on a shared folder, I can access it from across the network, knowing that I have the latest and greatest metrics already captured.
The last important point I want to add is that the write performance can be pretty terrible if you have slow hard drive inside the NAS bay. I realized that my choice of optimizing for reads backfired when I actually needed to push data to a local database that resides on the NAS, and it’s quite the contrast to working with a SSD on my main machine.