Experimenting With Managed Identity In MSAL.NET
Table of Contents
If you are building software on Azure, you’ve likely stumbled across the concept of managed identity. In layman’s terms, a managed identity is an automatically provisioned and managed identity resource that can be used to access other resources in Azure. Think of it as a “user account that you don’t need to worry about managing credentials for.”
Quick scenario overview #
A recent example of managed identity use for me was in some of the Azure Batch tinkering I was doing to automate my Halo stats data collection (I quickly ran against the GitHub Actions minute allocation cap, no surprises there). I needed to log into Azure Key Vault from a batch job without having to set up credentials in environment variables, scripts, or other less-than-ideal locations. Instead of hacking my way around, I could use the Azure CLI with:
az login --identity
That would automatically pick up an identity I’ve assigned to my Azure Batch resource and give me the Key Vault data (that also had the identity assigned to it). Nifty. Now, that’s all nice when I have pre-built tools for me that use managed identity, like the Azure CLI, but what if I am building my own software that needs to run, let’s say, inside a virtual machine, that also needs to access the managed identity?
MSAL.NET with managed identity support #
Enter the Microsoft Authentication Library (MSAL) for .NET with managed identity support. With this functionality (experimental for now, but production-ready soon) a developer can access managed identities through any Azure host resource that allows execution of .NET code.
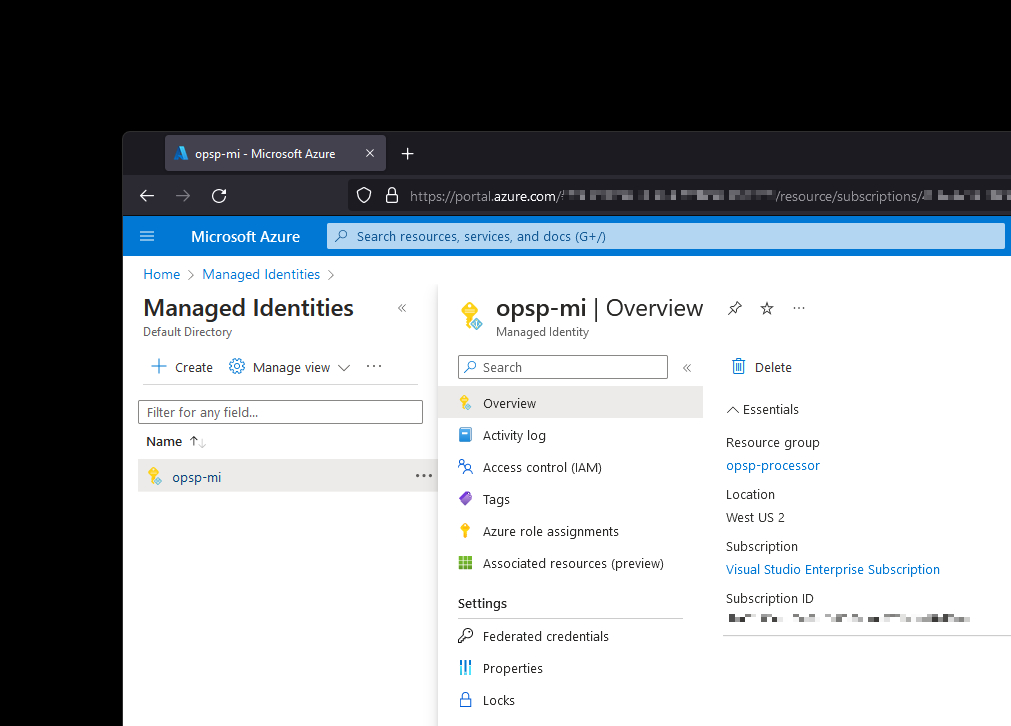
Instead of talking in hypotheticals, let’s tackle a real scenario. I have a user-defined managed identity in my test Azure subscription.
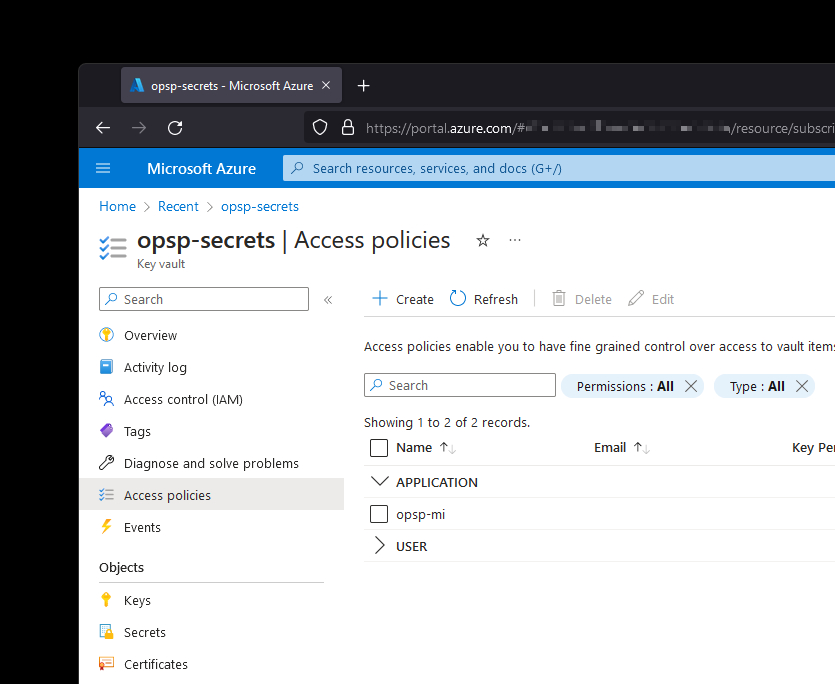
Said managed identity has access to a Key Vault that stores secrets that I use for data collection and processing jobs.
I now want to write a .NET application in C# that runs inside a virtual machine in my Azure subscription that does some other data collection that takes advantage of the secrets stored in the aforementioned Key Vault. Instead of me writing extensive authentication code that would be, no doubt, brittle and out-of-sight (remember that it should run in a VM that is nothing more than a data collection agent), I can use built-in MSAL.NET capabilities.
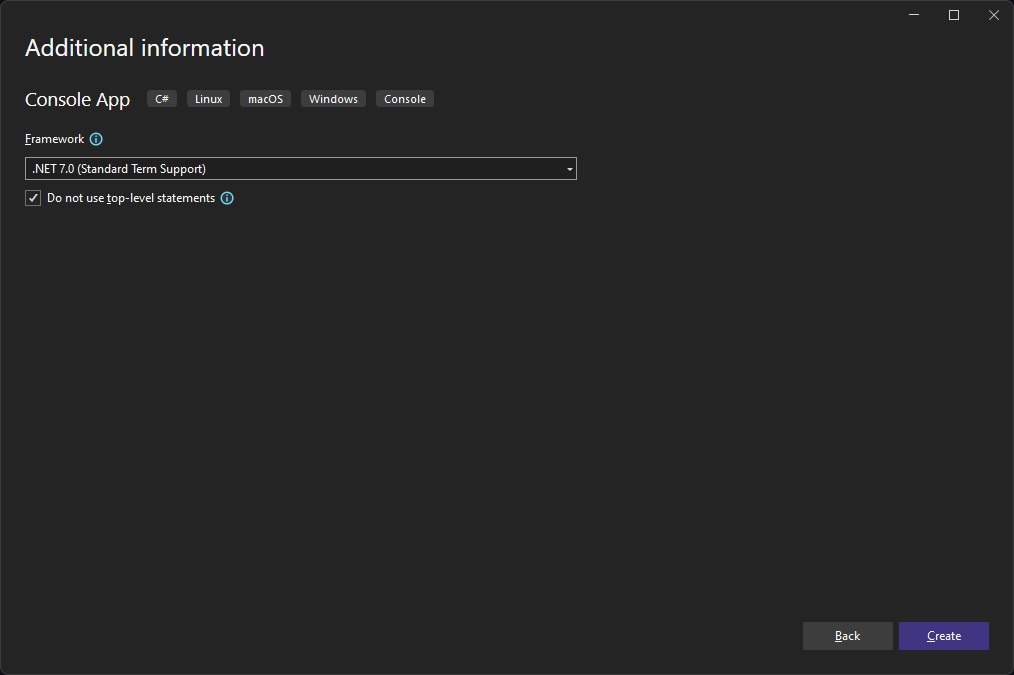
The first step is to spin up a new project. I am using Visual Studio, but you can do this with the help of .NET CLI on any supported platform. Because we’re playing this on hard mode (no UI), this will be a console application.
Next, I am going to add a reference to Microsoft.Identity.Client NuGet package. The managed identity functionality was added in version 4.51.0, so you need to make sure you have at least that release.
I am all set - I can start writing the code that talks to managed identity. The foundational piece to what I am about to use is ManagedIdentityApplicationBuilder - it’s the “factory” that creates a new managed identity application context that I can use from within my C# console app.
IManagedIdentityApplication managedIdApplication =
    ManagedIdentityApplicationBuilder.Create("/subscriptions/SOME_GUID/resourcegroups/MY_RG/providers/Microsoft.ManagedIdentity/userAssignedIdentities/opsp-mi")
    .WithExperimentalFeatures()
    .Build();
One thing to keep in mind is that I pass a resource identifier to Create() because I have a user-assigned identity. Some resources in Azure support system-assigned identities as well which simplifies this even further (you can skip the argument altogether).
Because this is an experimental feature, you need to make sure that .WithExperimentalFeatures() is used with ManagedIdentityApplicationBuilder. Once the feature will make it to general availability (GA), this will no longer be necessary.
With the application instance ready, I can now try and acquire a token for my Key Vault with the help of AcquireTokenForManagedIdentity, to which I pass the generic Key Vault scope:
AuthenticationResult result =
    await managedIdApplication.AcquireTokenForManagedIdentity("https://vault.azure.net/.default")
    .ExecuteAsync()
    .ConfigureAwait(false);
Having a token is half of the battle, though. I want to actually use it to list the secrets that I have in the vault. And because I am stubborn and want to use just MSAL for this demo and not leverage anything nice like Azure.Identity (which wraps MSAL to access Azure resources), I decided to instead write a REST call against the Key Vault API via HttpClient:
var client = new HttpClient();
var request = new HttpRequestMessage()
{
    RequestUri = new Uri("https://opsp-secrets.vault.azure.net/secrets?api-version=7.3"),
    Method = HttpMethod.Get,
};

request.Headers.Authorization = new AuthenticationHeaderValue("Bearer", result.AccessToken);

var response = await client.SendAsync(request);

if (response.IsSuccessStatusCode)
{
    Console.WriteLine("Success!");
    Console.WriteLine(await response.Content.ReadAsStringAsync());
}
else
{
    Console.WriteLine("Failed to get the secret list.");
    Console.WriteLine(response.StatusCode);
    Console.WriteLine(await response.Content.ReadAsStringAsync());
}
That’s it for the application code! I had a VM on the ready, and to confirm that it’s in fact running I SSH-d into it:
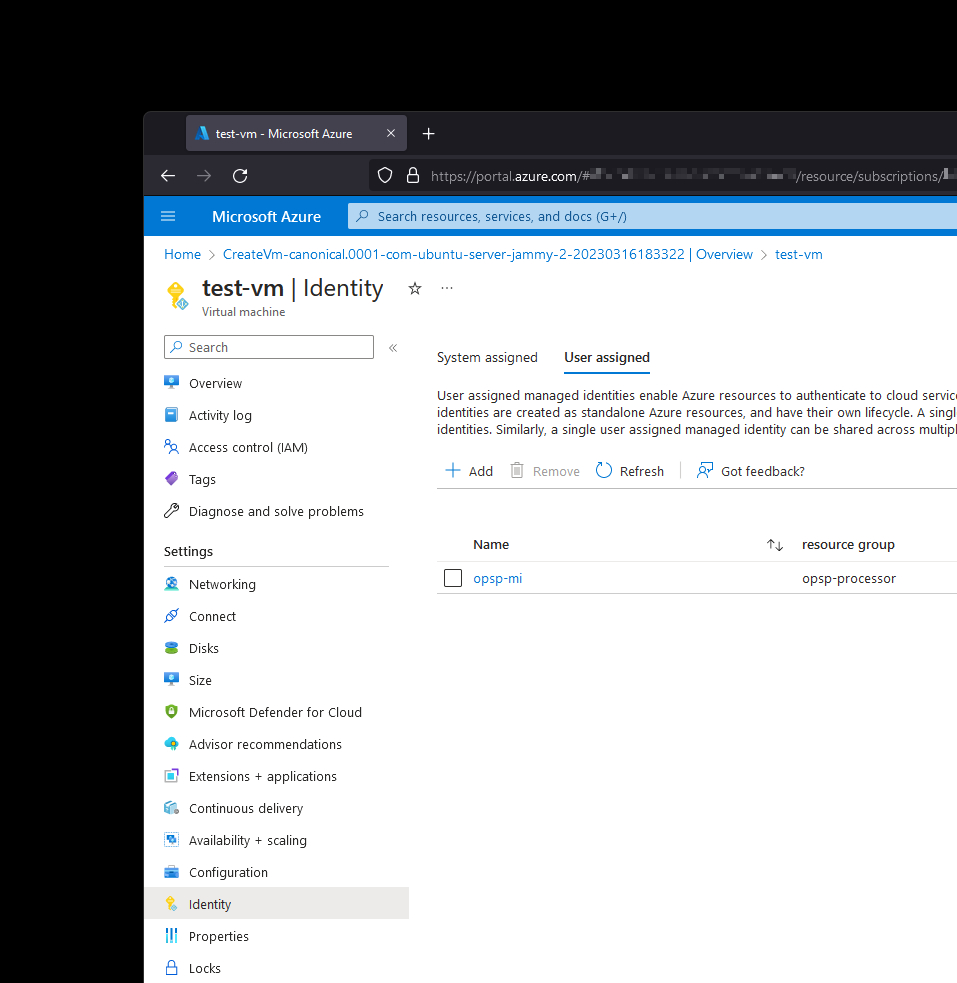
The VM was configured in the Azure Portal to connect to my managed identity (opsp-mi) that I created earlier:
To test the application I also copied the build artifacts with the help of scp:
scp -r .\bin\Debug\ [email protected]:
You will, of course, substitute the IP address for the address of your VM. By the time this blog post will be published, the IP above will be completely irrelevant anyway.
Now, when I SSH into the machine and look at the contents of my home directory I can see the Debug folder:
arbiter@test-vm:~$ ls
Debug
arbiter@test-vm:~$
Excellent! Before running the code, however, I need to install the .NET 7.0 SDK. I am using Ubuntu 22.04, so I go right to the documentation to get the Microsoft package repository configuration. Once installed, I can check whether the right SDK is on the box with the dotnet CLI:
arbiter@test-vm:~$ dotnet --version
7.0.202
arbiter@test-vm:~$
And now, for the grand finale - let’s run the application we just created.
arbiter@test-vm:~$ dotnet Debug/net7.0/ManagedIdentityKeyVaultSample.dll
Success!
{"value":["MY_SECRET_RESPONSE_HERE"]}
arbiter@test-vm:~$
No dealing with OAuth re-implementation, no dealing with secrets or password - just the managed identity to get the token and then use that token to access other Azure resources.
Learn more #
If you would like to continue learning more about how MSAL.NET can make it easier to work with Azure resources and more, I highly recommend starting with the official documentation. You can also download the full code sample for the post on GitHub.