Authenticating With Instagram Without The Browser
For one of the hobby projects, that I am working on, I thought I would leverage the Instagram API. It deals with an automation scenario, so the choice was obvious - I can put together a Python script that runs at scheduled intervals.
Lucky for me, I’ve also learned that there is already a Python library that can help me access the API - it is archived and no longer maintained, but should at least give me some leverage over what I wanted to do.
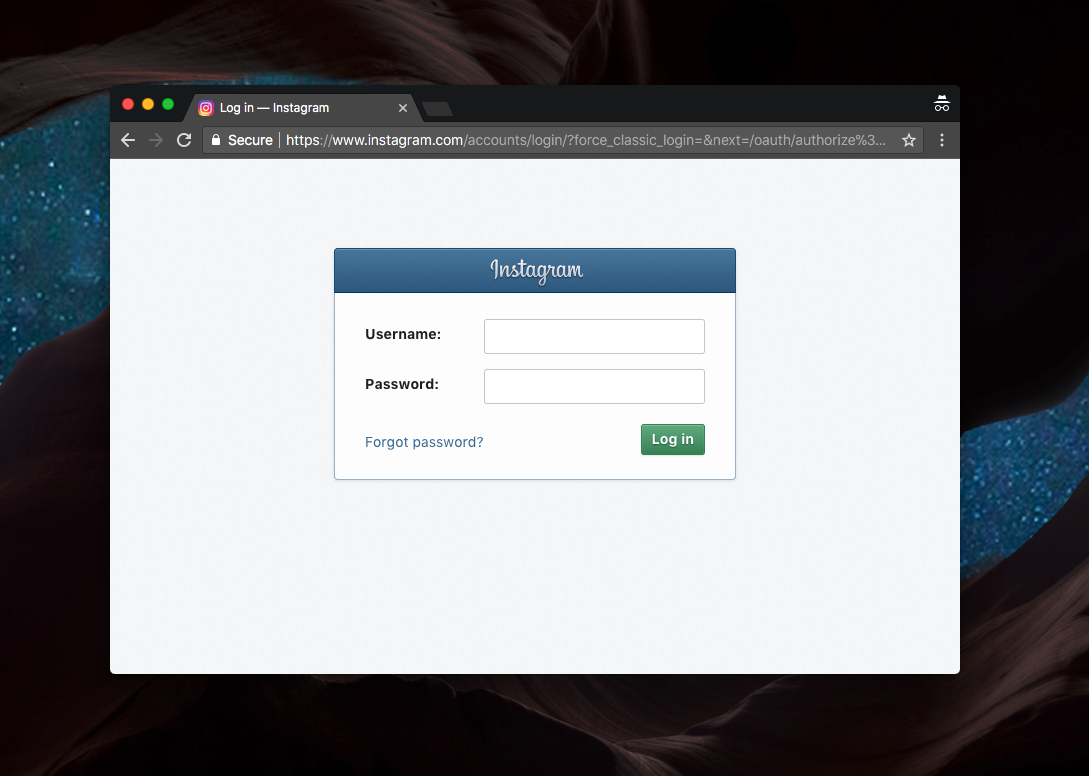
Here is the kicker, though - to authenticate against the Instagram API, the user will be taken to the browser. Yikes - that’s not what you want in a script that runs in a non-interactive mode. Every time you would get a pre-composed URL, the user will then have to see this:
So what’s the solution? The simplest thing that comes to mind is Selenium, so why won’t we try that? You can install it with pip:
pip install selenium --user
Oh, and since we are dealing with the Instagram API, you will also need to pip install the package that I mentioned earlier. There is only one problem - the OAuth flow in the original library has a problem with not passing the Content-Type header. I forked it and introduced a fix. You previously (while the project was available) could install the forked build via this command:
pip install -e git+https://github.com/dend/python-instagram#egg=python-instagram
NOTE: If you are experiencing permission issues with
pip, make sure that your current user has the right permissions to the Python folder - you can fix those withsudo chown -R $USER /Library/Python/2.7.
Without the fix above, the API calls will fail. One last thing - you also need phantomjs. I am on a Mac, so I can just use Homebrew:
brew install phantomjs
For other platforms, you can rely on official installation instructions.
We have the fundamentals lined up! Now let’s get to scripting. Let’s start with declaring the imports and the required auth materials:
# Imports
from instagram.client import InstagramAPI
from selenium import webdriver
from selenium.webdriver.common.keys import Keys
import urlparse

# Credential and request information
insta_user='{INSTAGRAM_USERNAME}'
insta_password='{INSTAGRAM_PASSWORD}'
client_id='{INSTAGRAM_CLIENT_ID}'
client_secret = '{INSTAGRAM_CLIENT_SECRET}'
redirect_uri='{INSTAGRAM_REDIRECT_URL}'
scope = ('basic','public_content')
Because we are using Selenium, we will effectively create a headless browser that will still require automated input of your test Instagram username and password.
REMEMBER: DO NOT store your credentials inside the script. Ever. It’s a horrible idea. You will accidentally check it in to a repo, and then you will regret it. Instead, use something like Azure KeyVault.
I should also mention that I have not tested this with Instagram accounts that have 2FA enabled.
You can get the client ID, secret and set up the redirect URL in the Instagram developer portal. You can leave the scopes the way they are set up in the snippet above.
Now, let’s actually get the URL that we need to direct the users to authenticate:
api = InstagramAPI(client_id=client_id, client_secret=client_secret,redirect_uri=redirect_uri)
redirect_uri = api.get_authorize_login_url(scope=scope)

print "Building out WebDriver for URL:\n", redirect_uri
Here is where Selenium really shines - get the username and password fields, along with the Log In button, and populate them:
driver = webdriver.PhantomJS()
driver.get(redirect_uri)
username = driver.find_element_by_xpath('//*[@name="username"]')
password = driver.find_element_by_xpath('//*[@name="password"]')
login_btn = driver.find_element_by_xpath('//*[@value="Log in"]')

username.send_keys(insta_user)
password.send_keys(insta_password)

# Test to see if the values are properly passed into the UI components.
print(username.get_attribute('value'))
print(password.get_attribute('value'))
When the log in will be performed, given that it’s successful, the resulting URL to which the user will be redirected will contain the code that needs to be used for API auth - we can parse it out directly out of the URL:
# Perform log in and get the current URL, that will now
# contain the auth code.
login_btn.click()
current_url = driver.current_url

print current_url
parsed = urlparse.urlparse(current_url)

parsed_code = urlparse.parse_qs(parsed.query)['code'][0]
The code is not enough, and we need to use the Instagram API to exchange it for an access token:
print "Auth code: ", parsed_code

access_token, user_info = api.exchange_code_for_access_token(parsed_code)

print "Access token: ", access_token
And pretty much there you have it - you can now perform API calls with the token!
api = InstagramAPI(client_id=client_id,access_token=access_token)

# helloisden = 512140057
tag_info = api.tag('nofilter')

print tag_info.media_count